Import ECMWF netCDF
Important
It is important to be familiar with the simple UI of BlenderNC (Beginner mode!) to follow this tutorial.
Some data has been provided by ECMWF, and it is included at the main BlenderNC repository in the path blendernc/test/dataset.
blendernc
└── tests
    └── dataset
        ├── ECMWF_data.grib
        ├── ECMWF_data.nc
        ├── ssh_1995-01.nc
        └── ssh_1995-01.zarr
This example will use the file ECMWF_data.nc, follow closely the previous tutorial Simple animation, and explore the BlenderNC.
Import data!
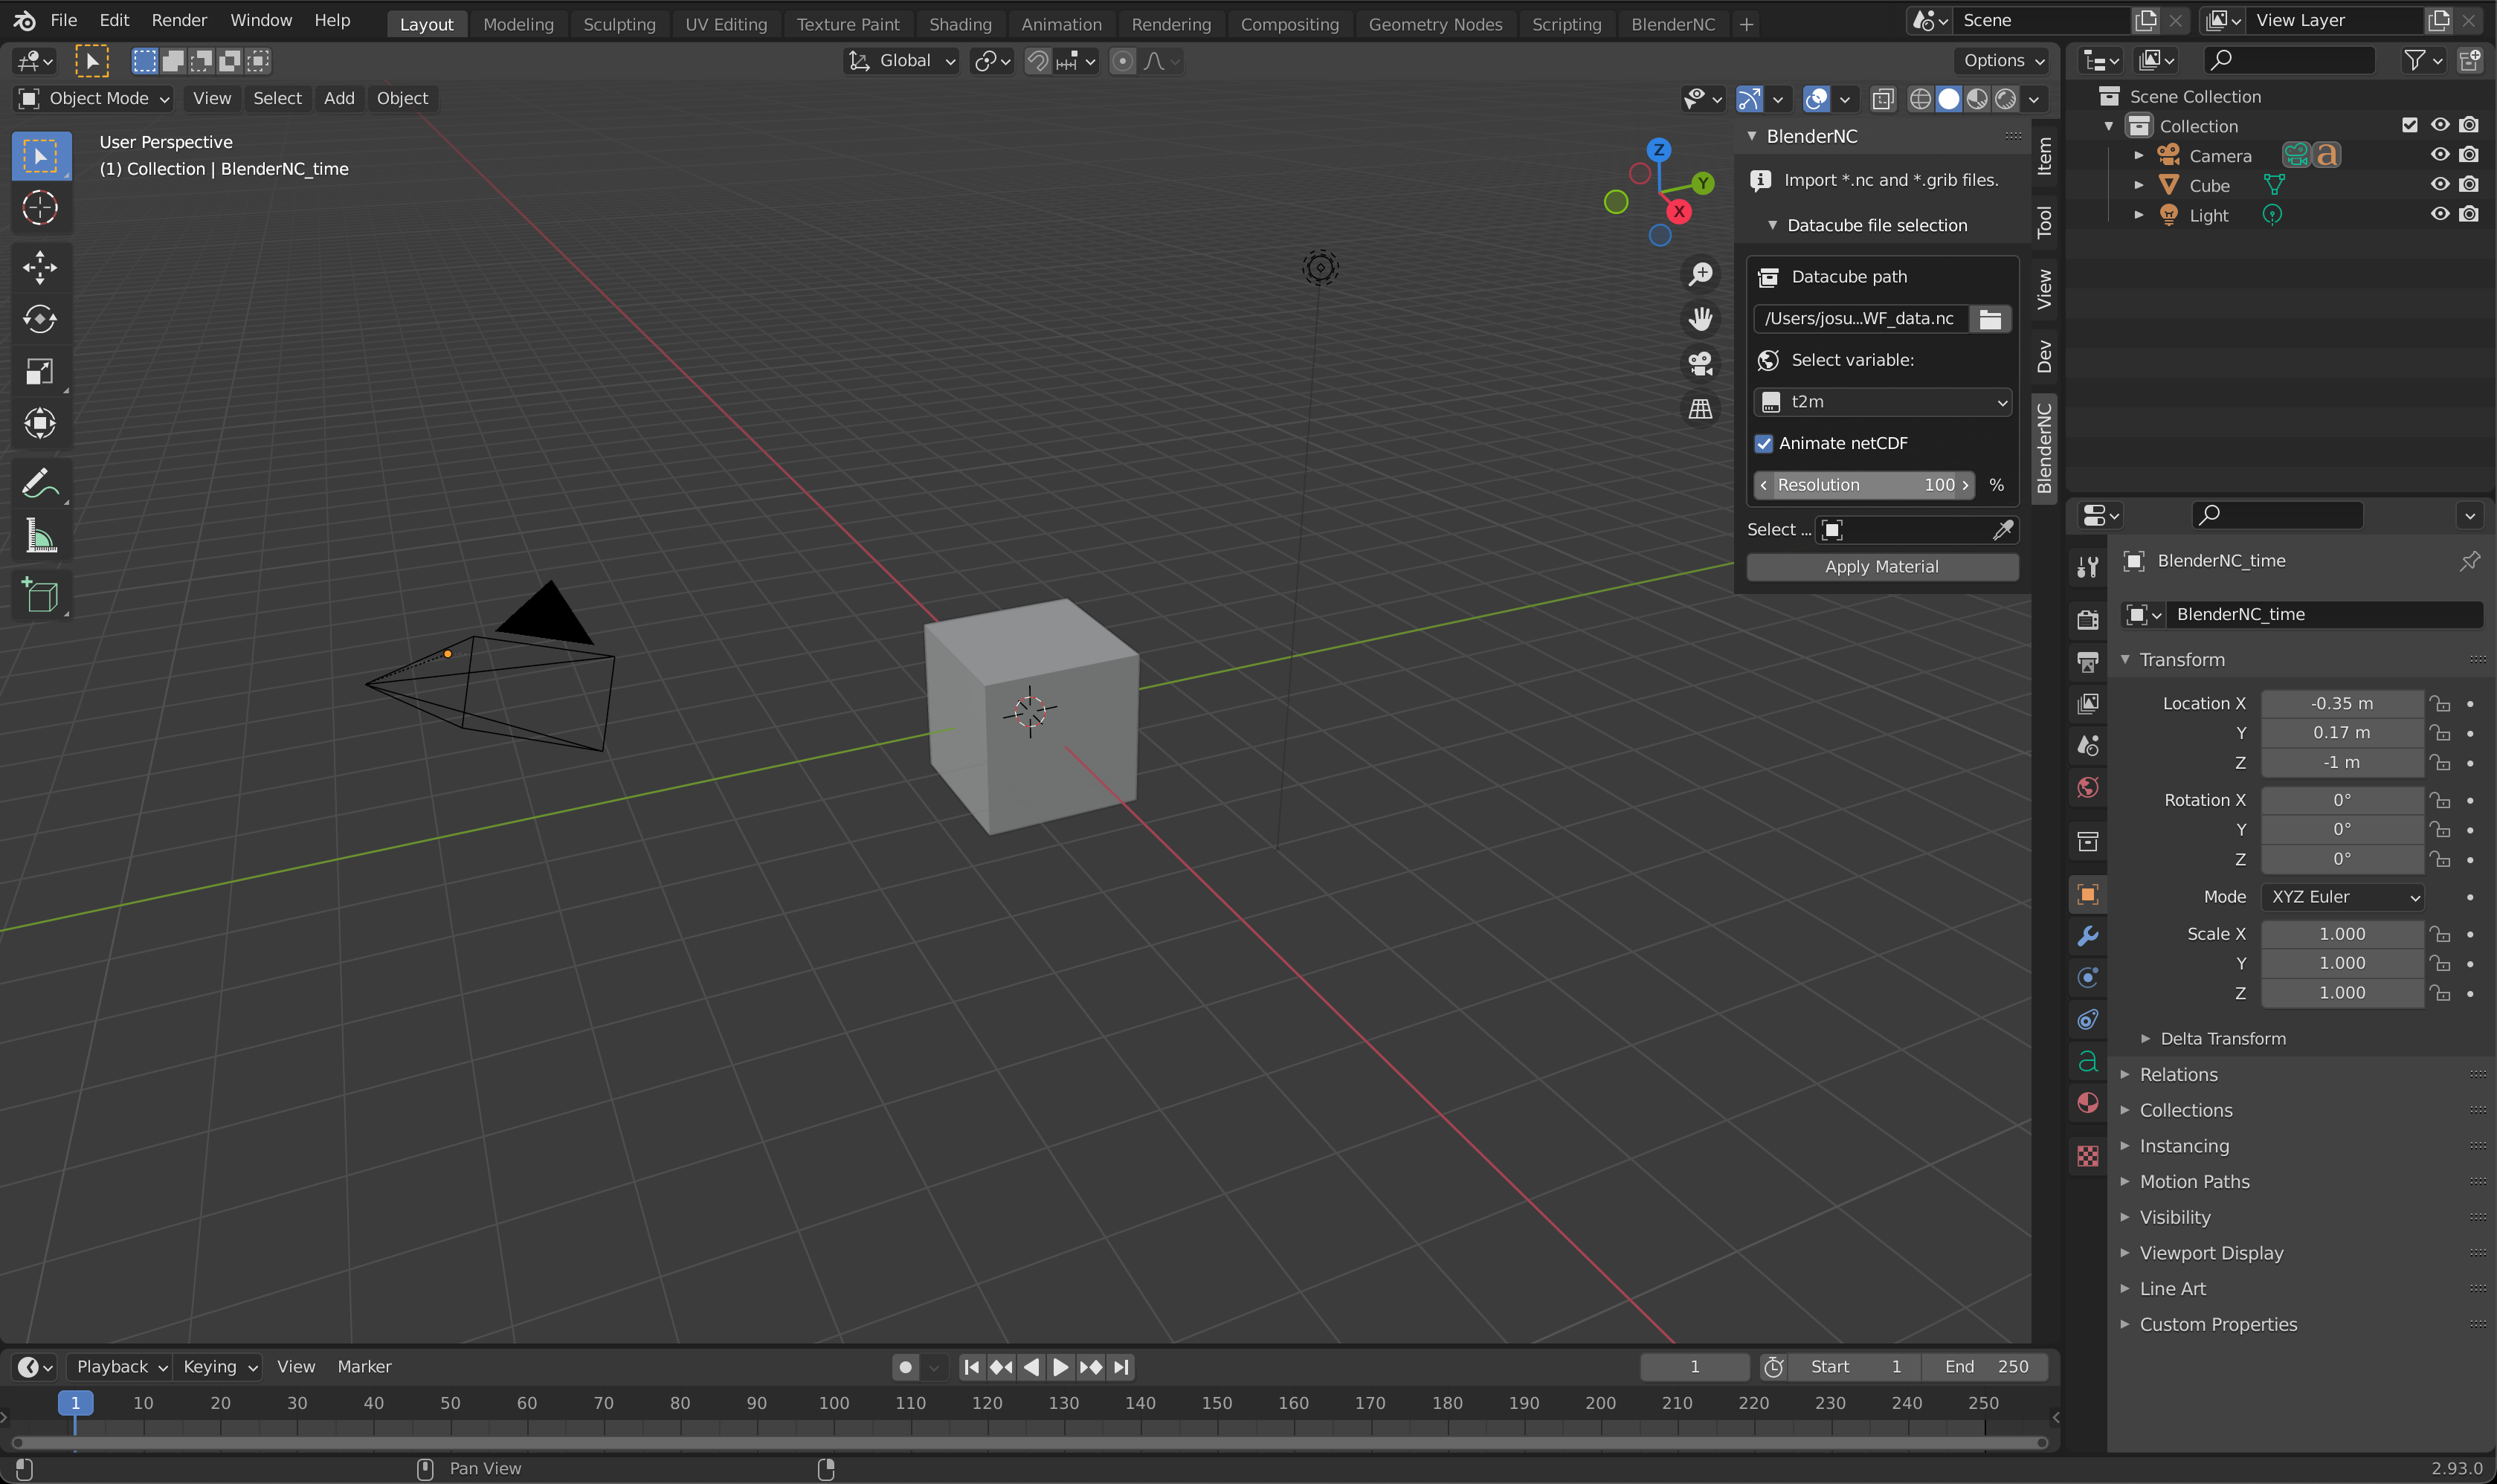
Open Blender (>2.83), in the 3D view, open the sidebar by pressing “n”.
Switch to the BlenderNC panel and click on
Load datacube. Then click the folder icon, navigate and select the ECMWF netcdf dataset:blendernc/test/dataset/ssh_1995-01.nc
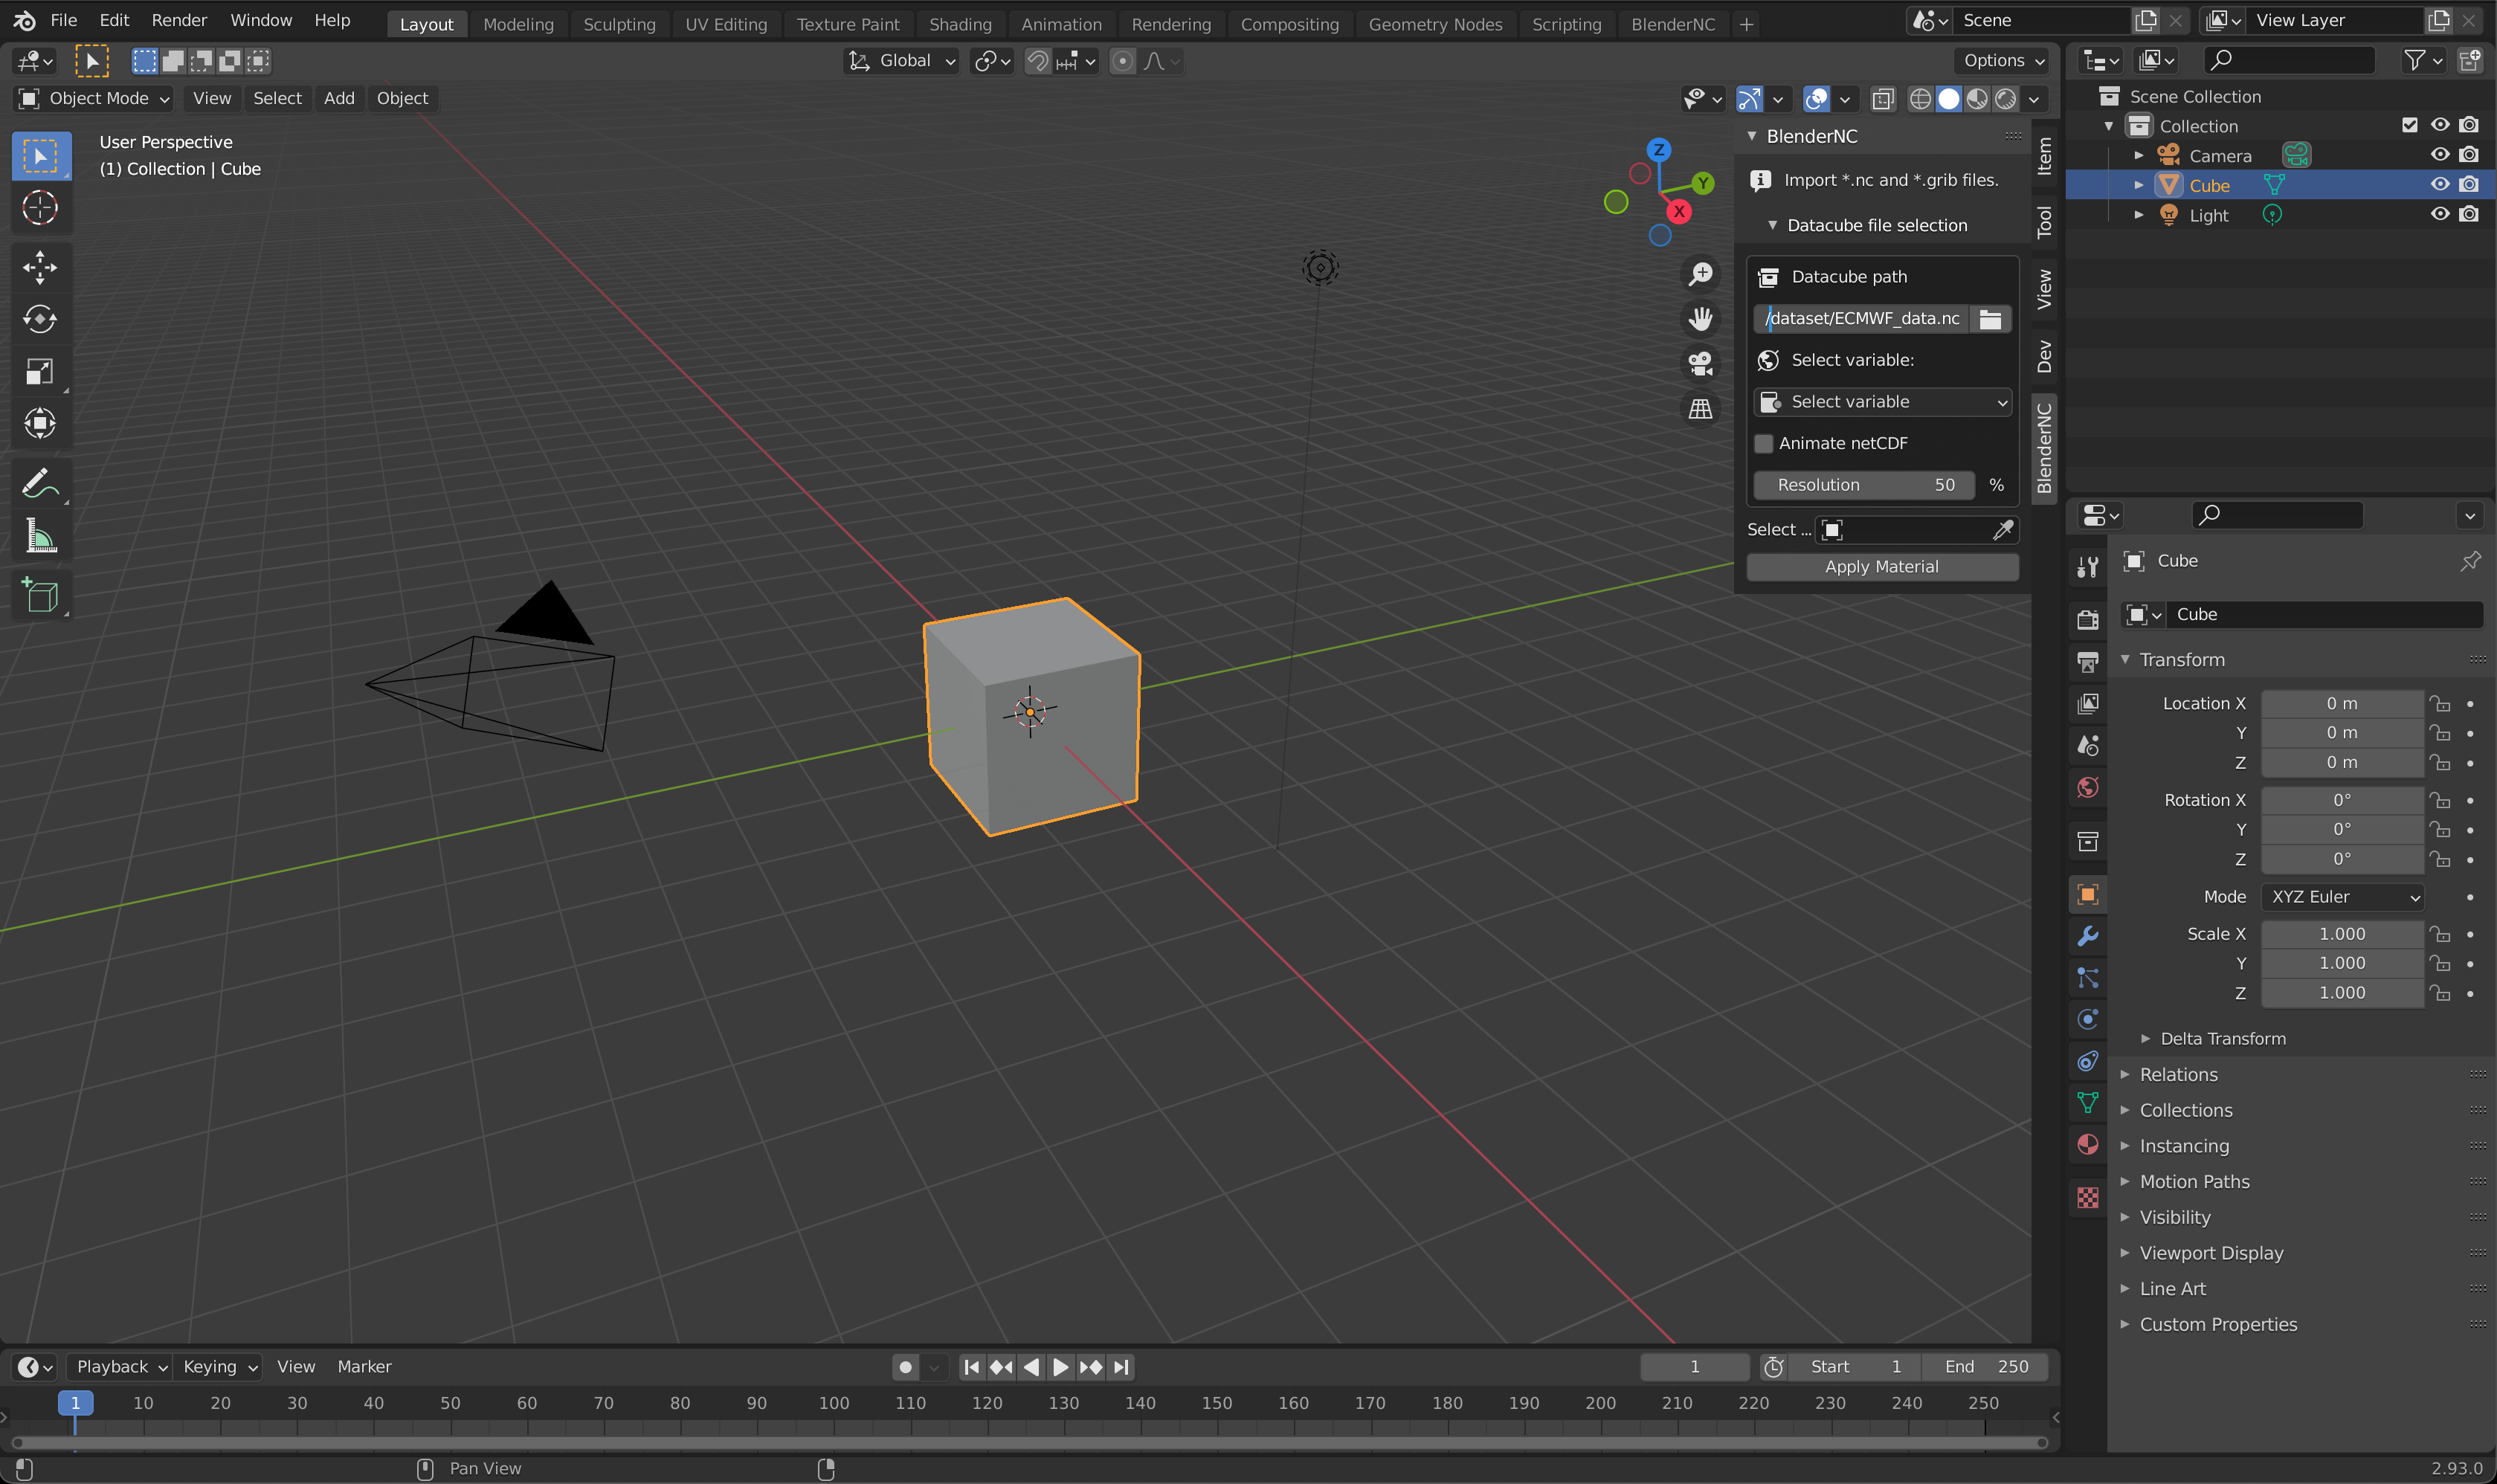
Select the variable
t2mfrom this dataset (Air-Temperature at 2 meters):
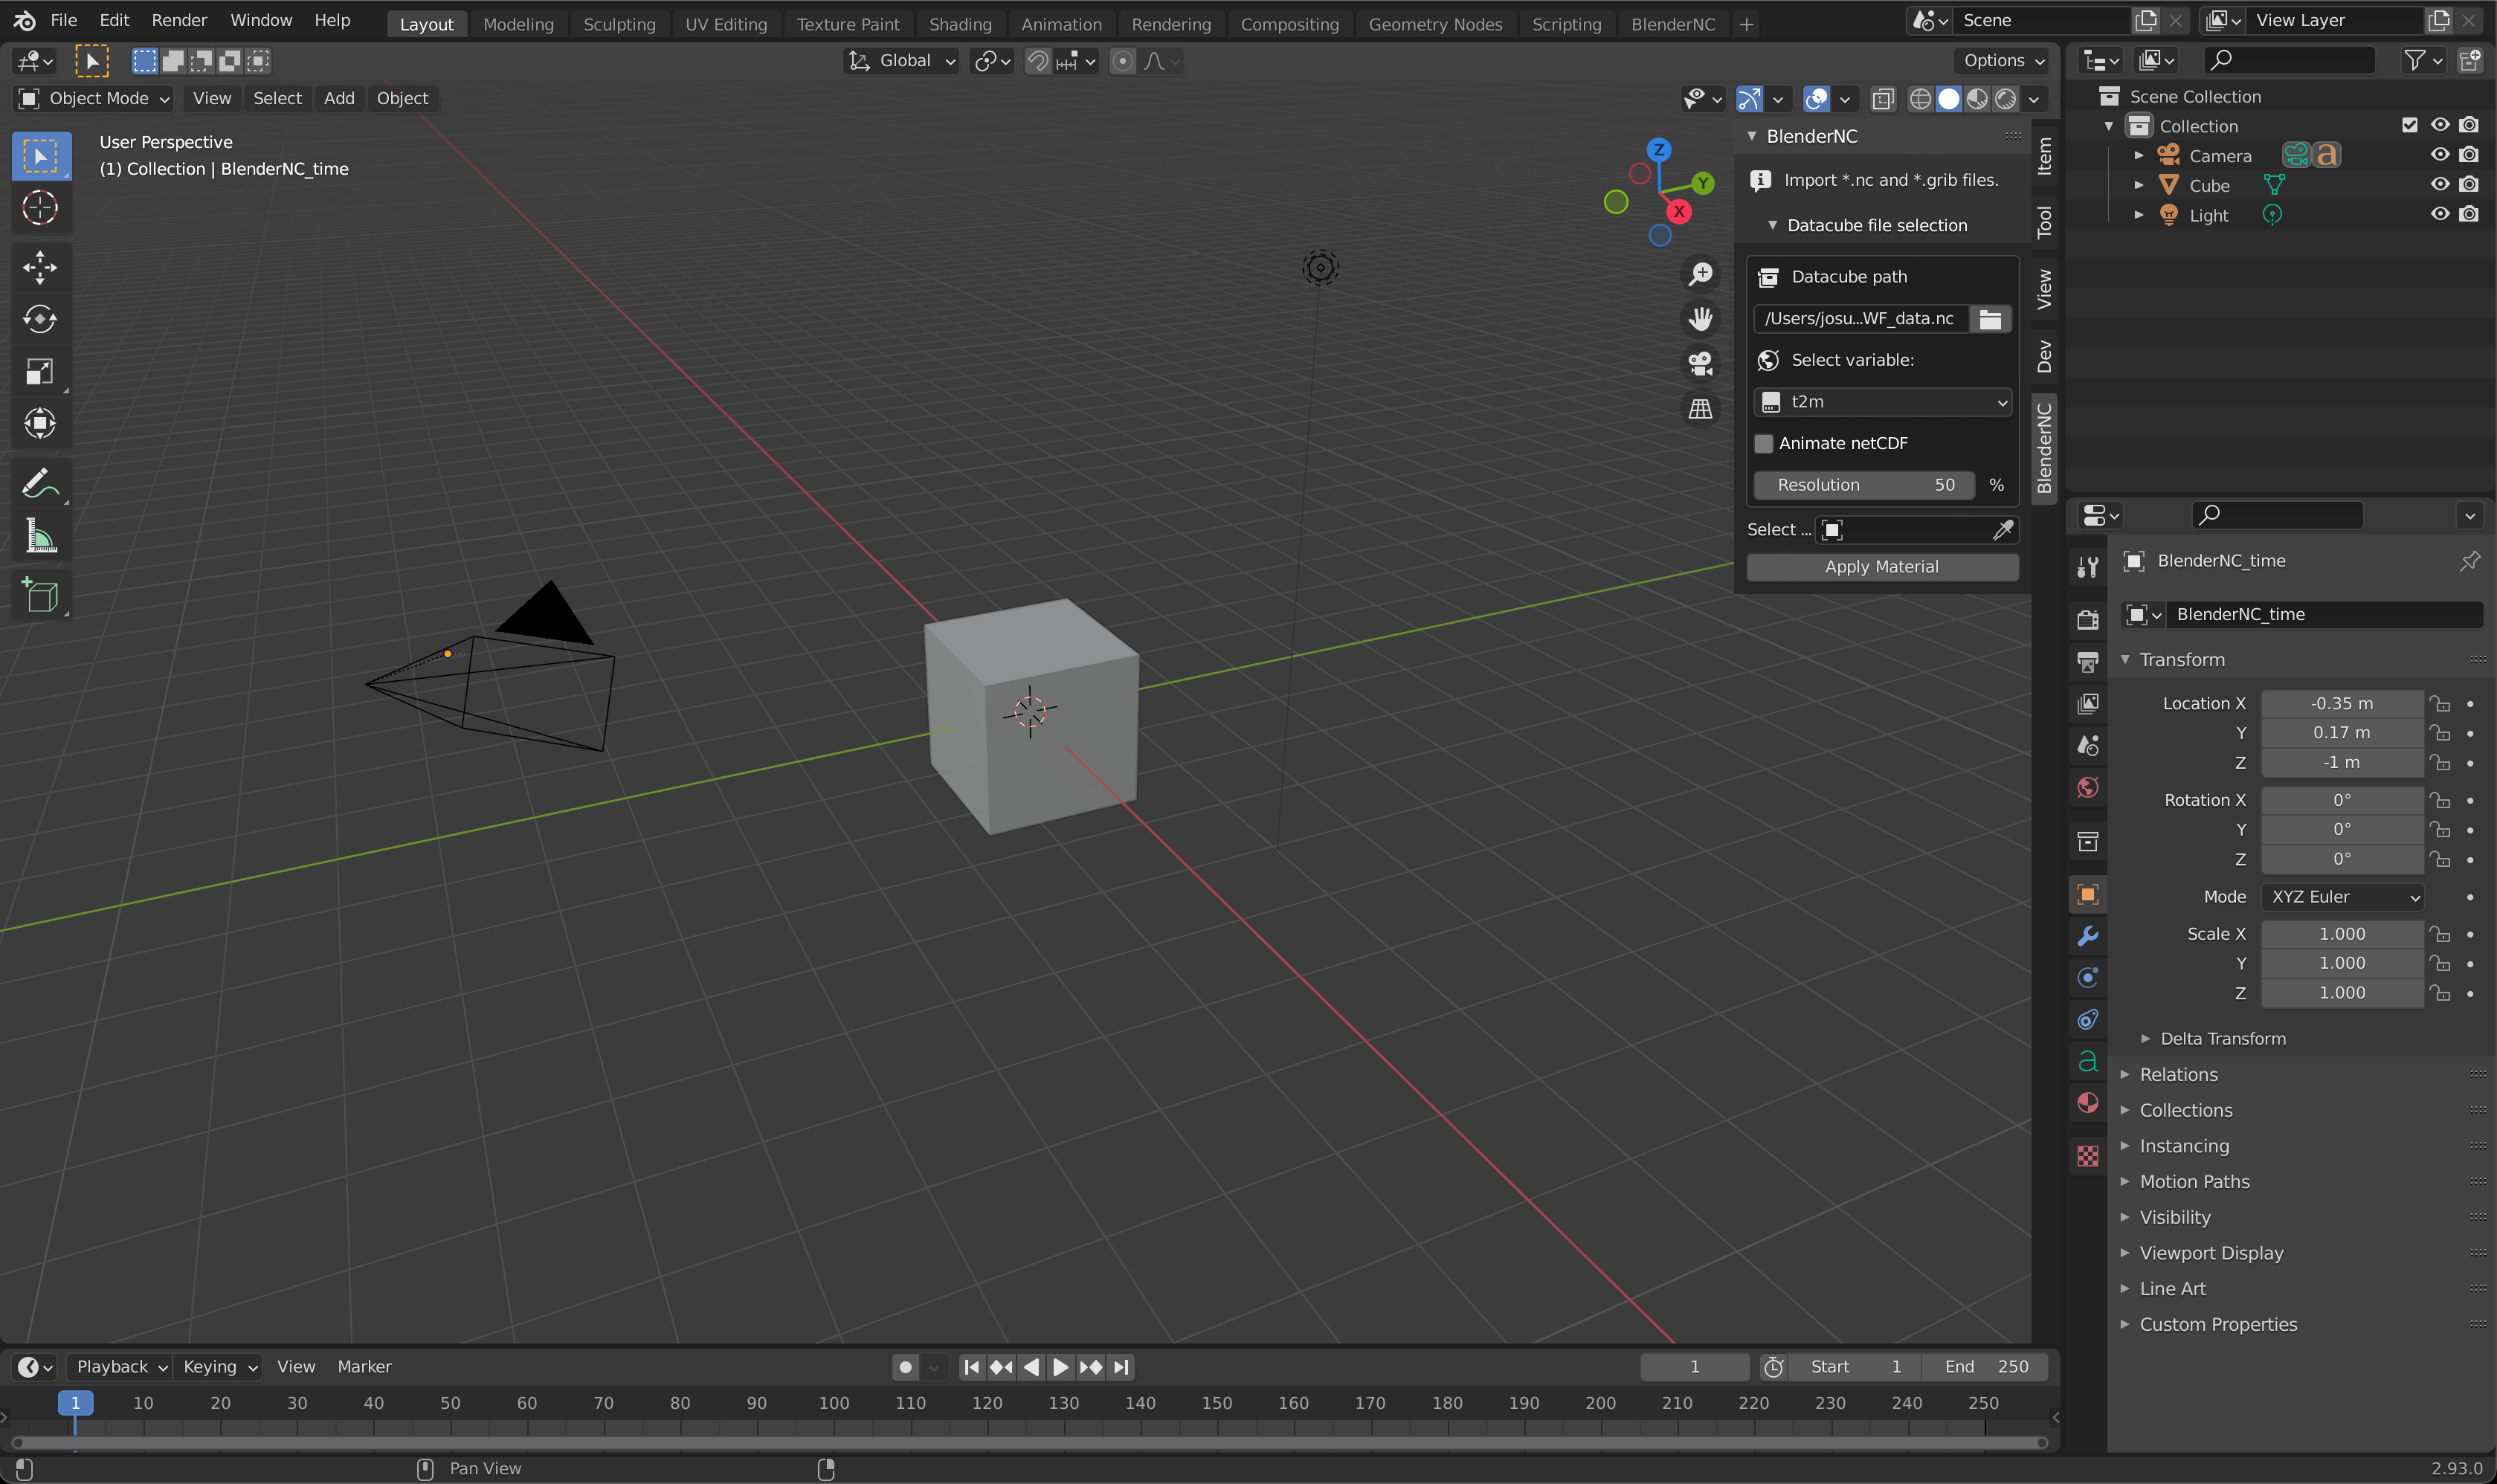
Click over the animation checkbox to allow the dataset to be animated.
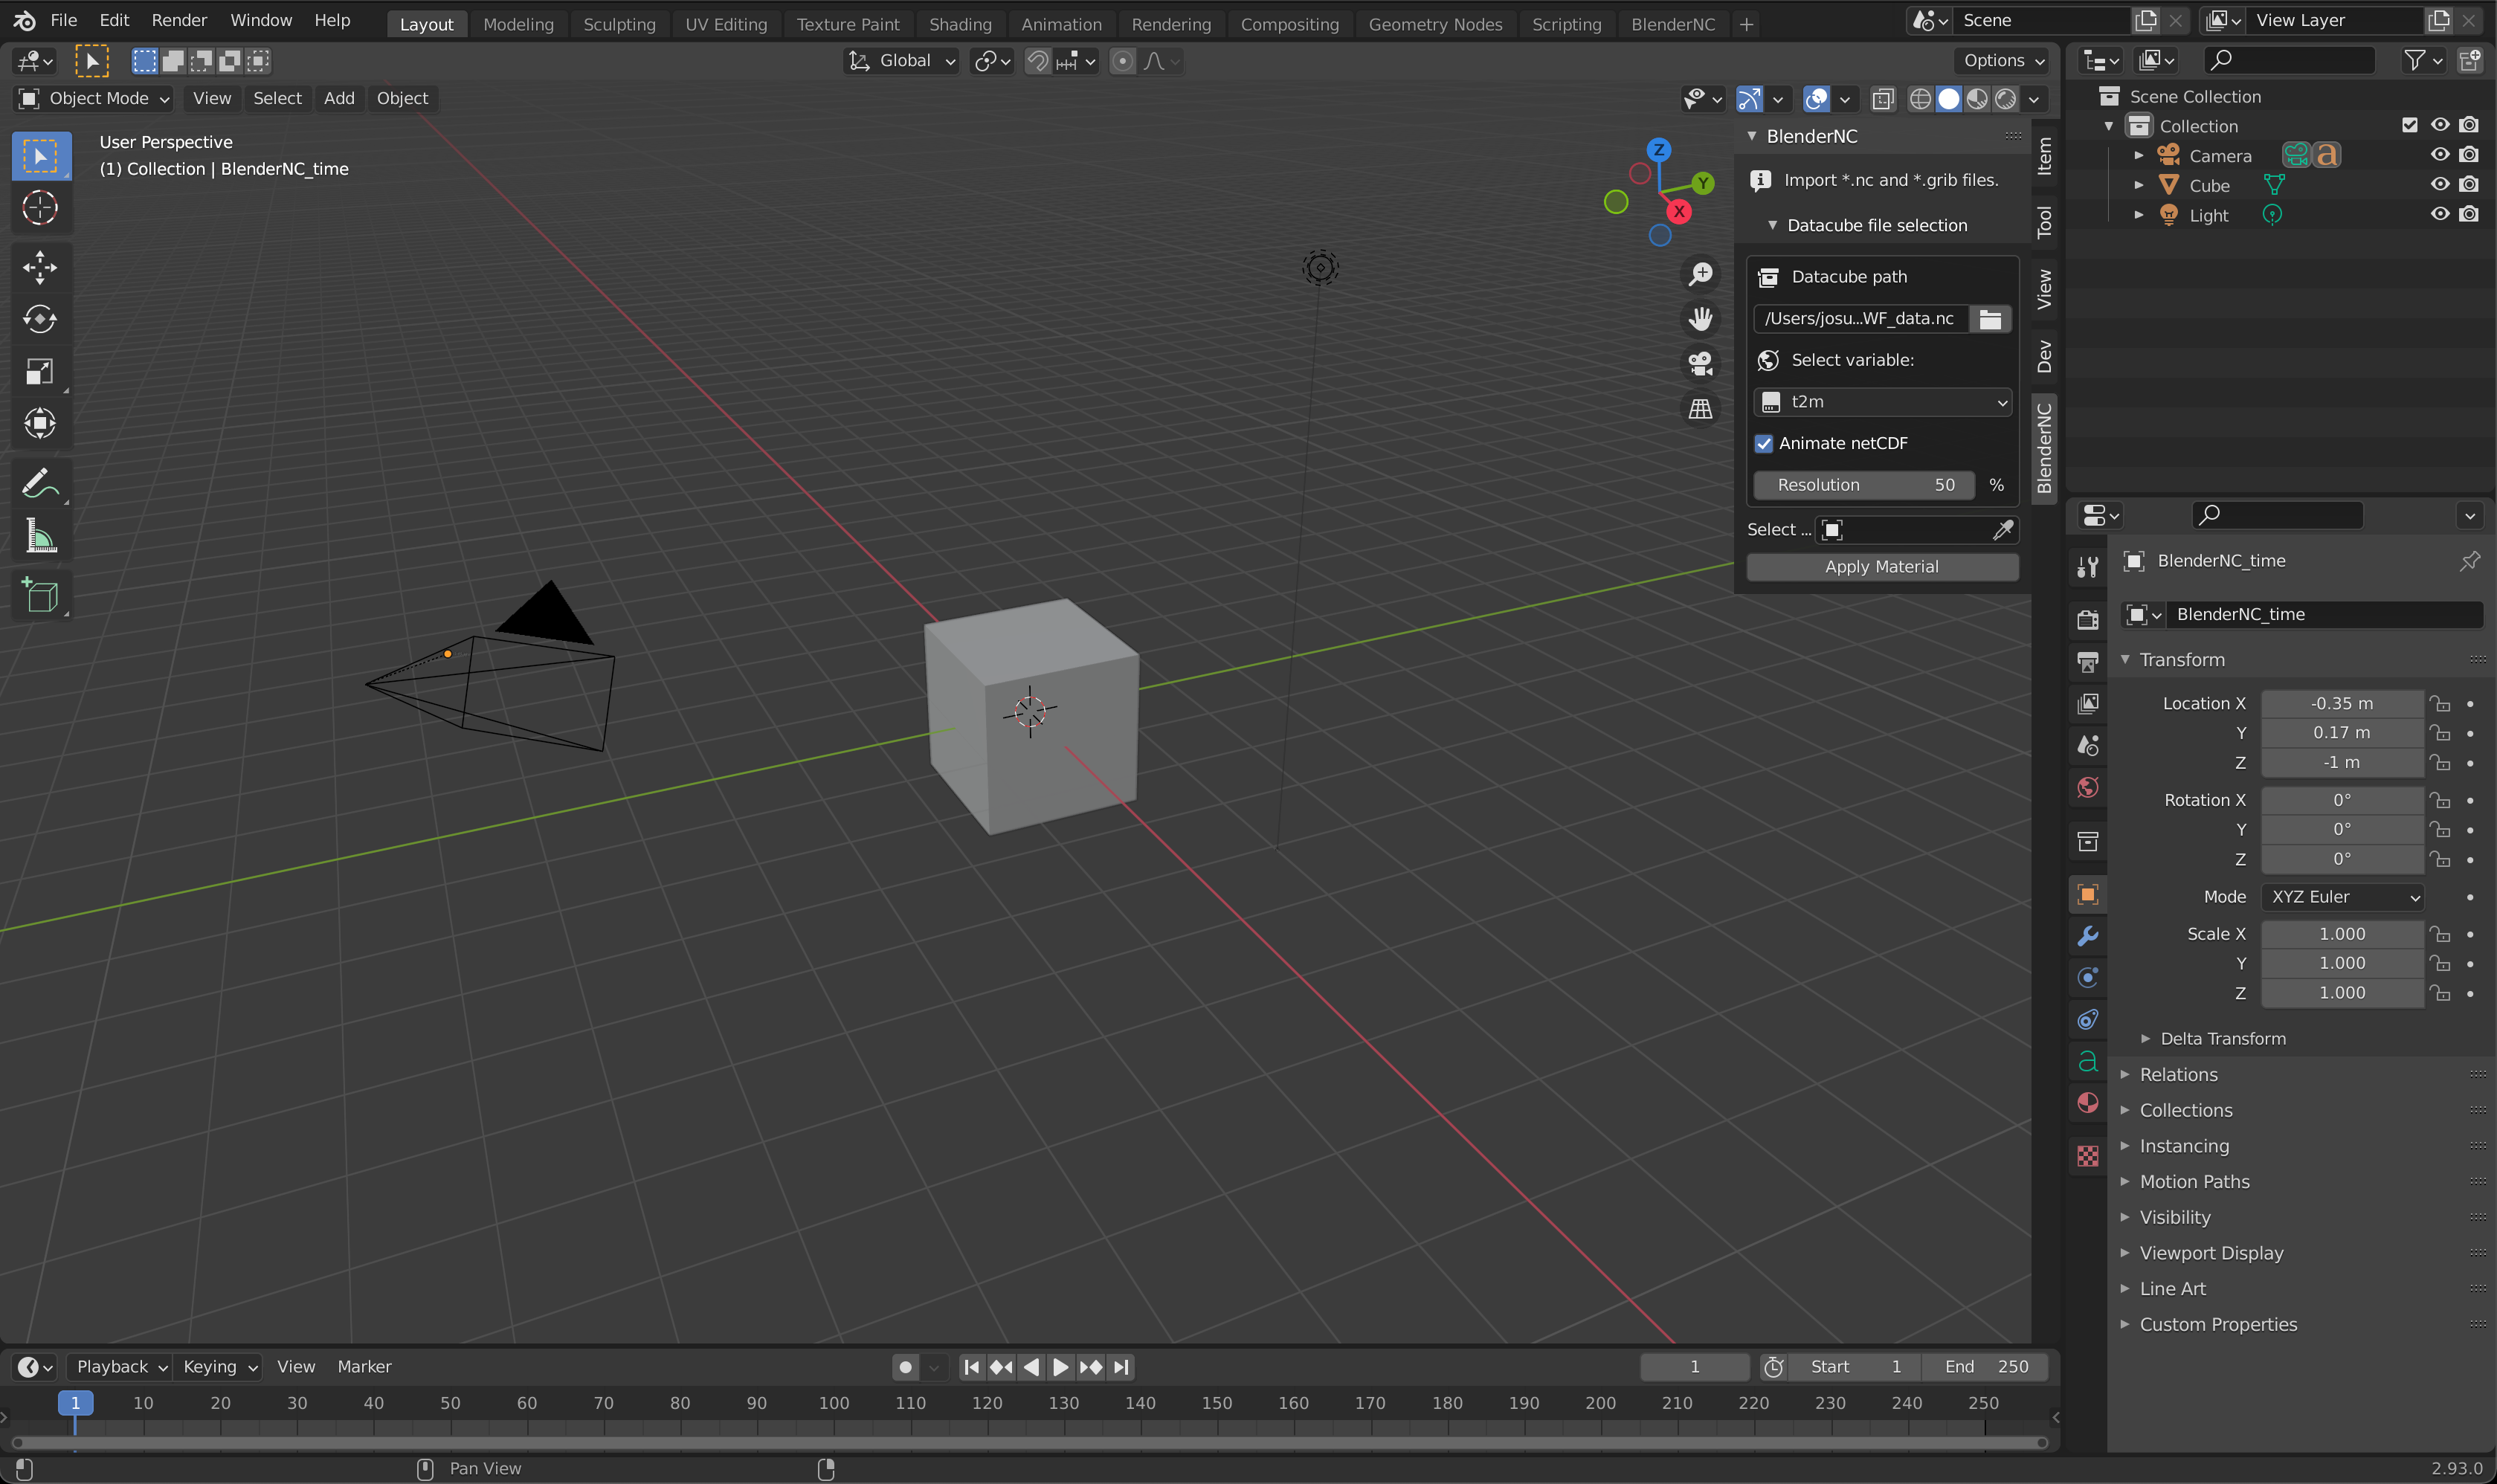
Let’s increase the resolution to 100%:
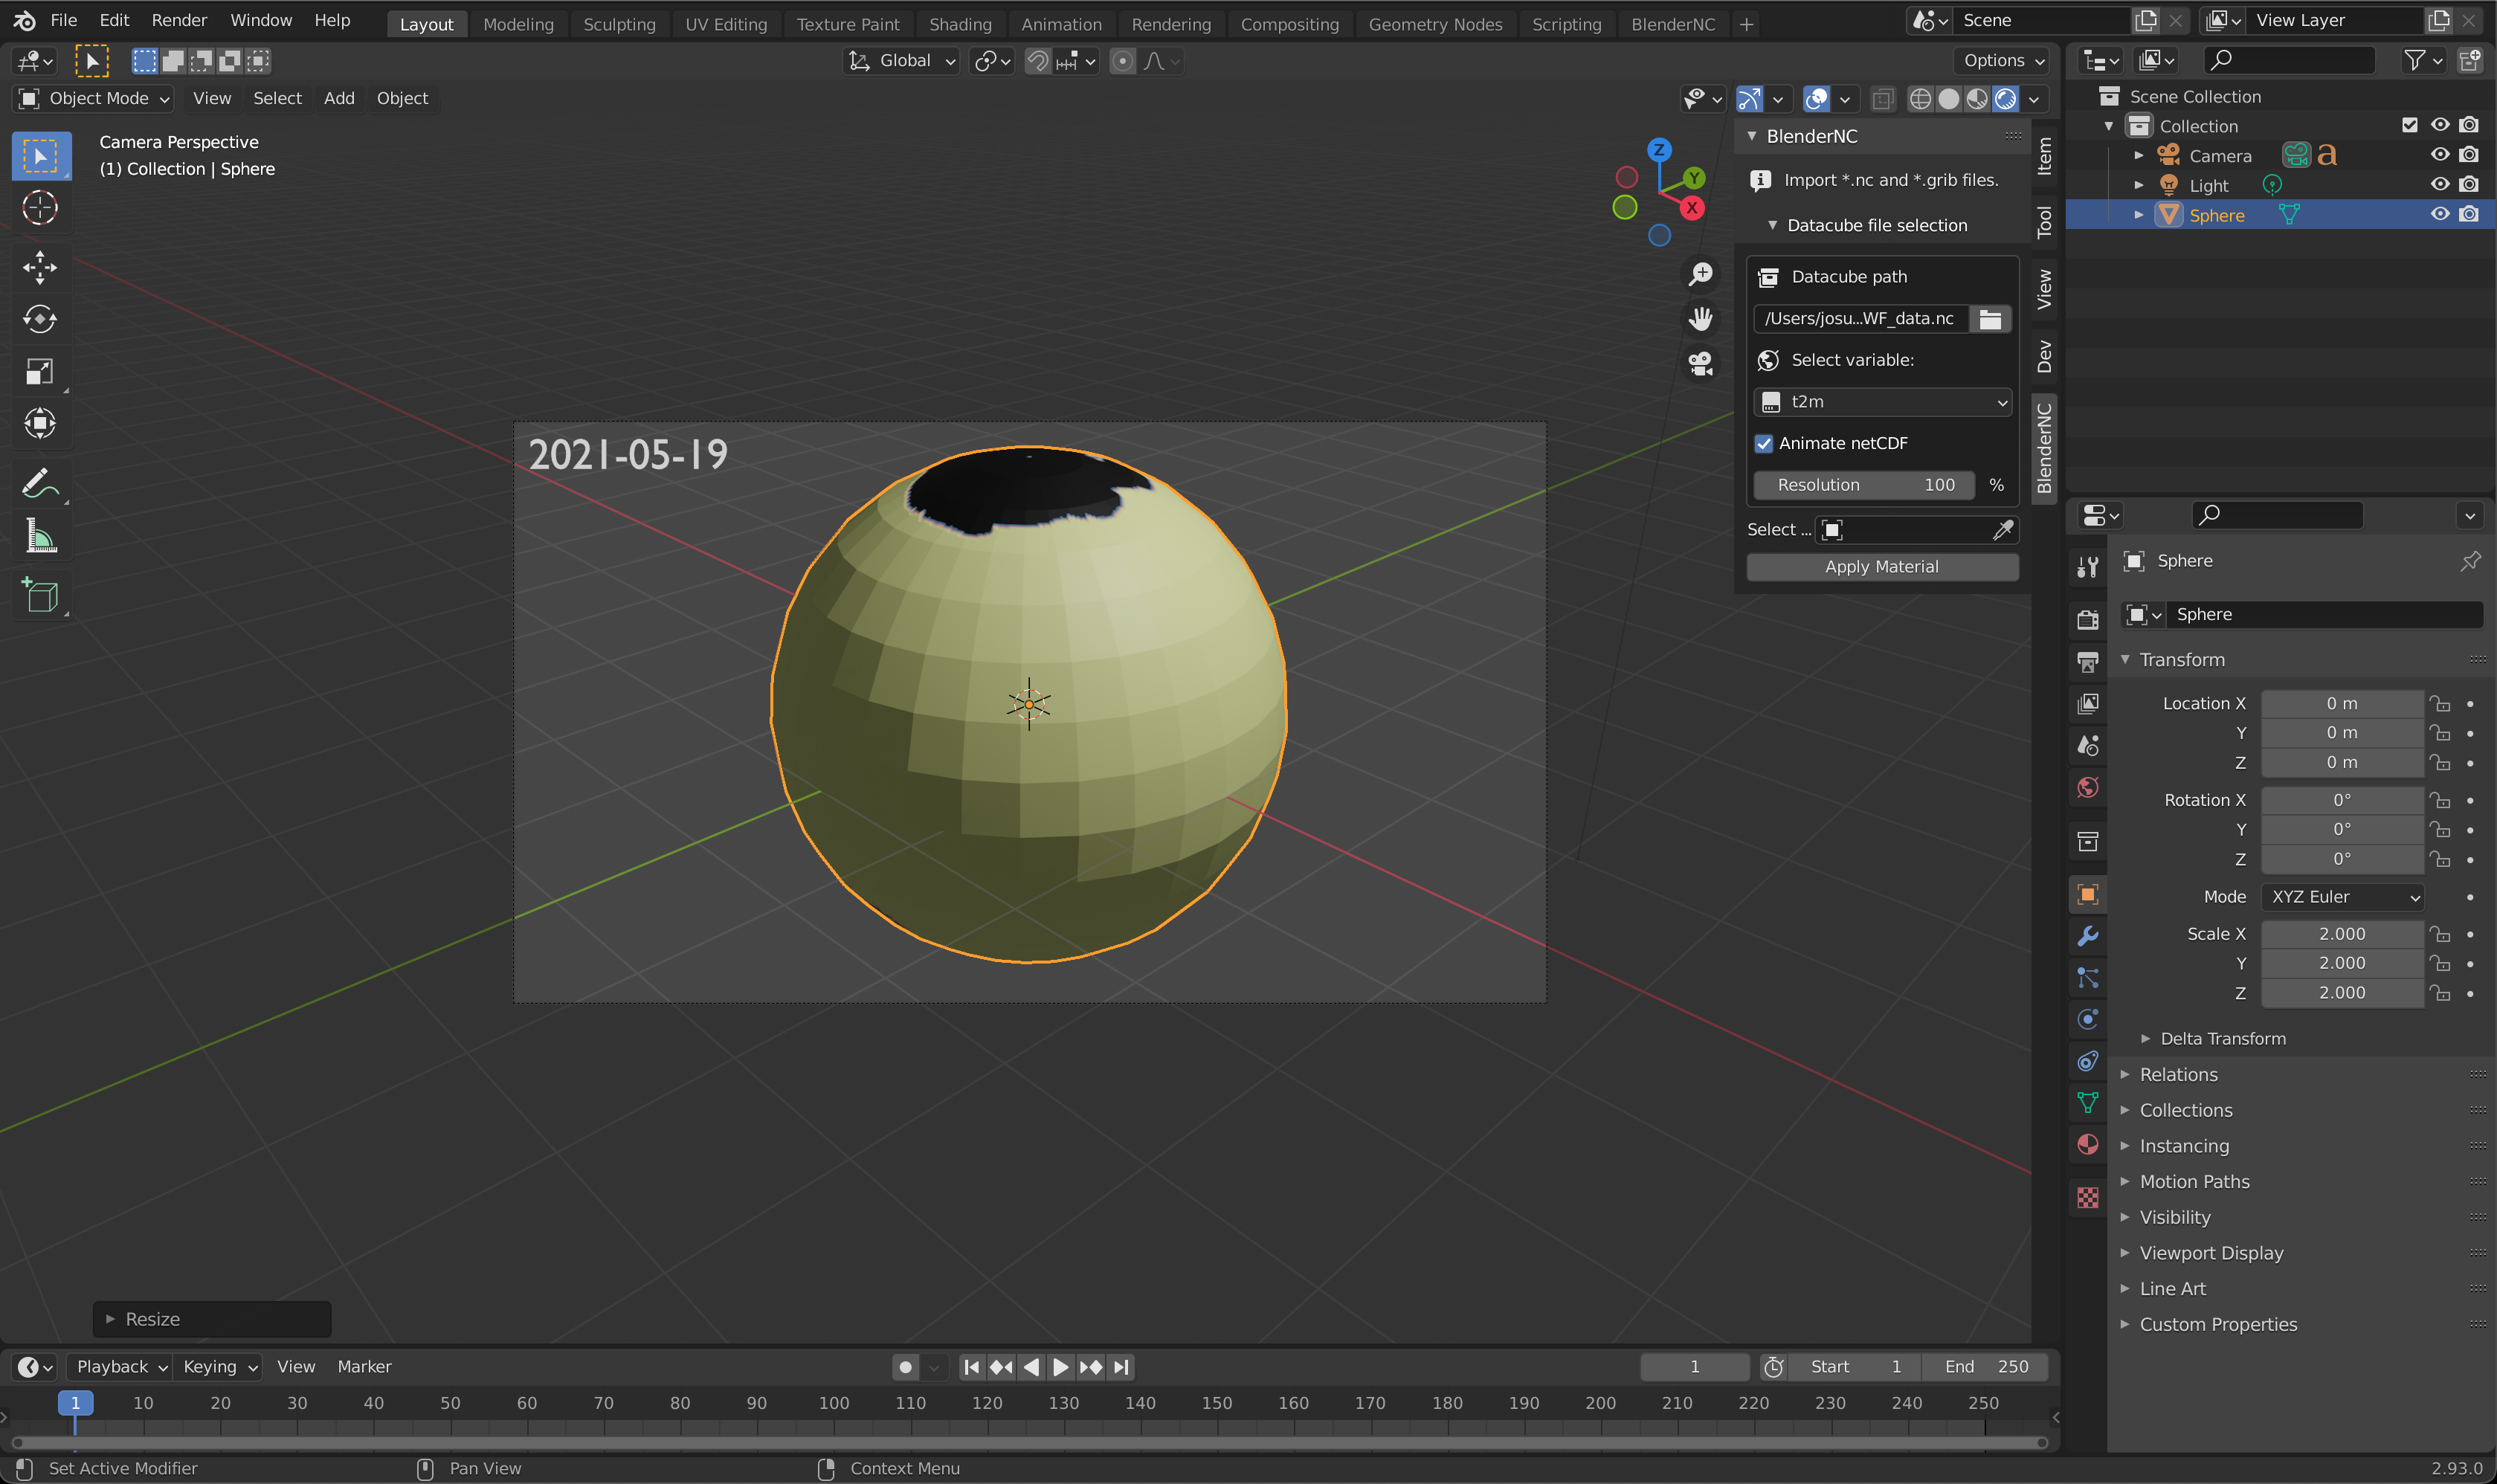
Now, we can apply the material BlenderNC just created, but first, lets delete the default cube (shortuct
x), create a sphere (shortcutshift + a-Mesh -> UV Sphere), and scale it to2x(shortcuts + 2 + return)Select sphere by clicking over it, then click apply material (highlighted in blue above). There will be no visible change until we switch to a rendered 3D viewport (
Zand click over ) or render the camera (shortcutF12). Press0in your number path to change your view to the camera view. If you are using a laptop, you can emulate a number path by following the instructions in this link!
Note
So far there is nothing new, but the render preview looks awful, we will fix it using the BlenderNC nodetree.
BlenderNC nodetree
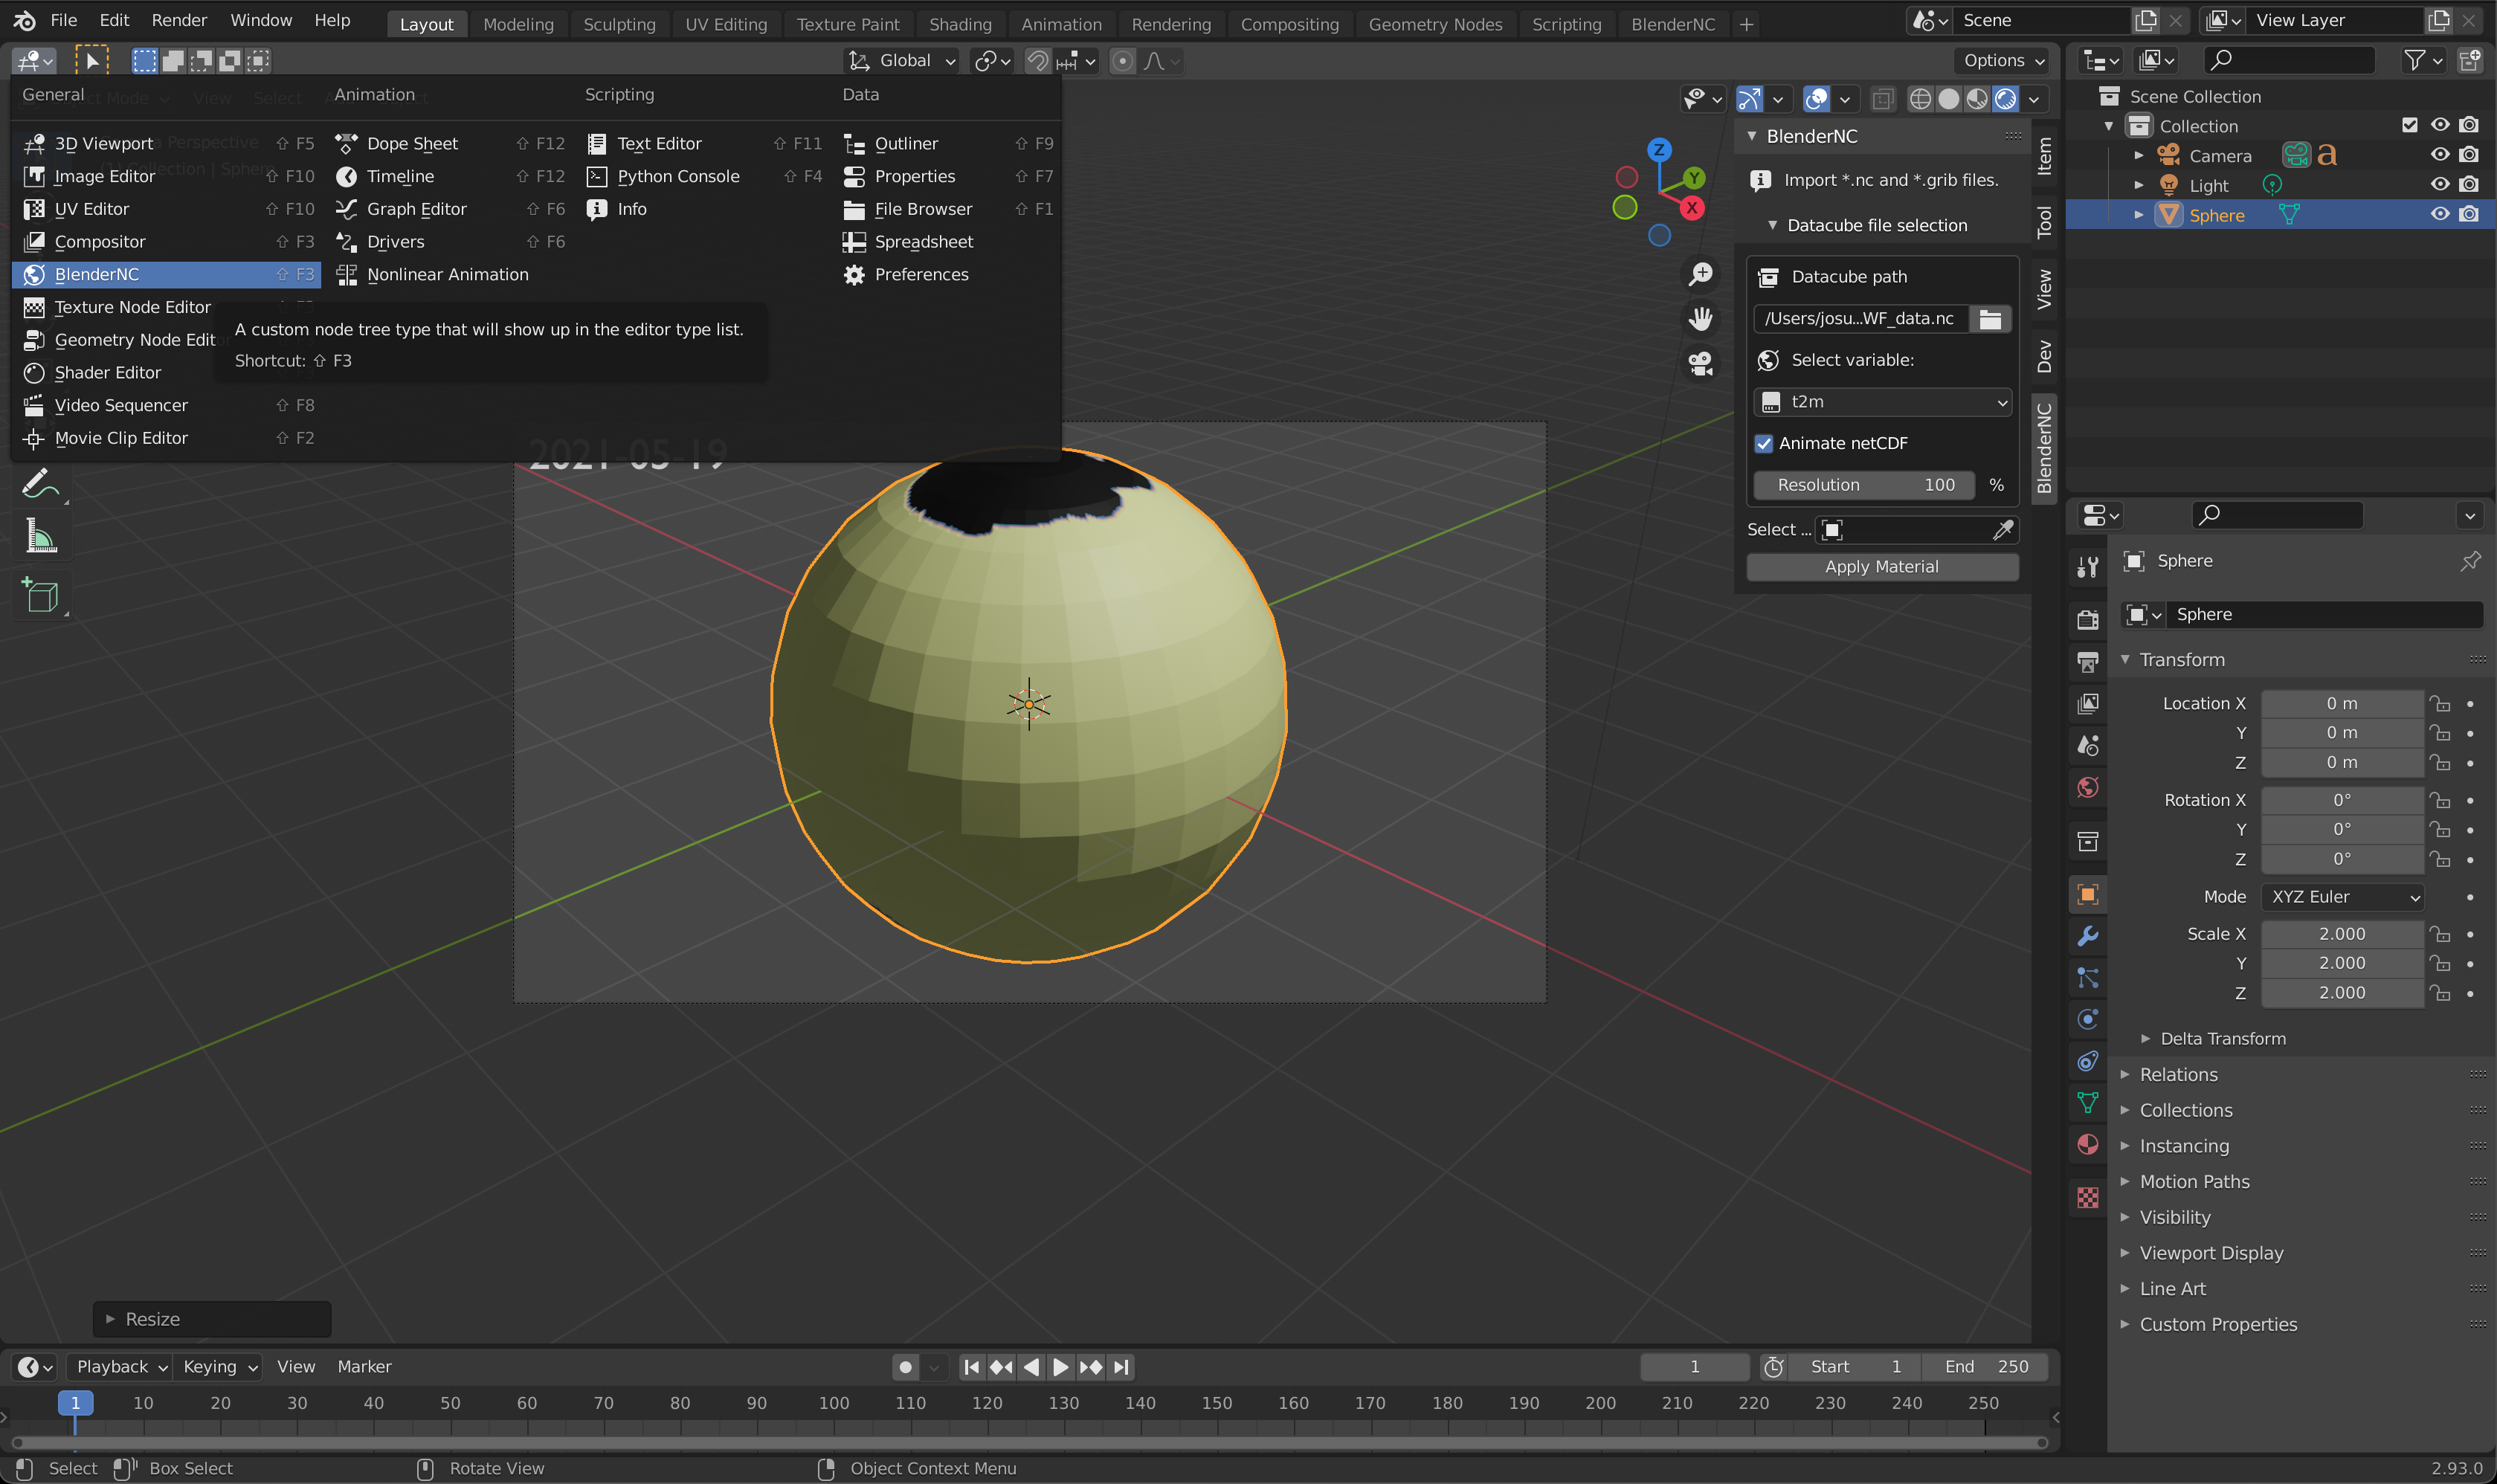
Let’s switch to the BlenderNC nodetree, we have two options:
Switch to BlenderNC workspace (recomended):
or switch viewport to the BlenderNC nodetree:
By default, the 3D view BlenderNC panel will create 4 nodes datacube Path, datacube Input, Resolution, Image Output, as seen below:
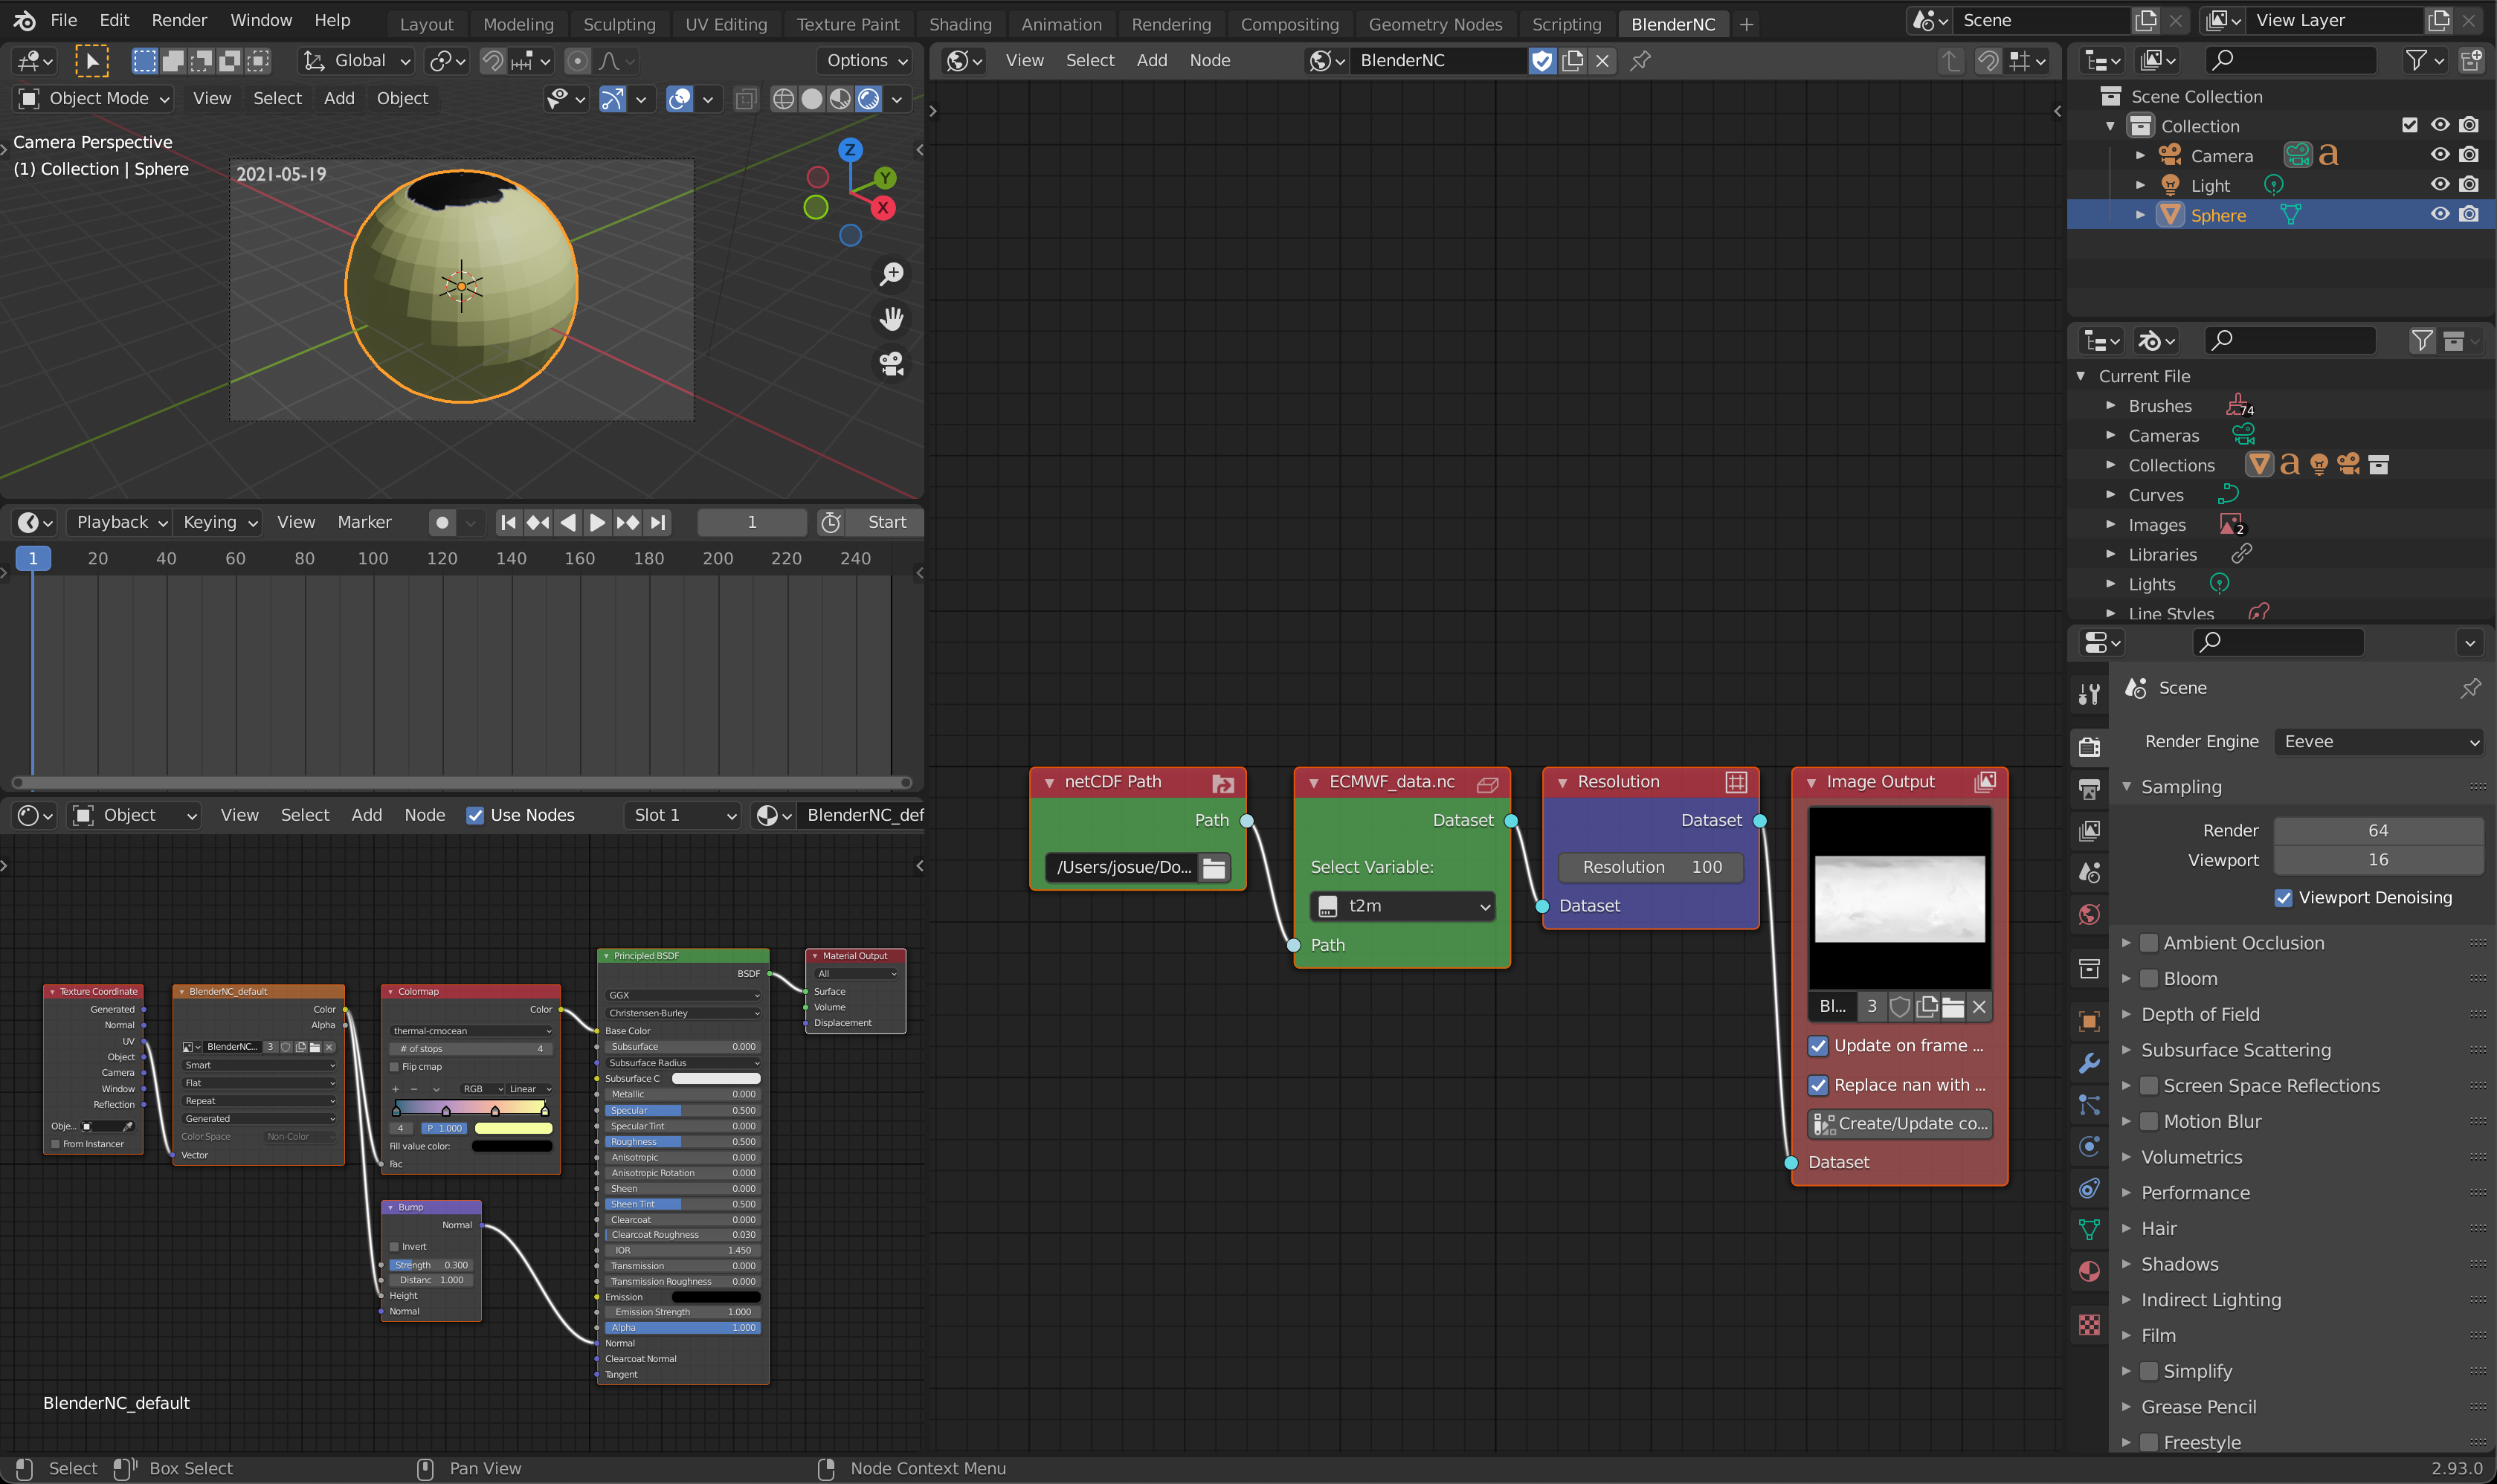
Note
The node datacube Input changes name to the current loaded filename.
Let’s fix some of the issues:
Fix washed out colormap:
Import datacube range by pressing
shift+aand then navegate toDatacube, then selectdatacube Range.
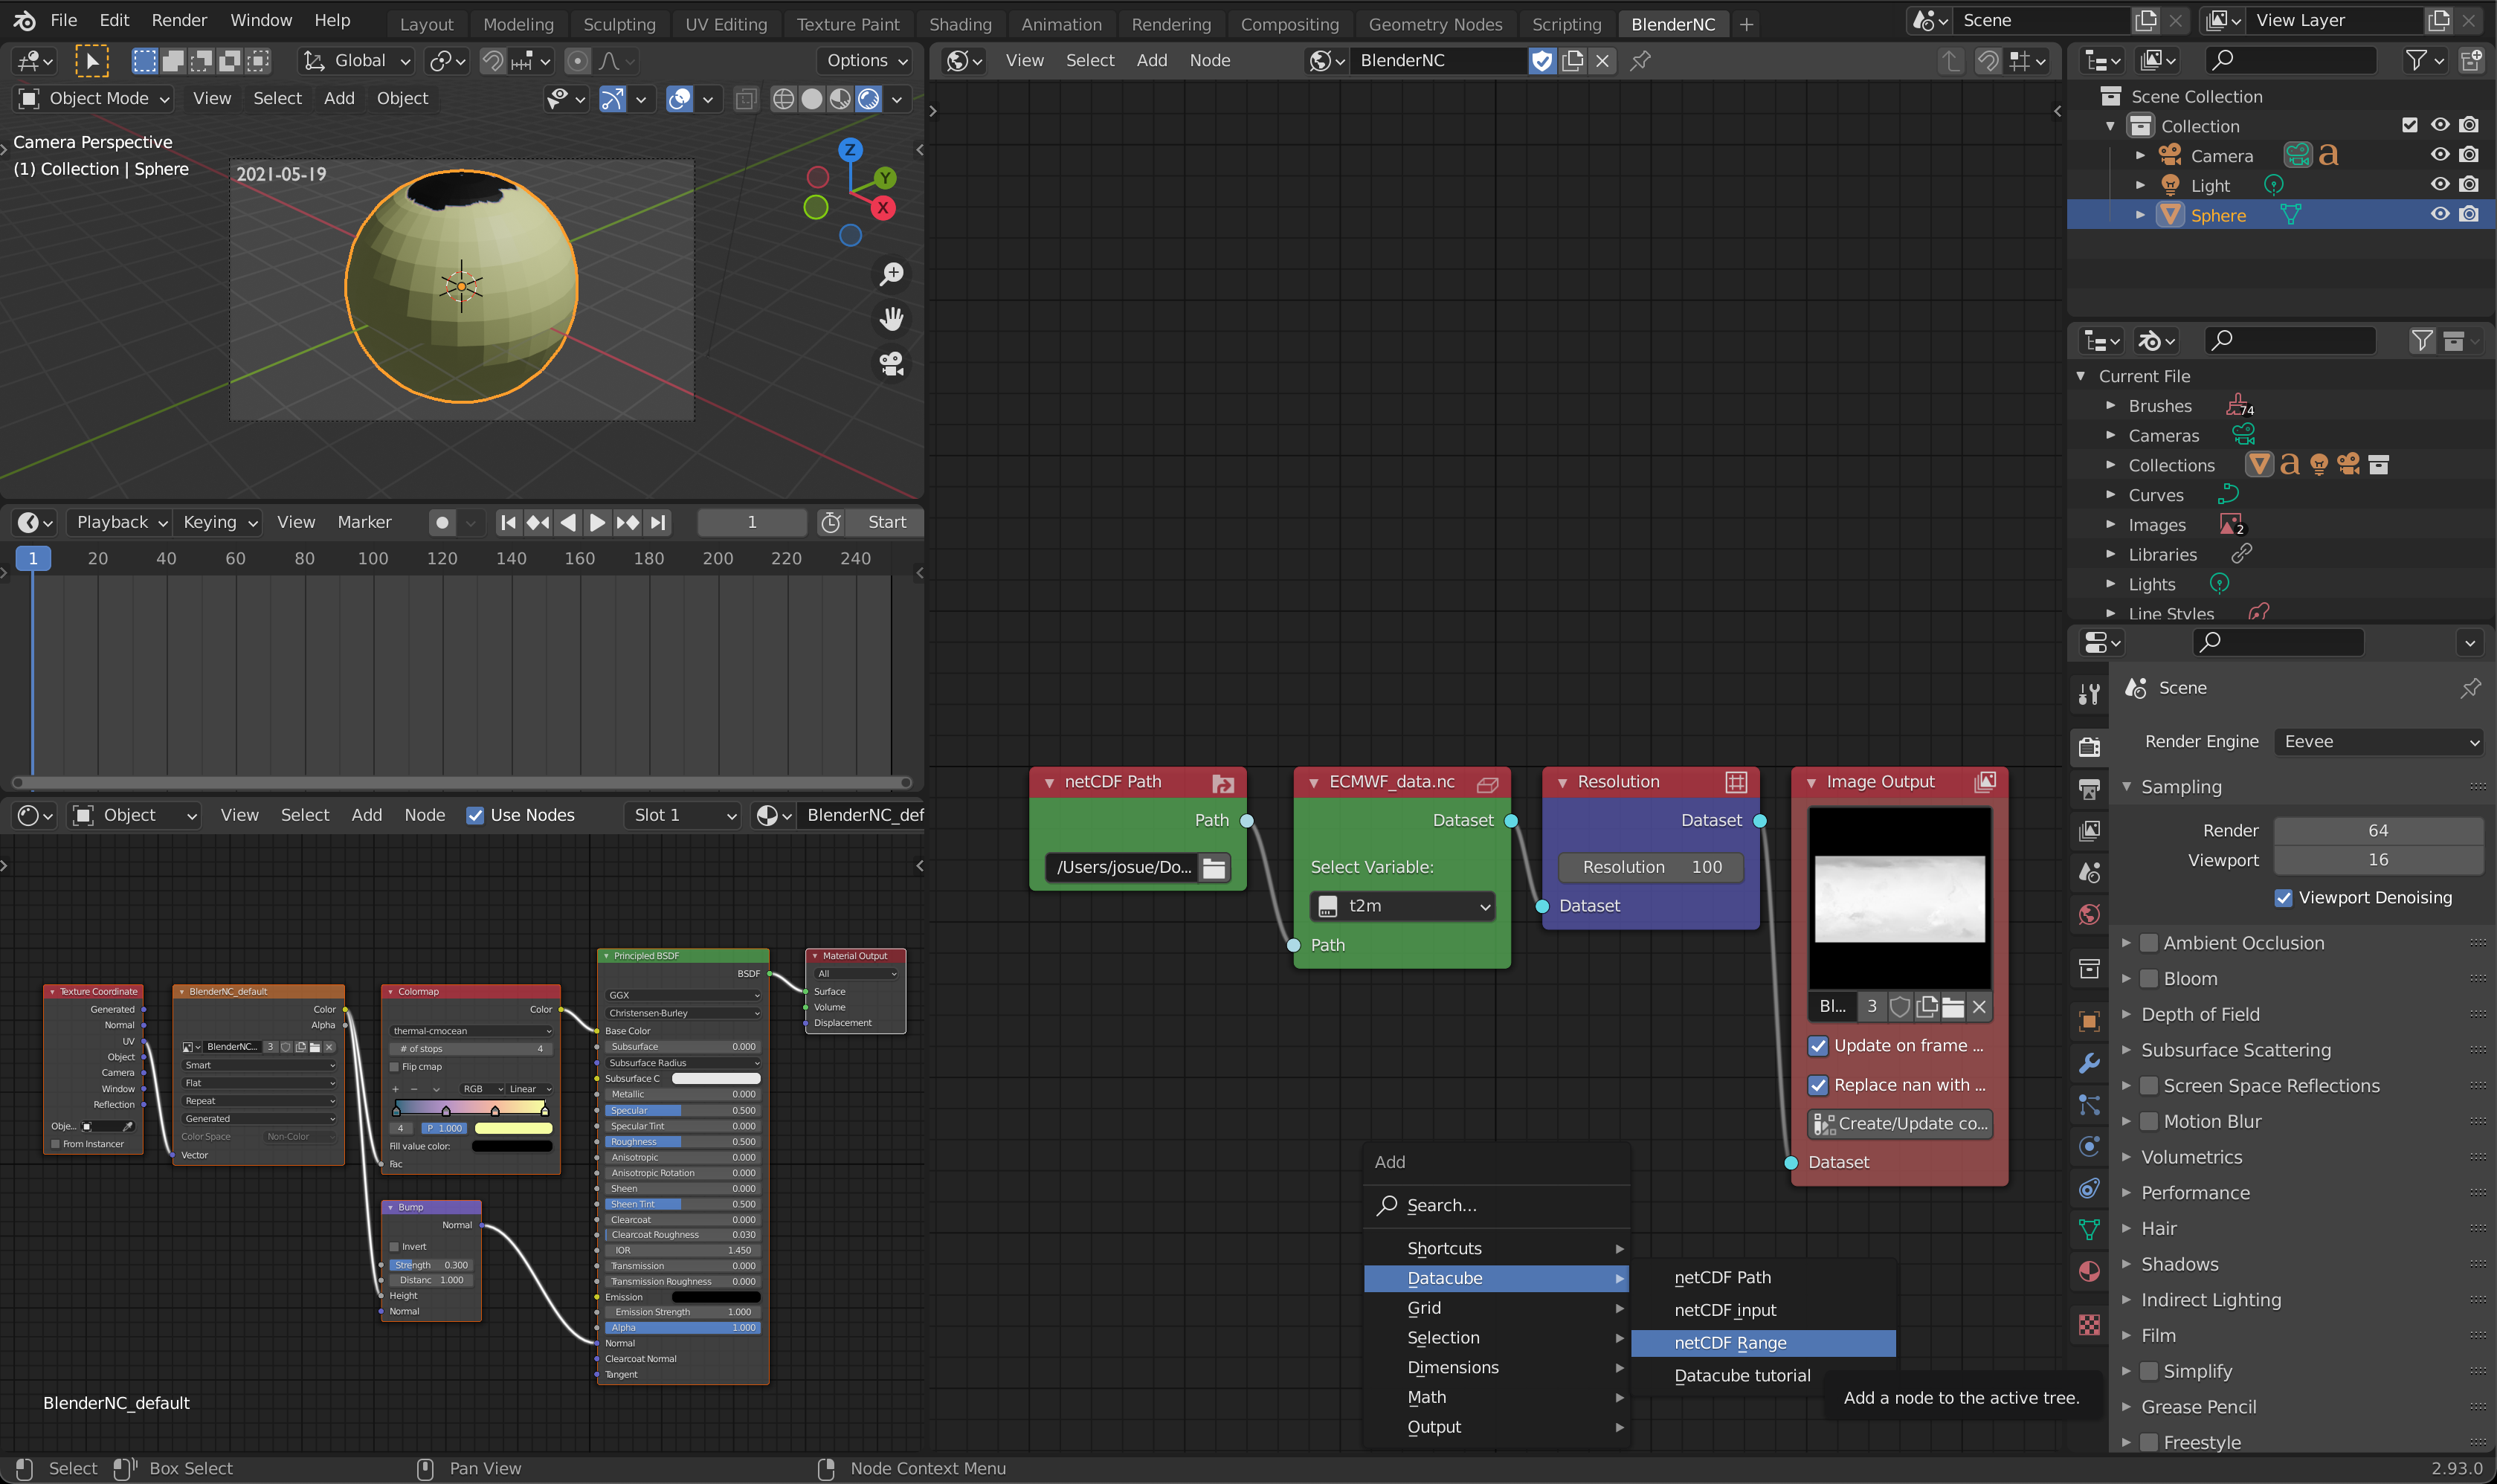
This will add a new node. The node will automatically connect if you place it between the
resolutionandImage Outputnodes.
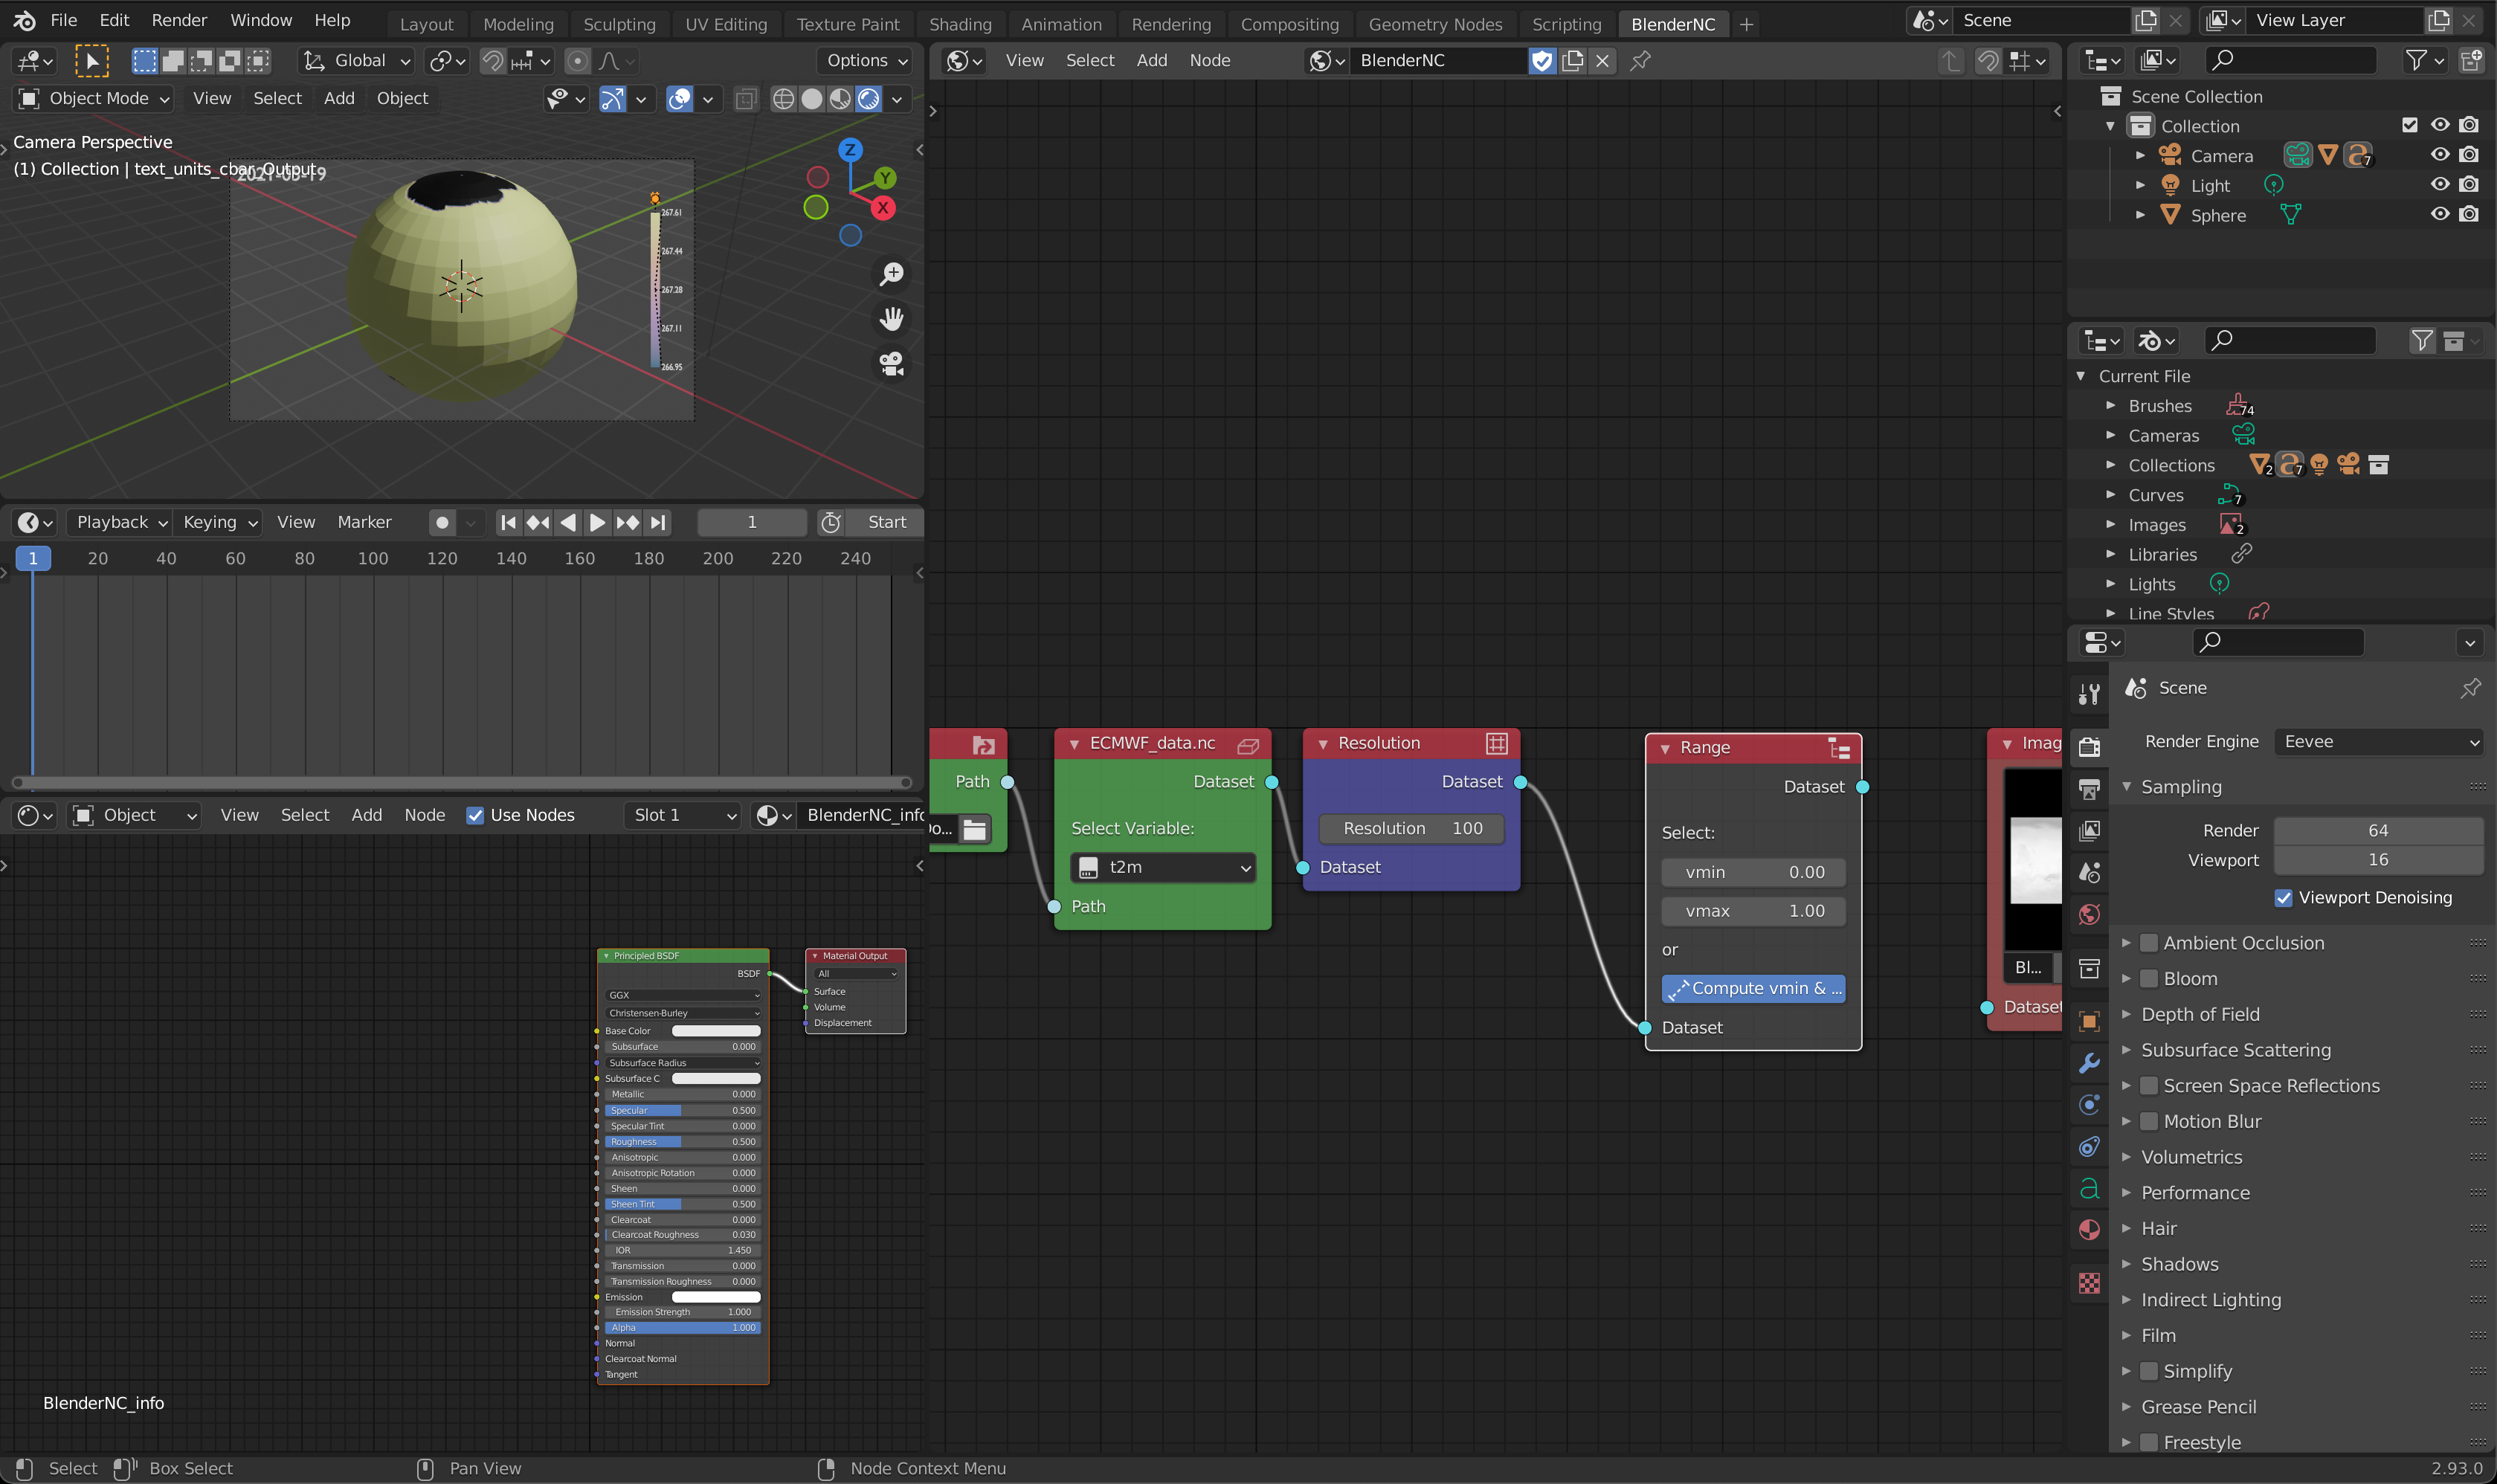
Note
The previous step created a colorbar, as you can see, the values are rely low, and that’s why the render preview is awful.
To fix this, lets first connect the
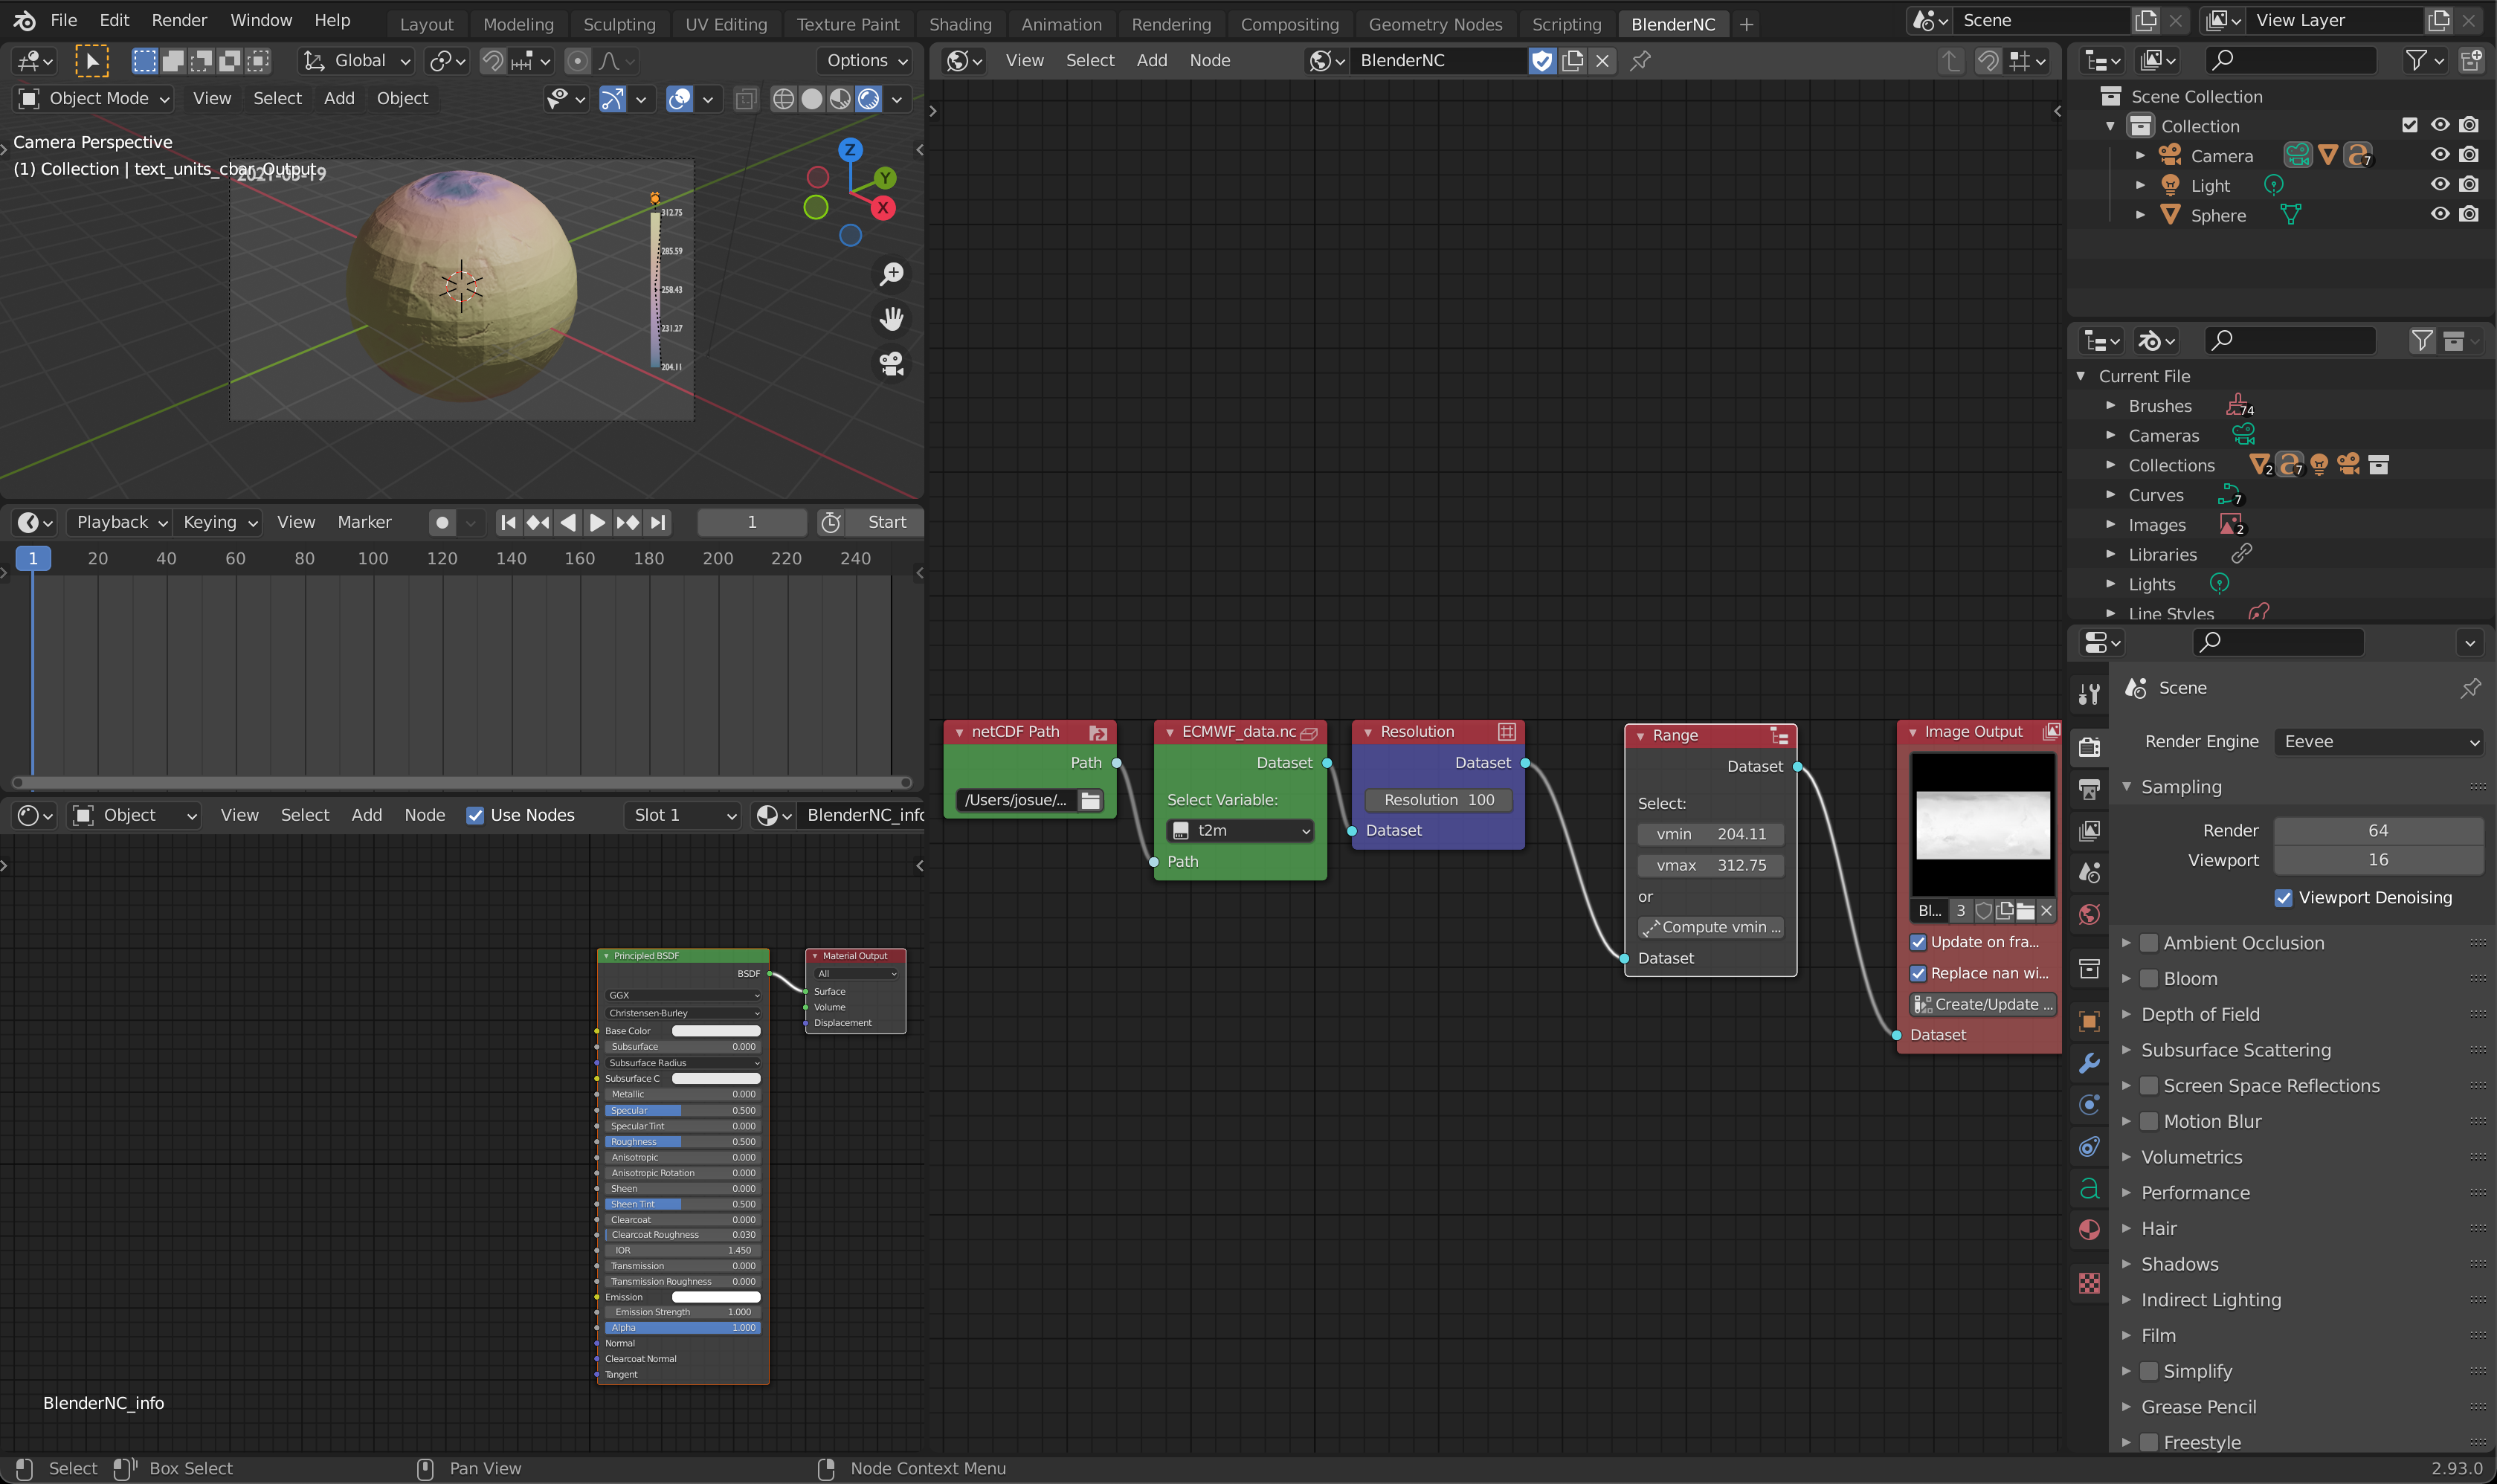
Rangeto theImage Outputnode. You can do this by draging the cyan dot on the top-right of theRangenode to the bottom-left cyan dot on theImage Output.Once connected, we can compute the range of the dataset by clicking over the
Compute vmin & vmaxbutton or directly change the vmin and vmax, this will automatically update the colorbar too. The range of this dataset is [204.11 - 312.75] Kelvins.
Fix Earth upside-down:
Note
Now that we can actually see the data, it’s obvious that the Earth is upside-down. This will be fixed in a future release, but in the meantime there are two hacks to fix it.
Easy fix:
Select the Sphere.
Rotate 180 degrees in the X or Y axis by pressing
r + x + 180on your keyboard.Fix using BlenderNC nodetrees:
Let’s add a
Sortby Dimensionnode by pressingshift+aand then navegate toDimensions, then selectSortby Dimension.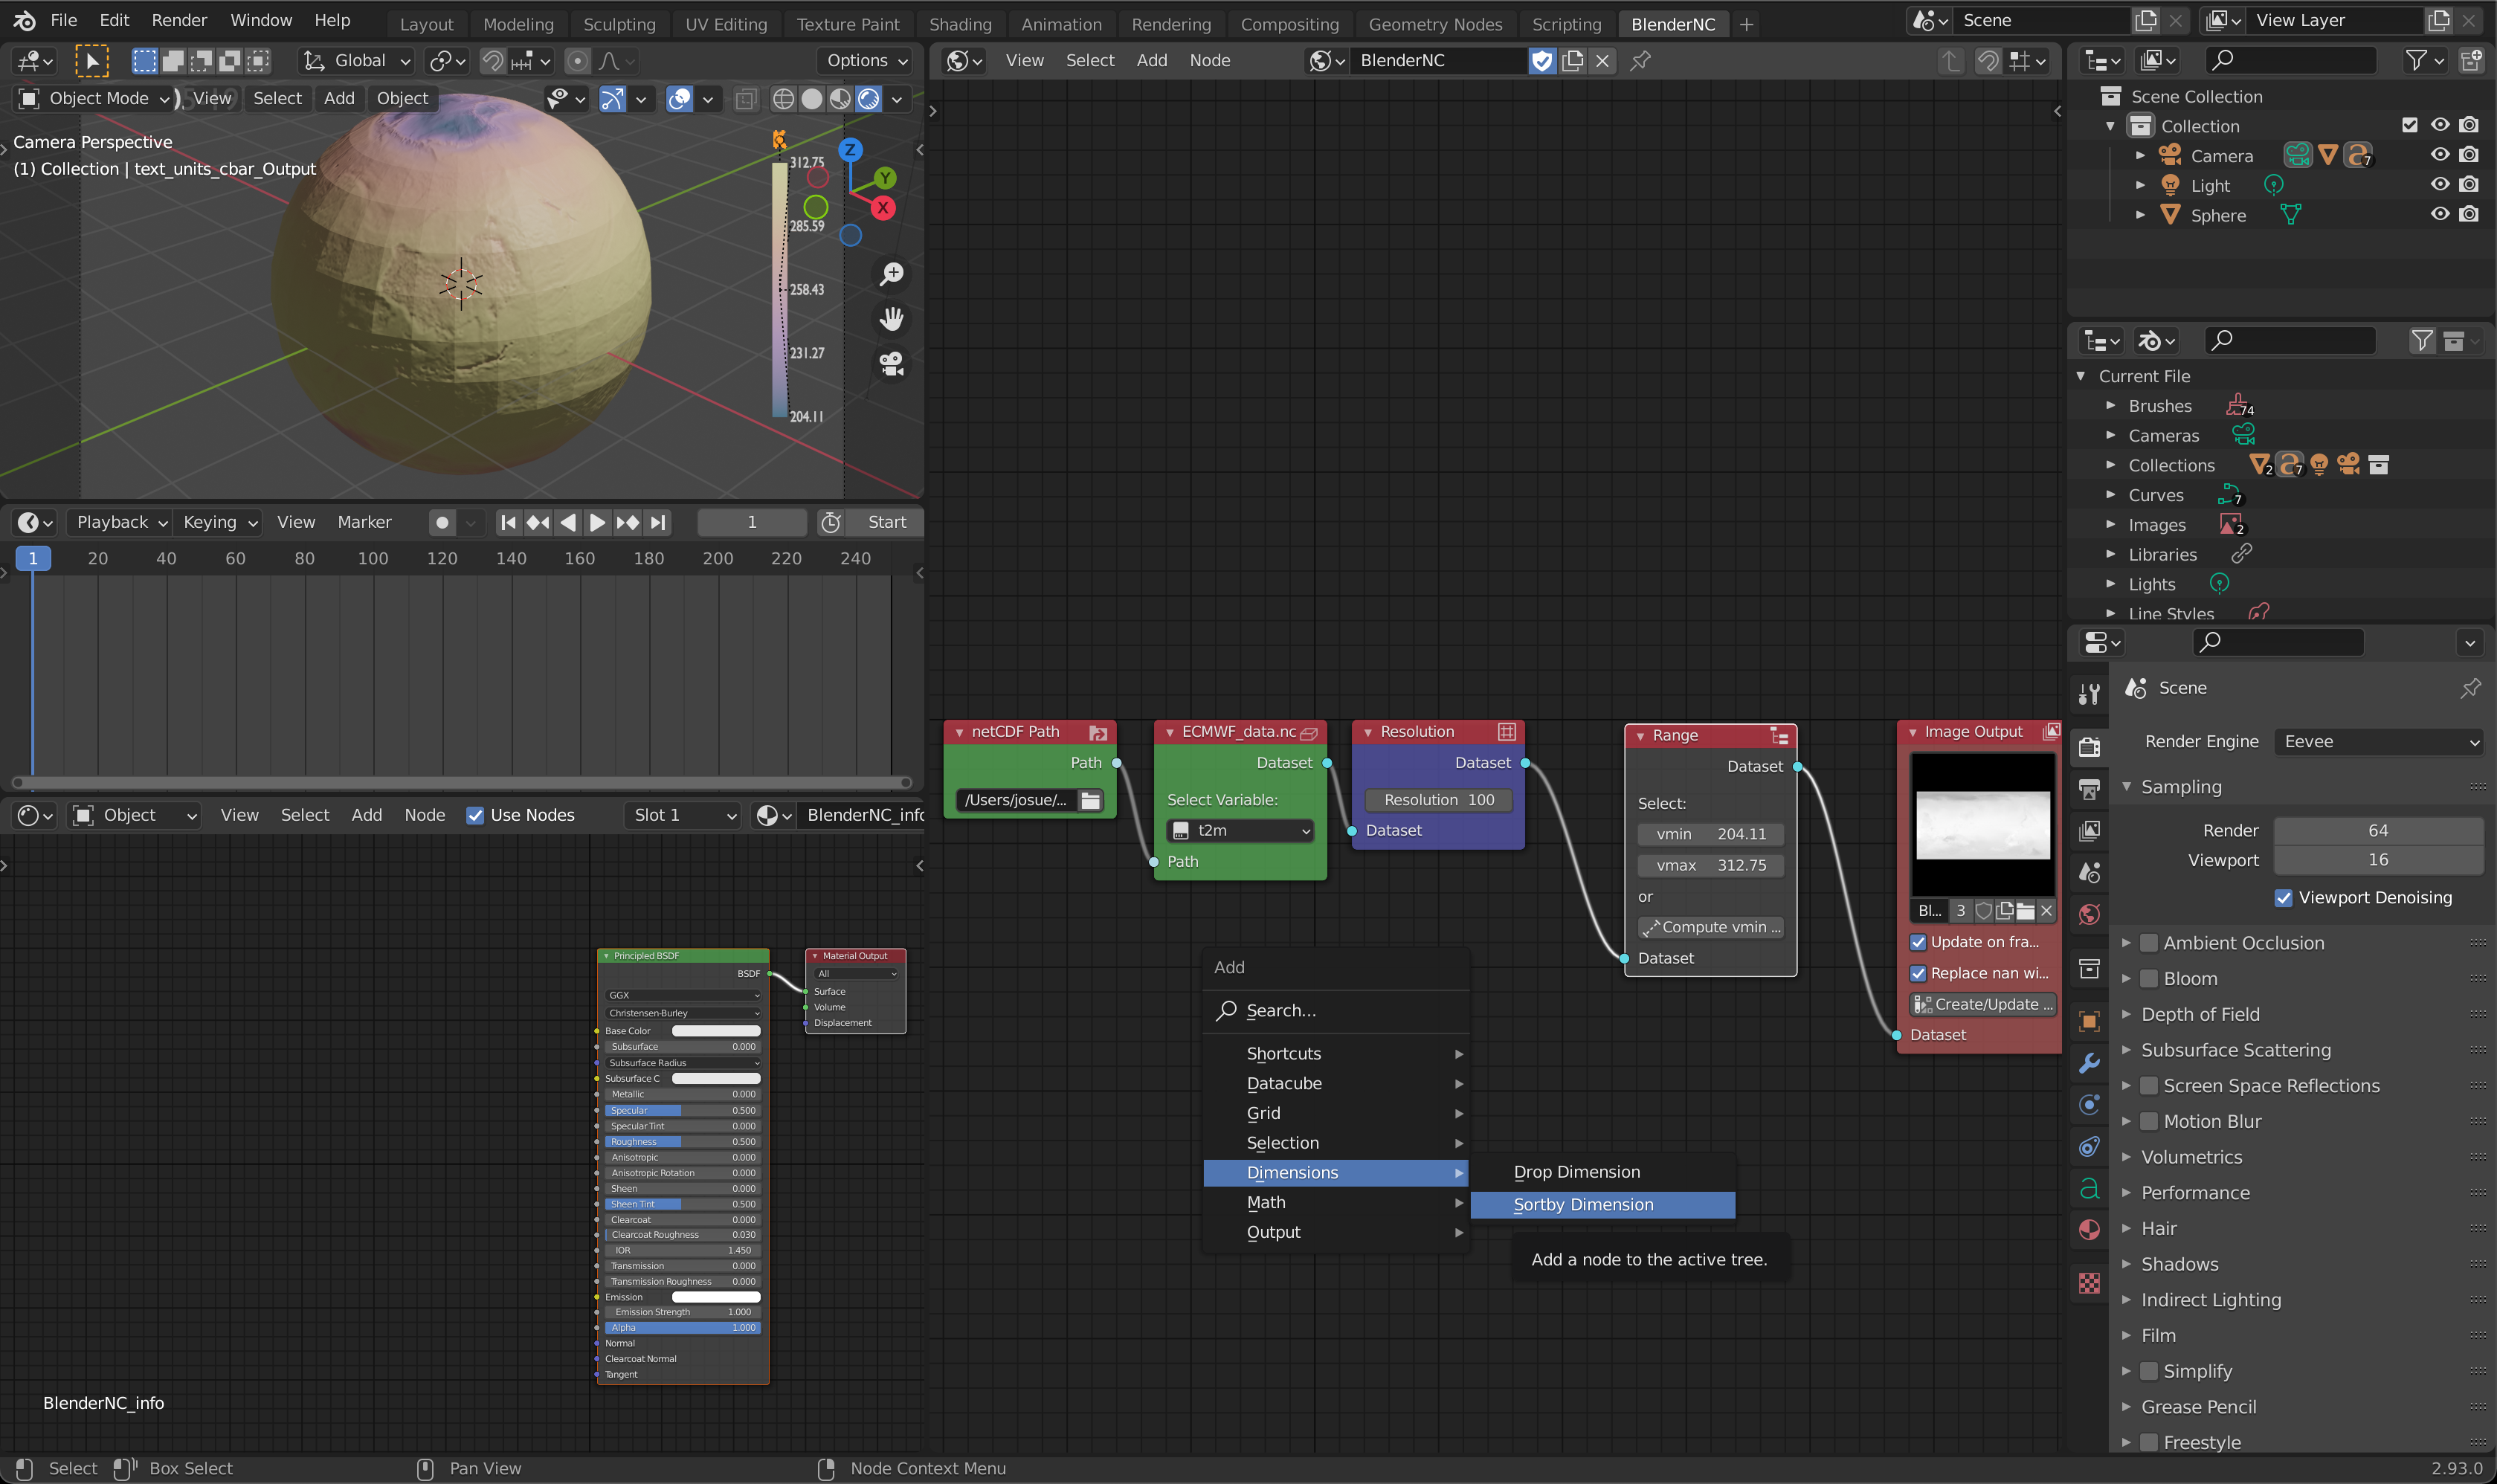
Connect the new created node, select the dimension
latitude, and connect theSortby Dimensionand theImage outputnodes.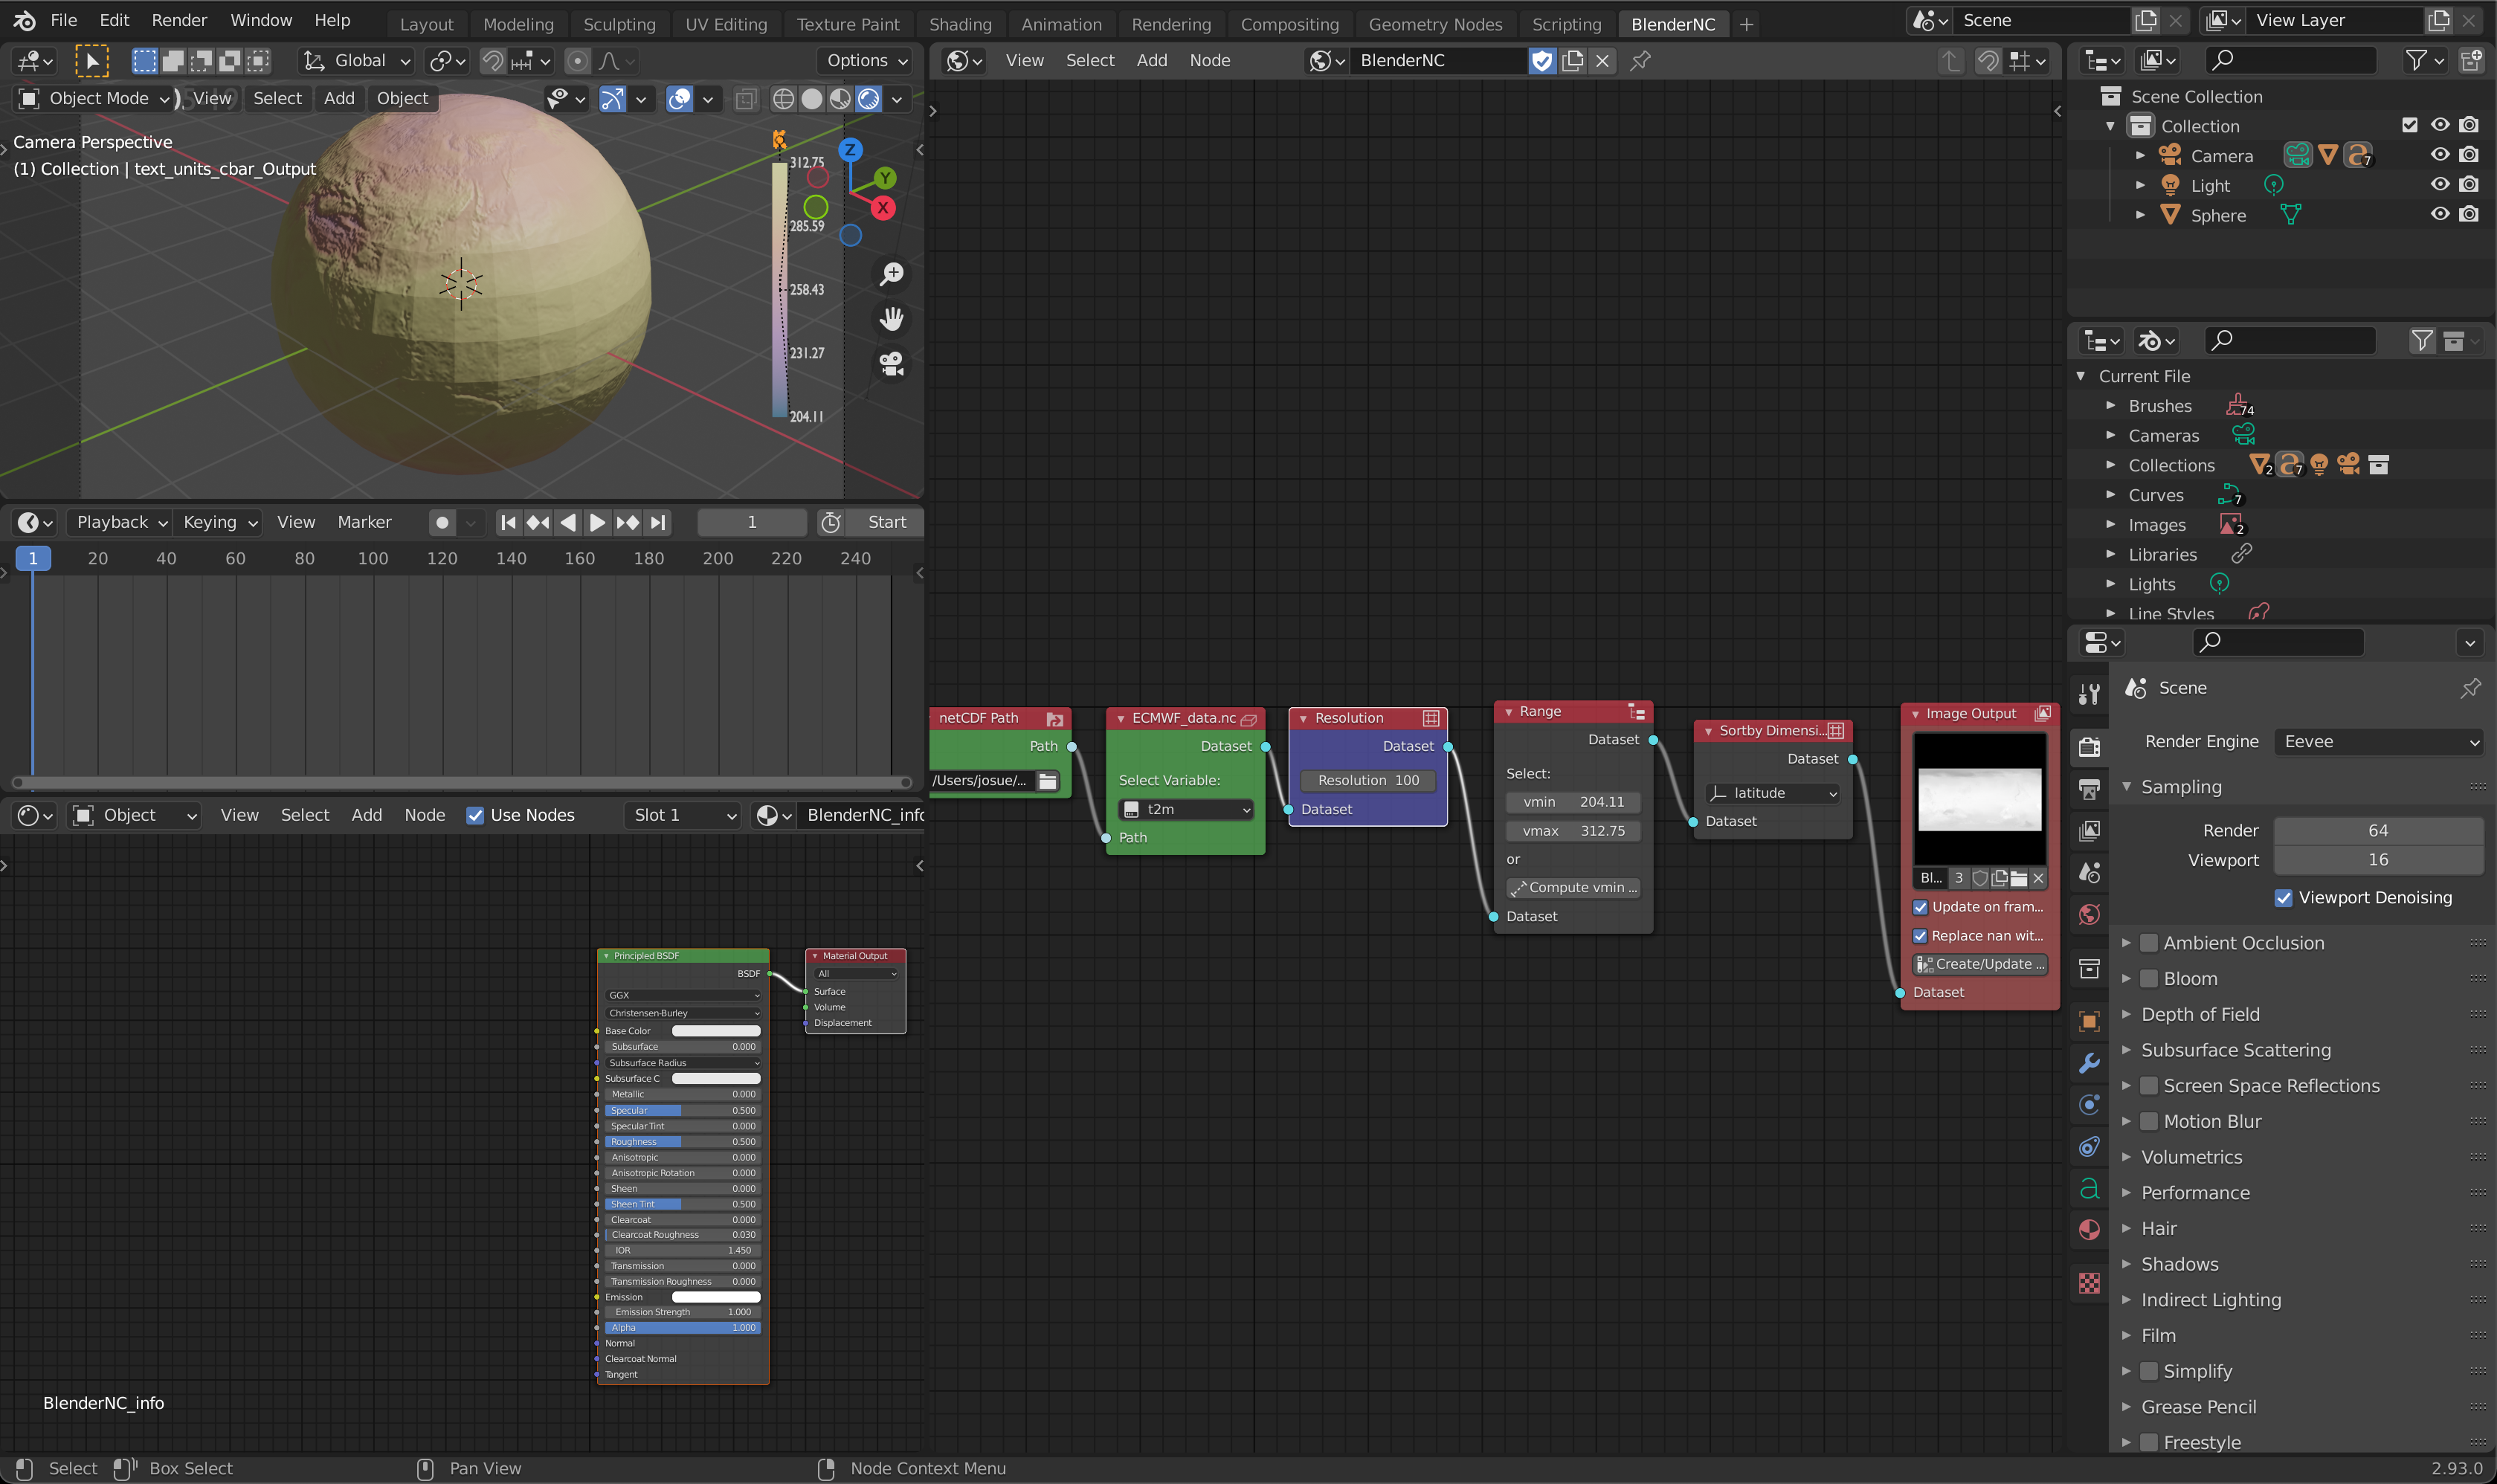
Note
Any of this fixes will orientate the sphere correctly.
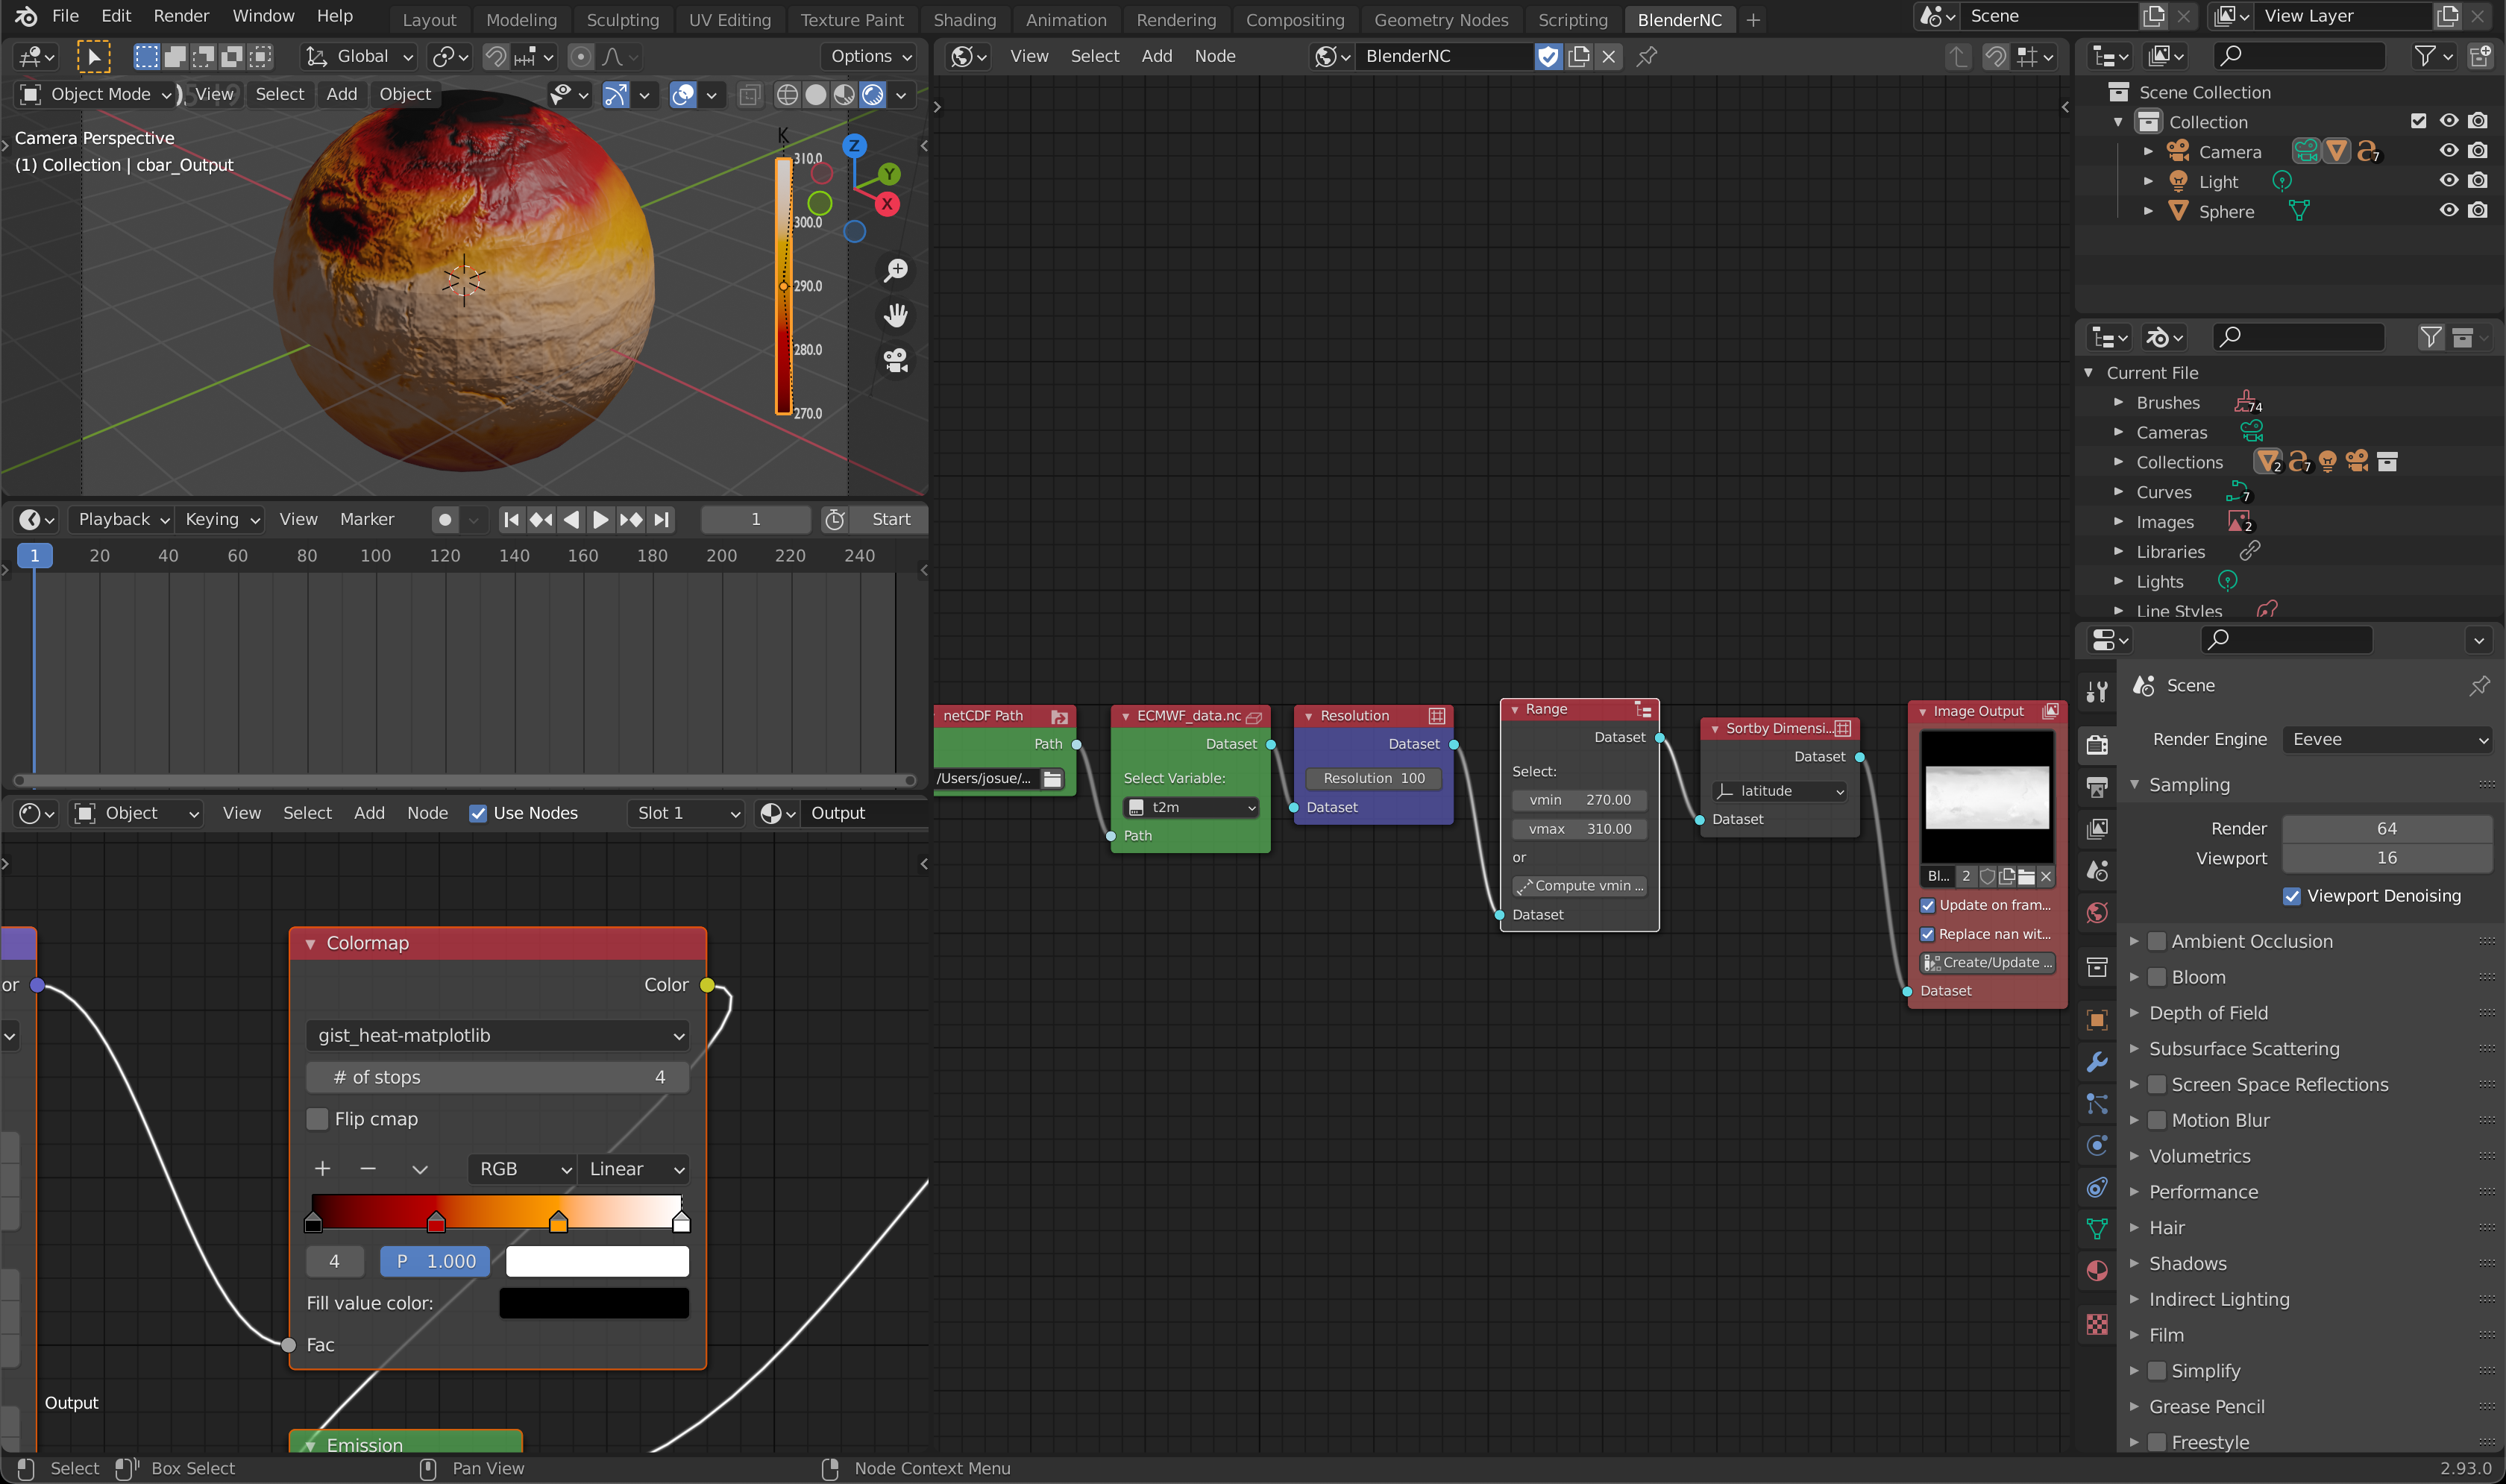
After fixing the render preview:
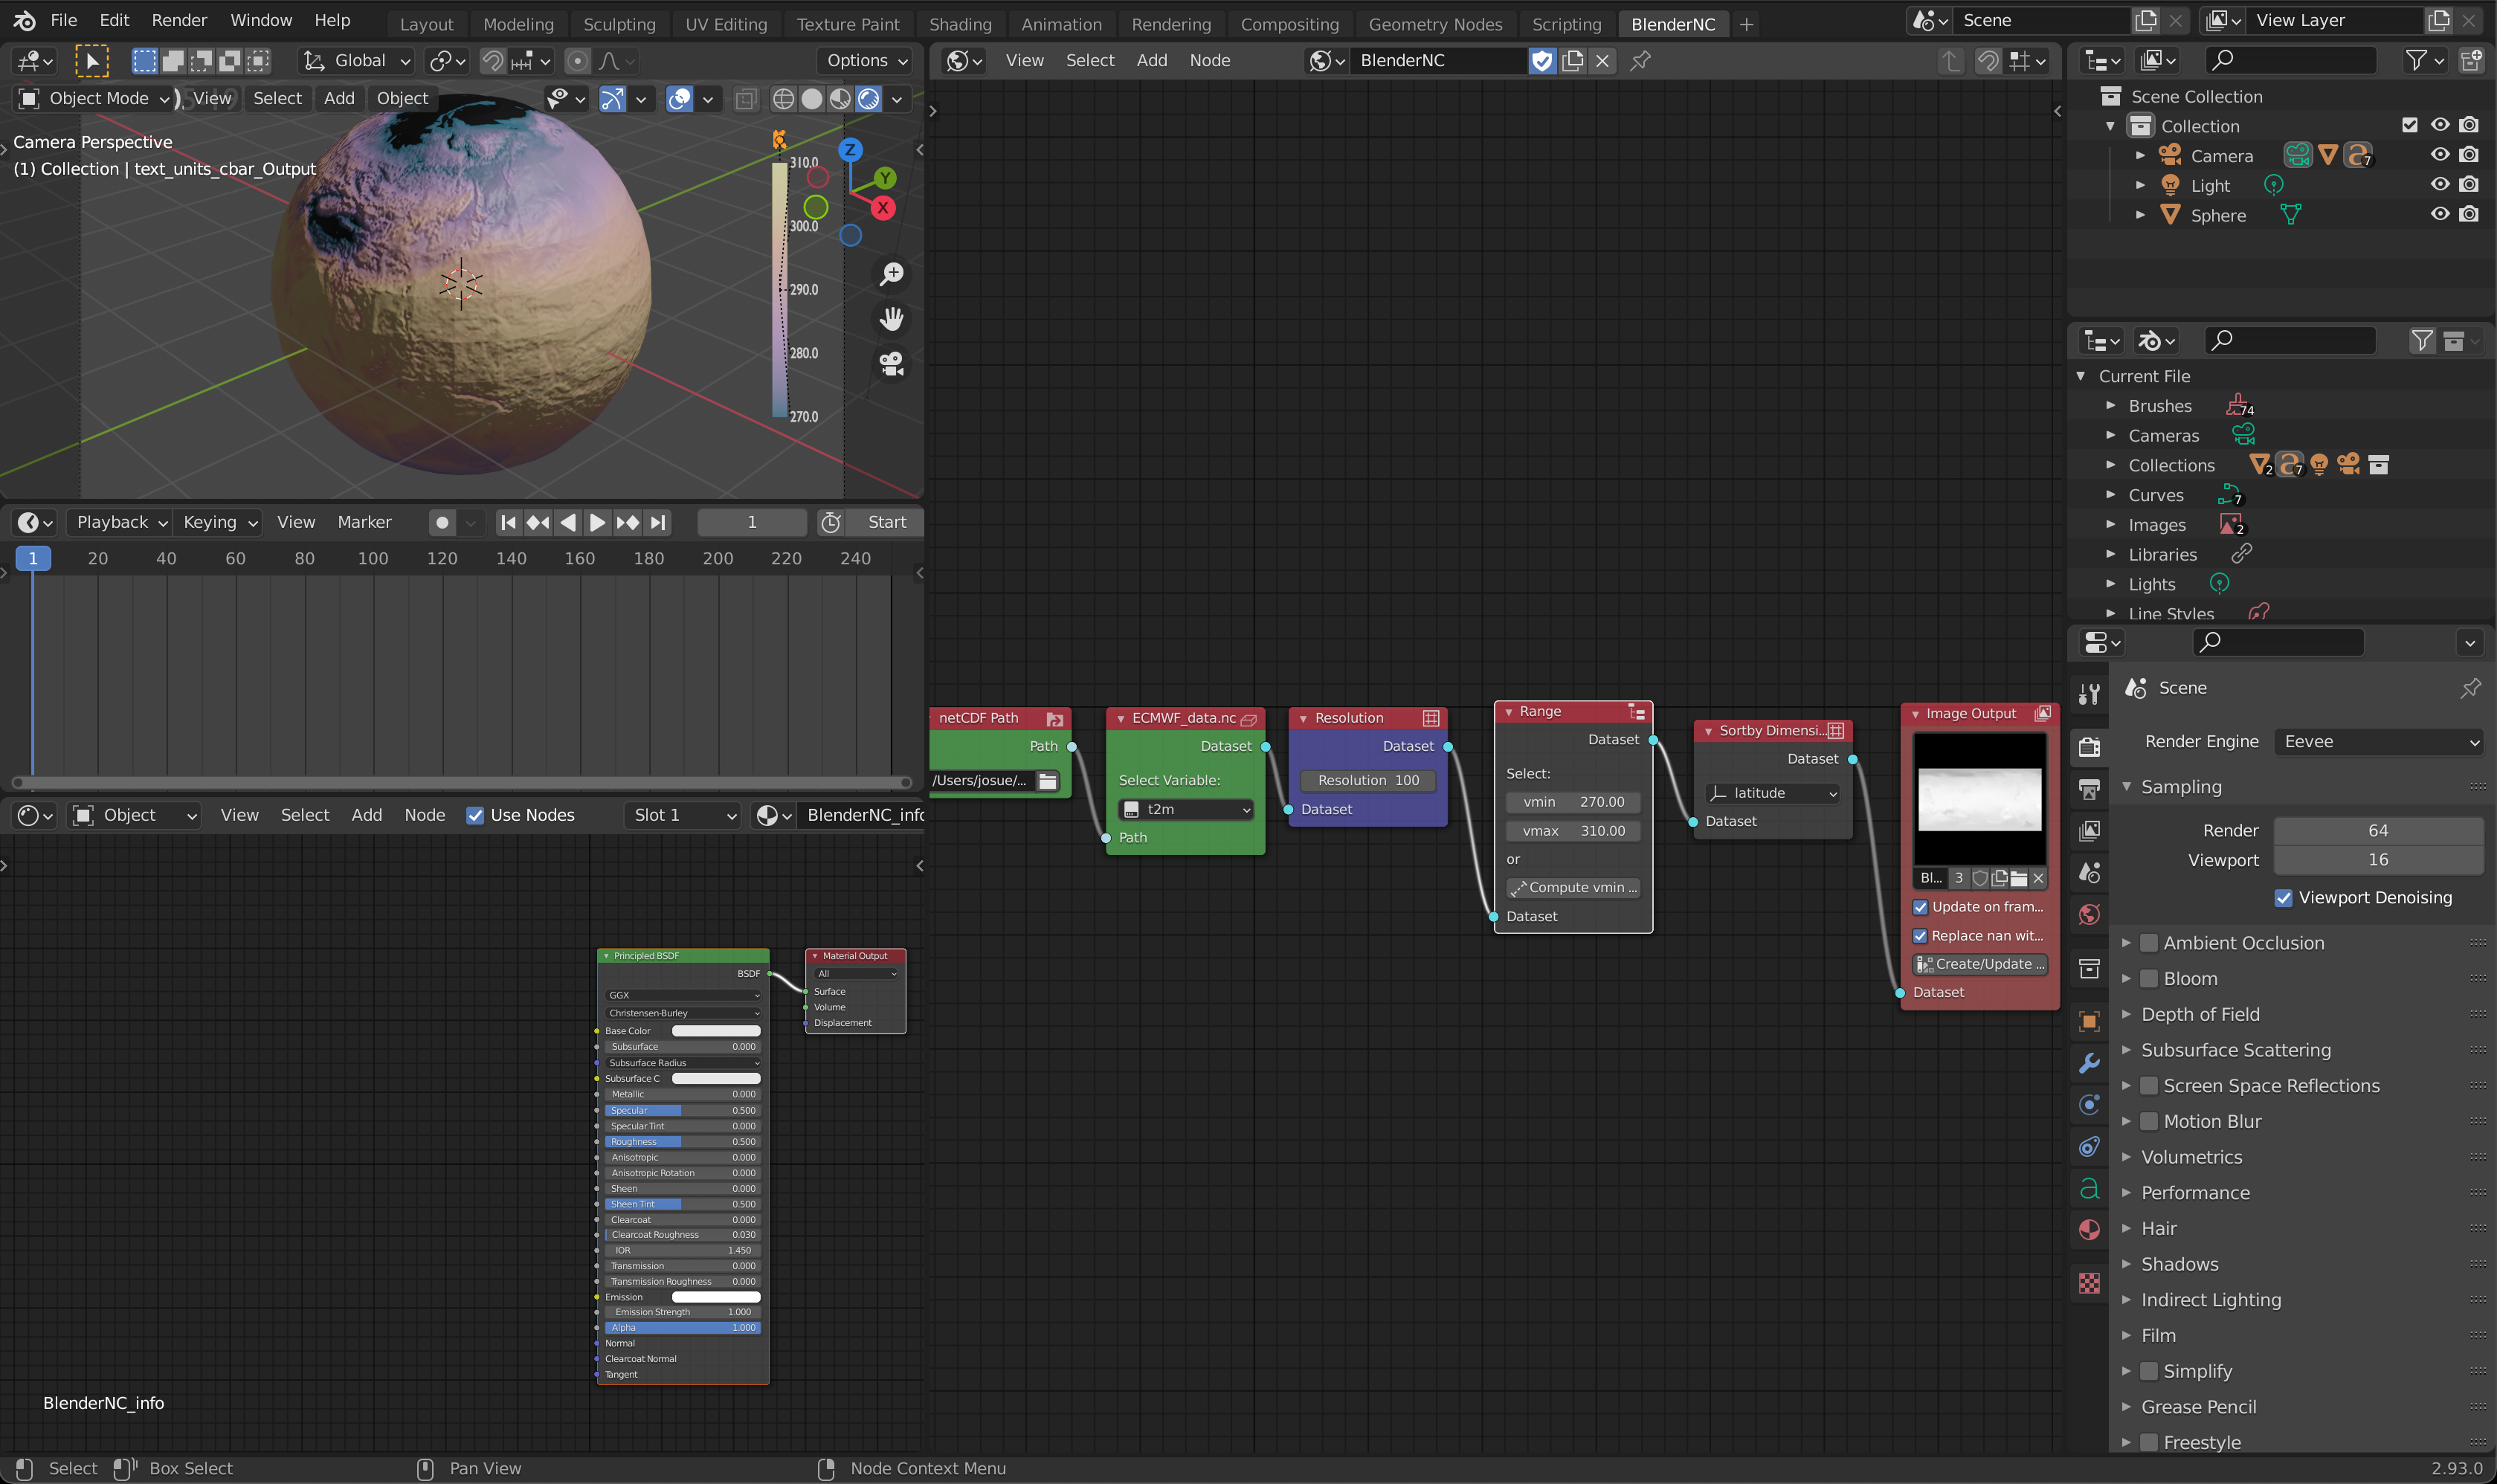
Let’s change the
vminandvmaxvalues within theRangenode, to higlight temperatures within the range of [270.00, 310.00] Kelvins.
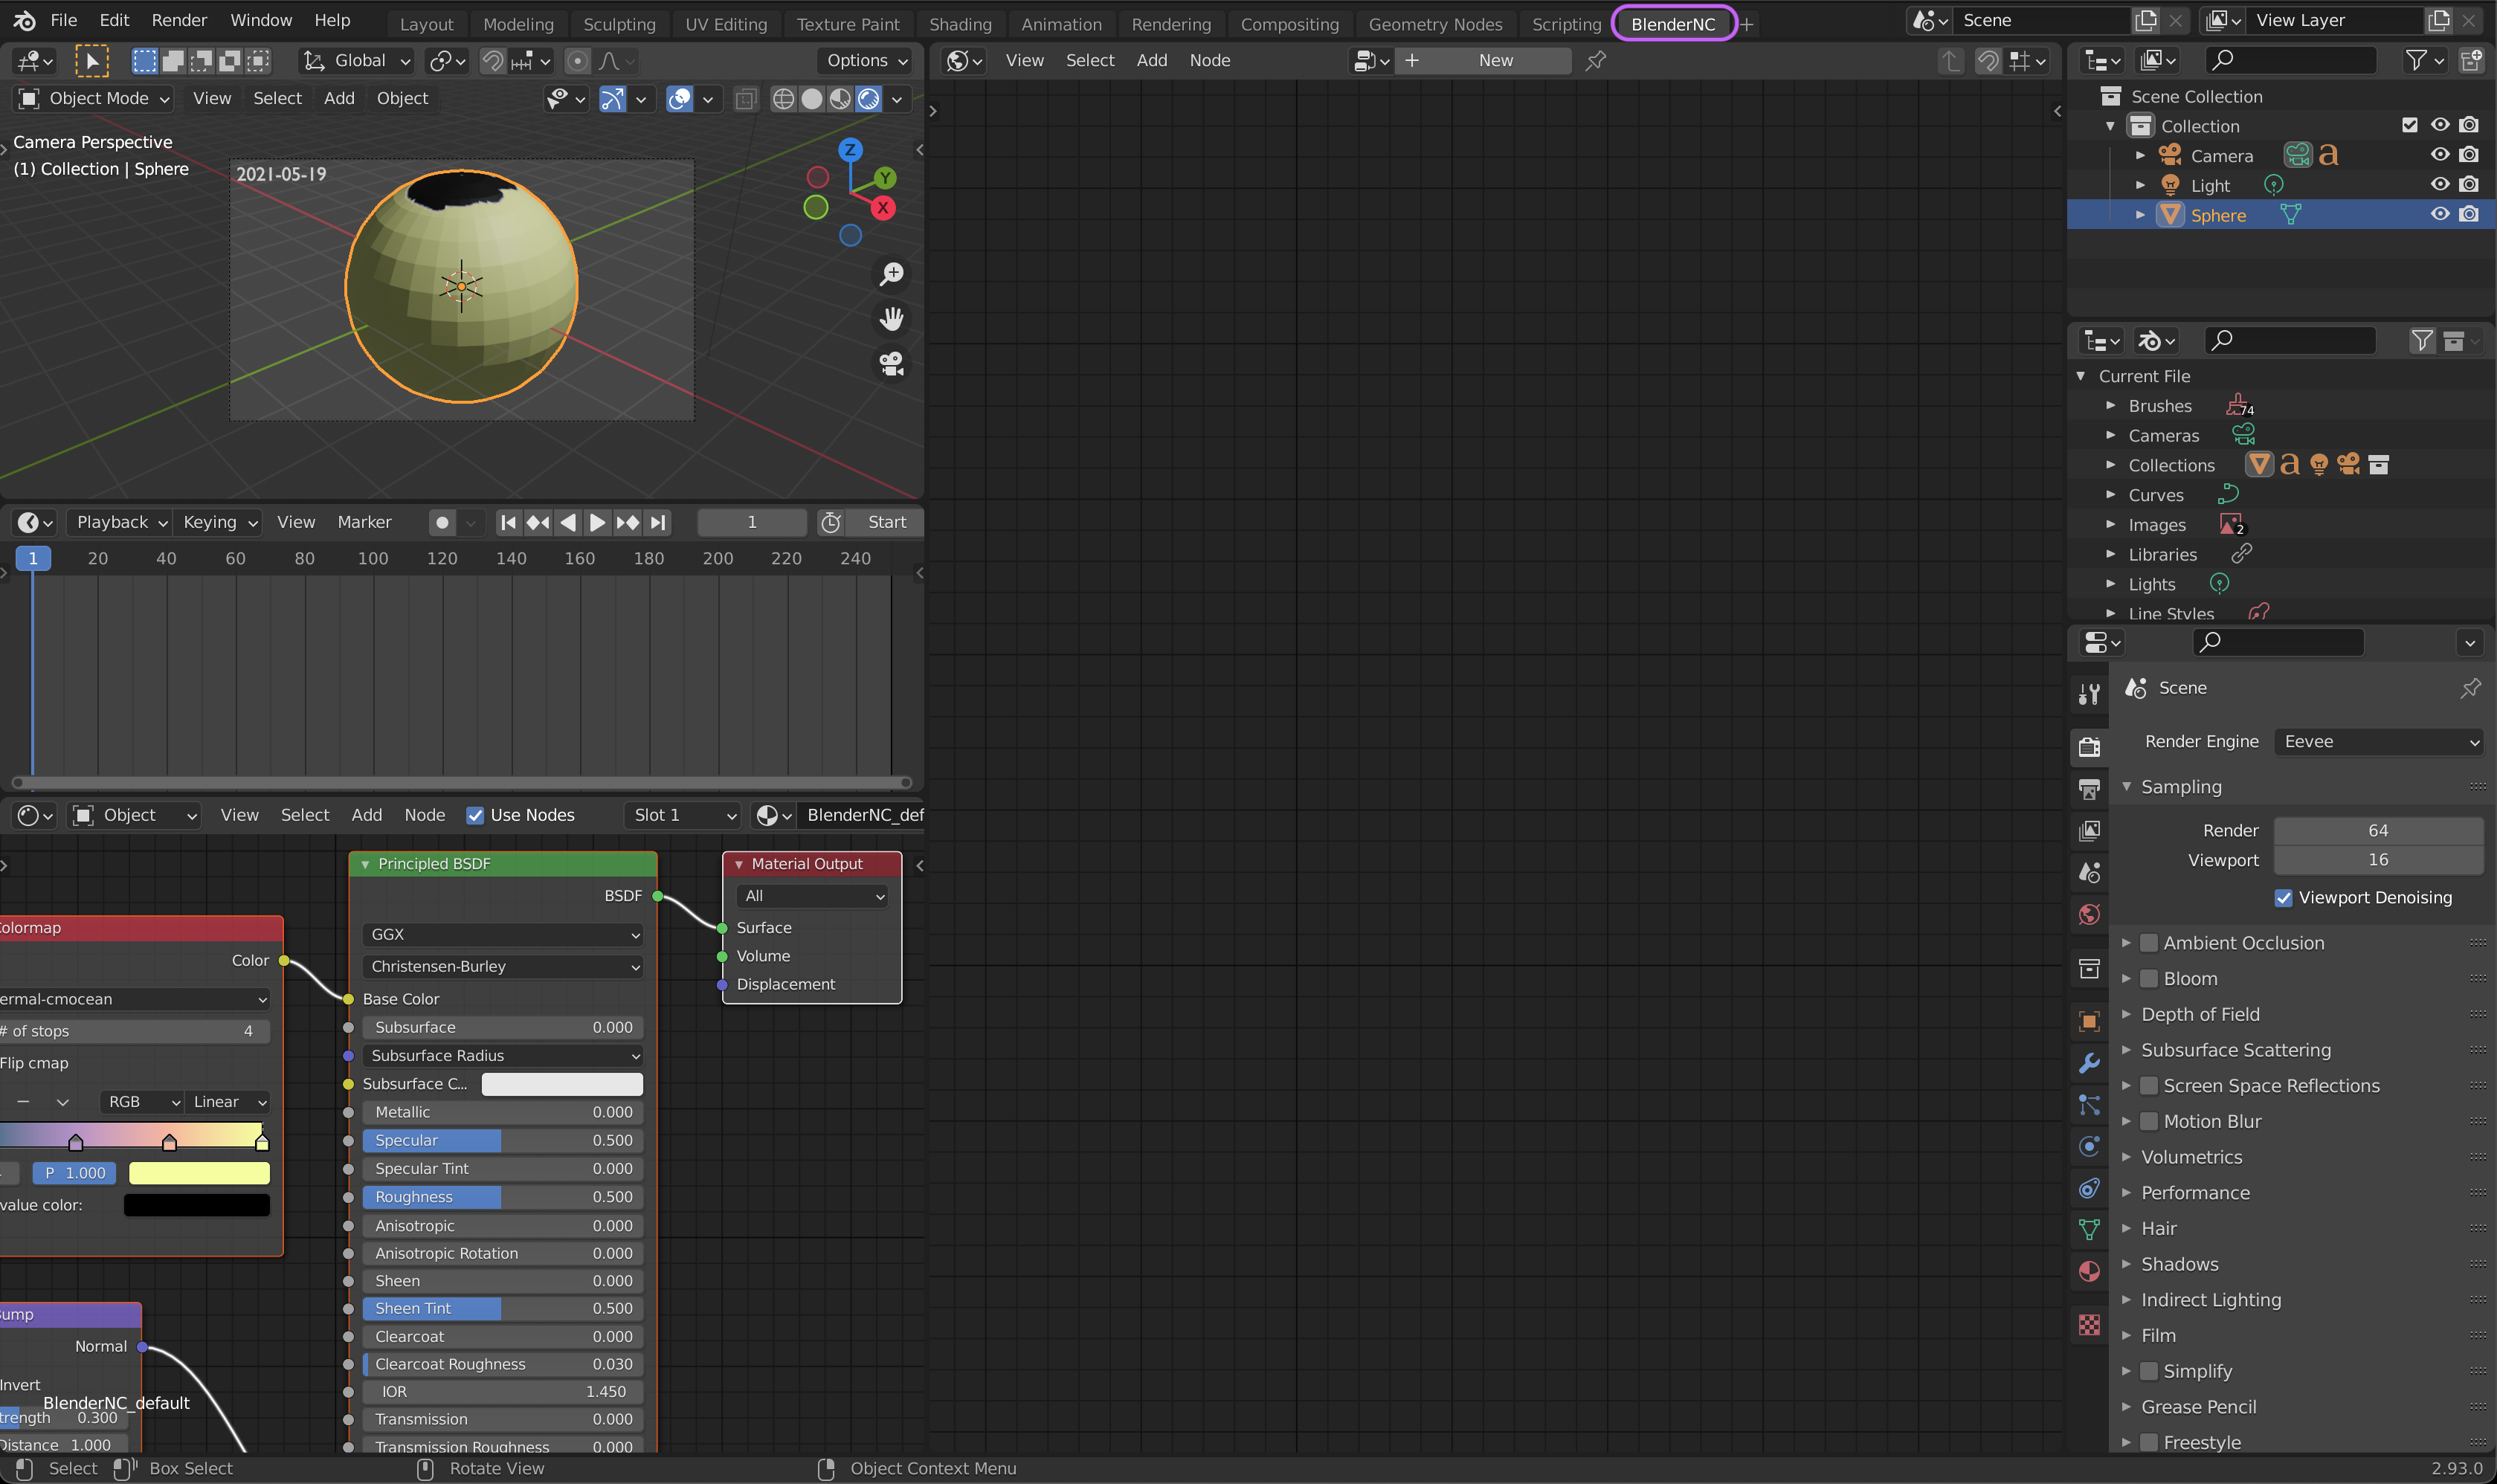
Select the
Sphereby clicking over it, this will automatically show the material applied to theSphere, by the default the name will beBlenderNC_default.
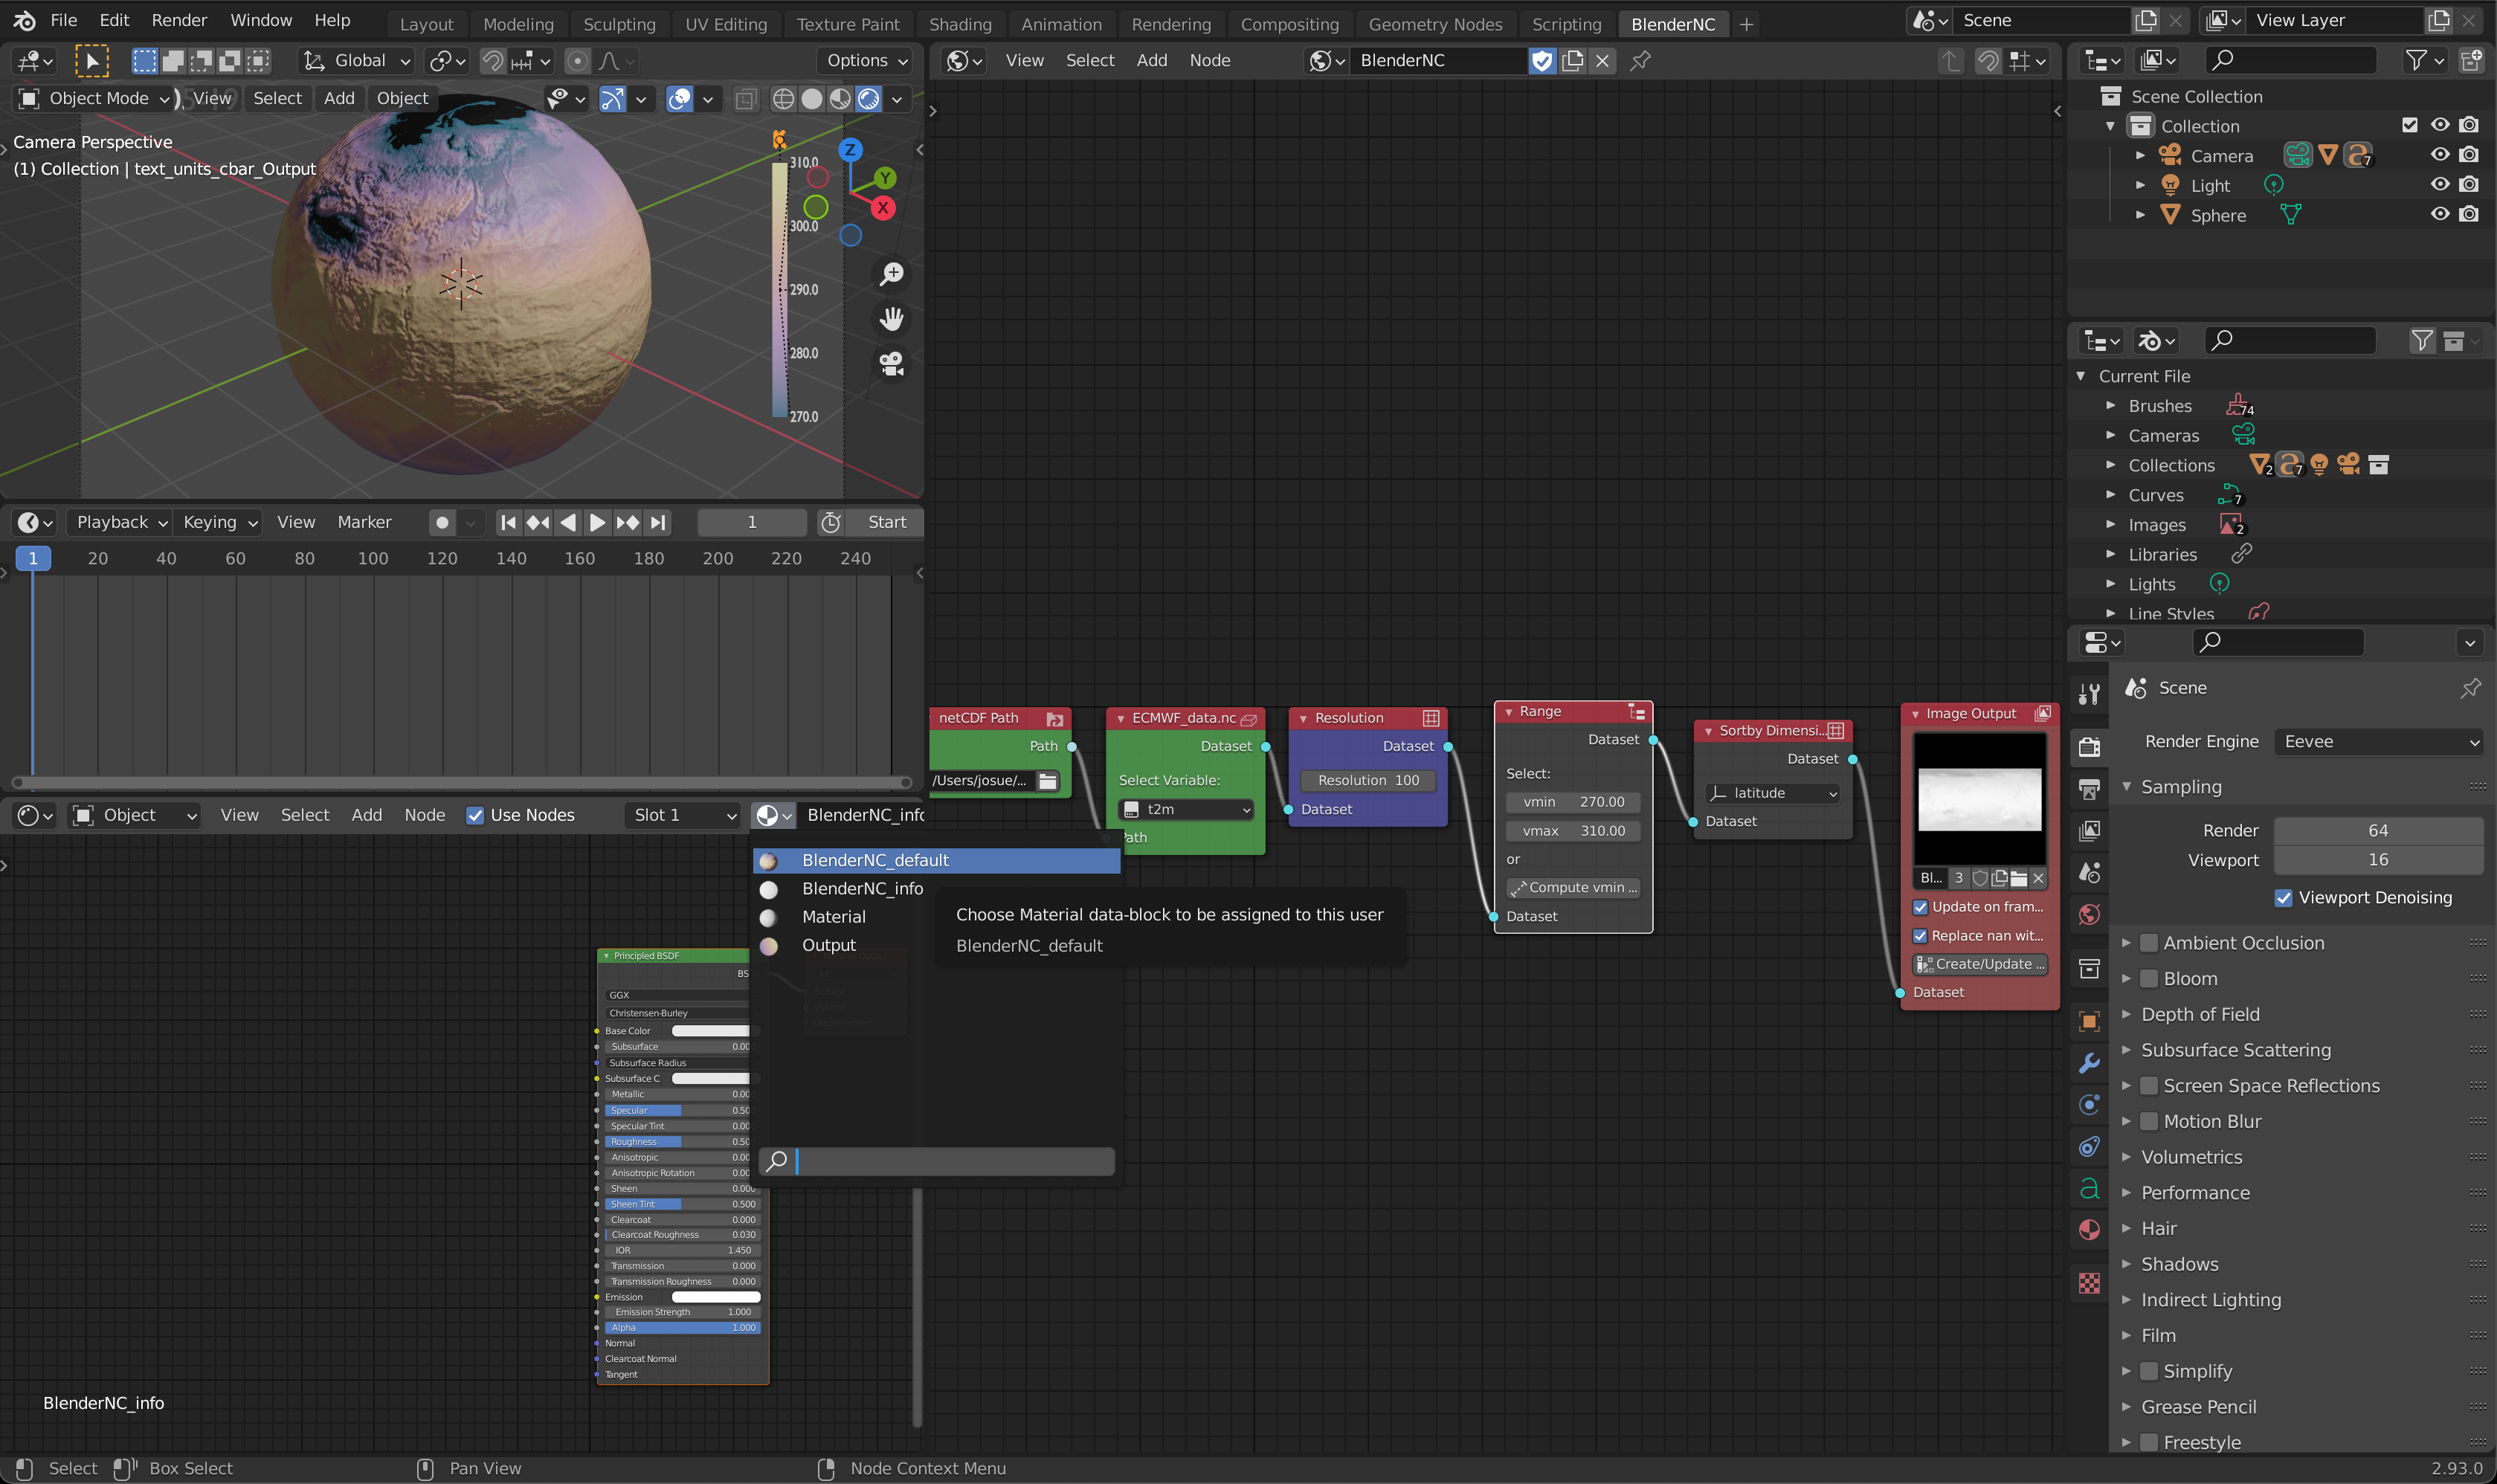
After selecting the image or changing material (changing material will assing the selected material to the selected object), the material nodetree will be displayed:
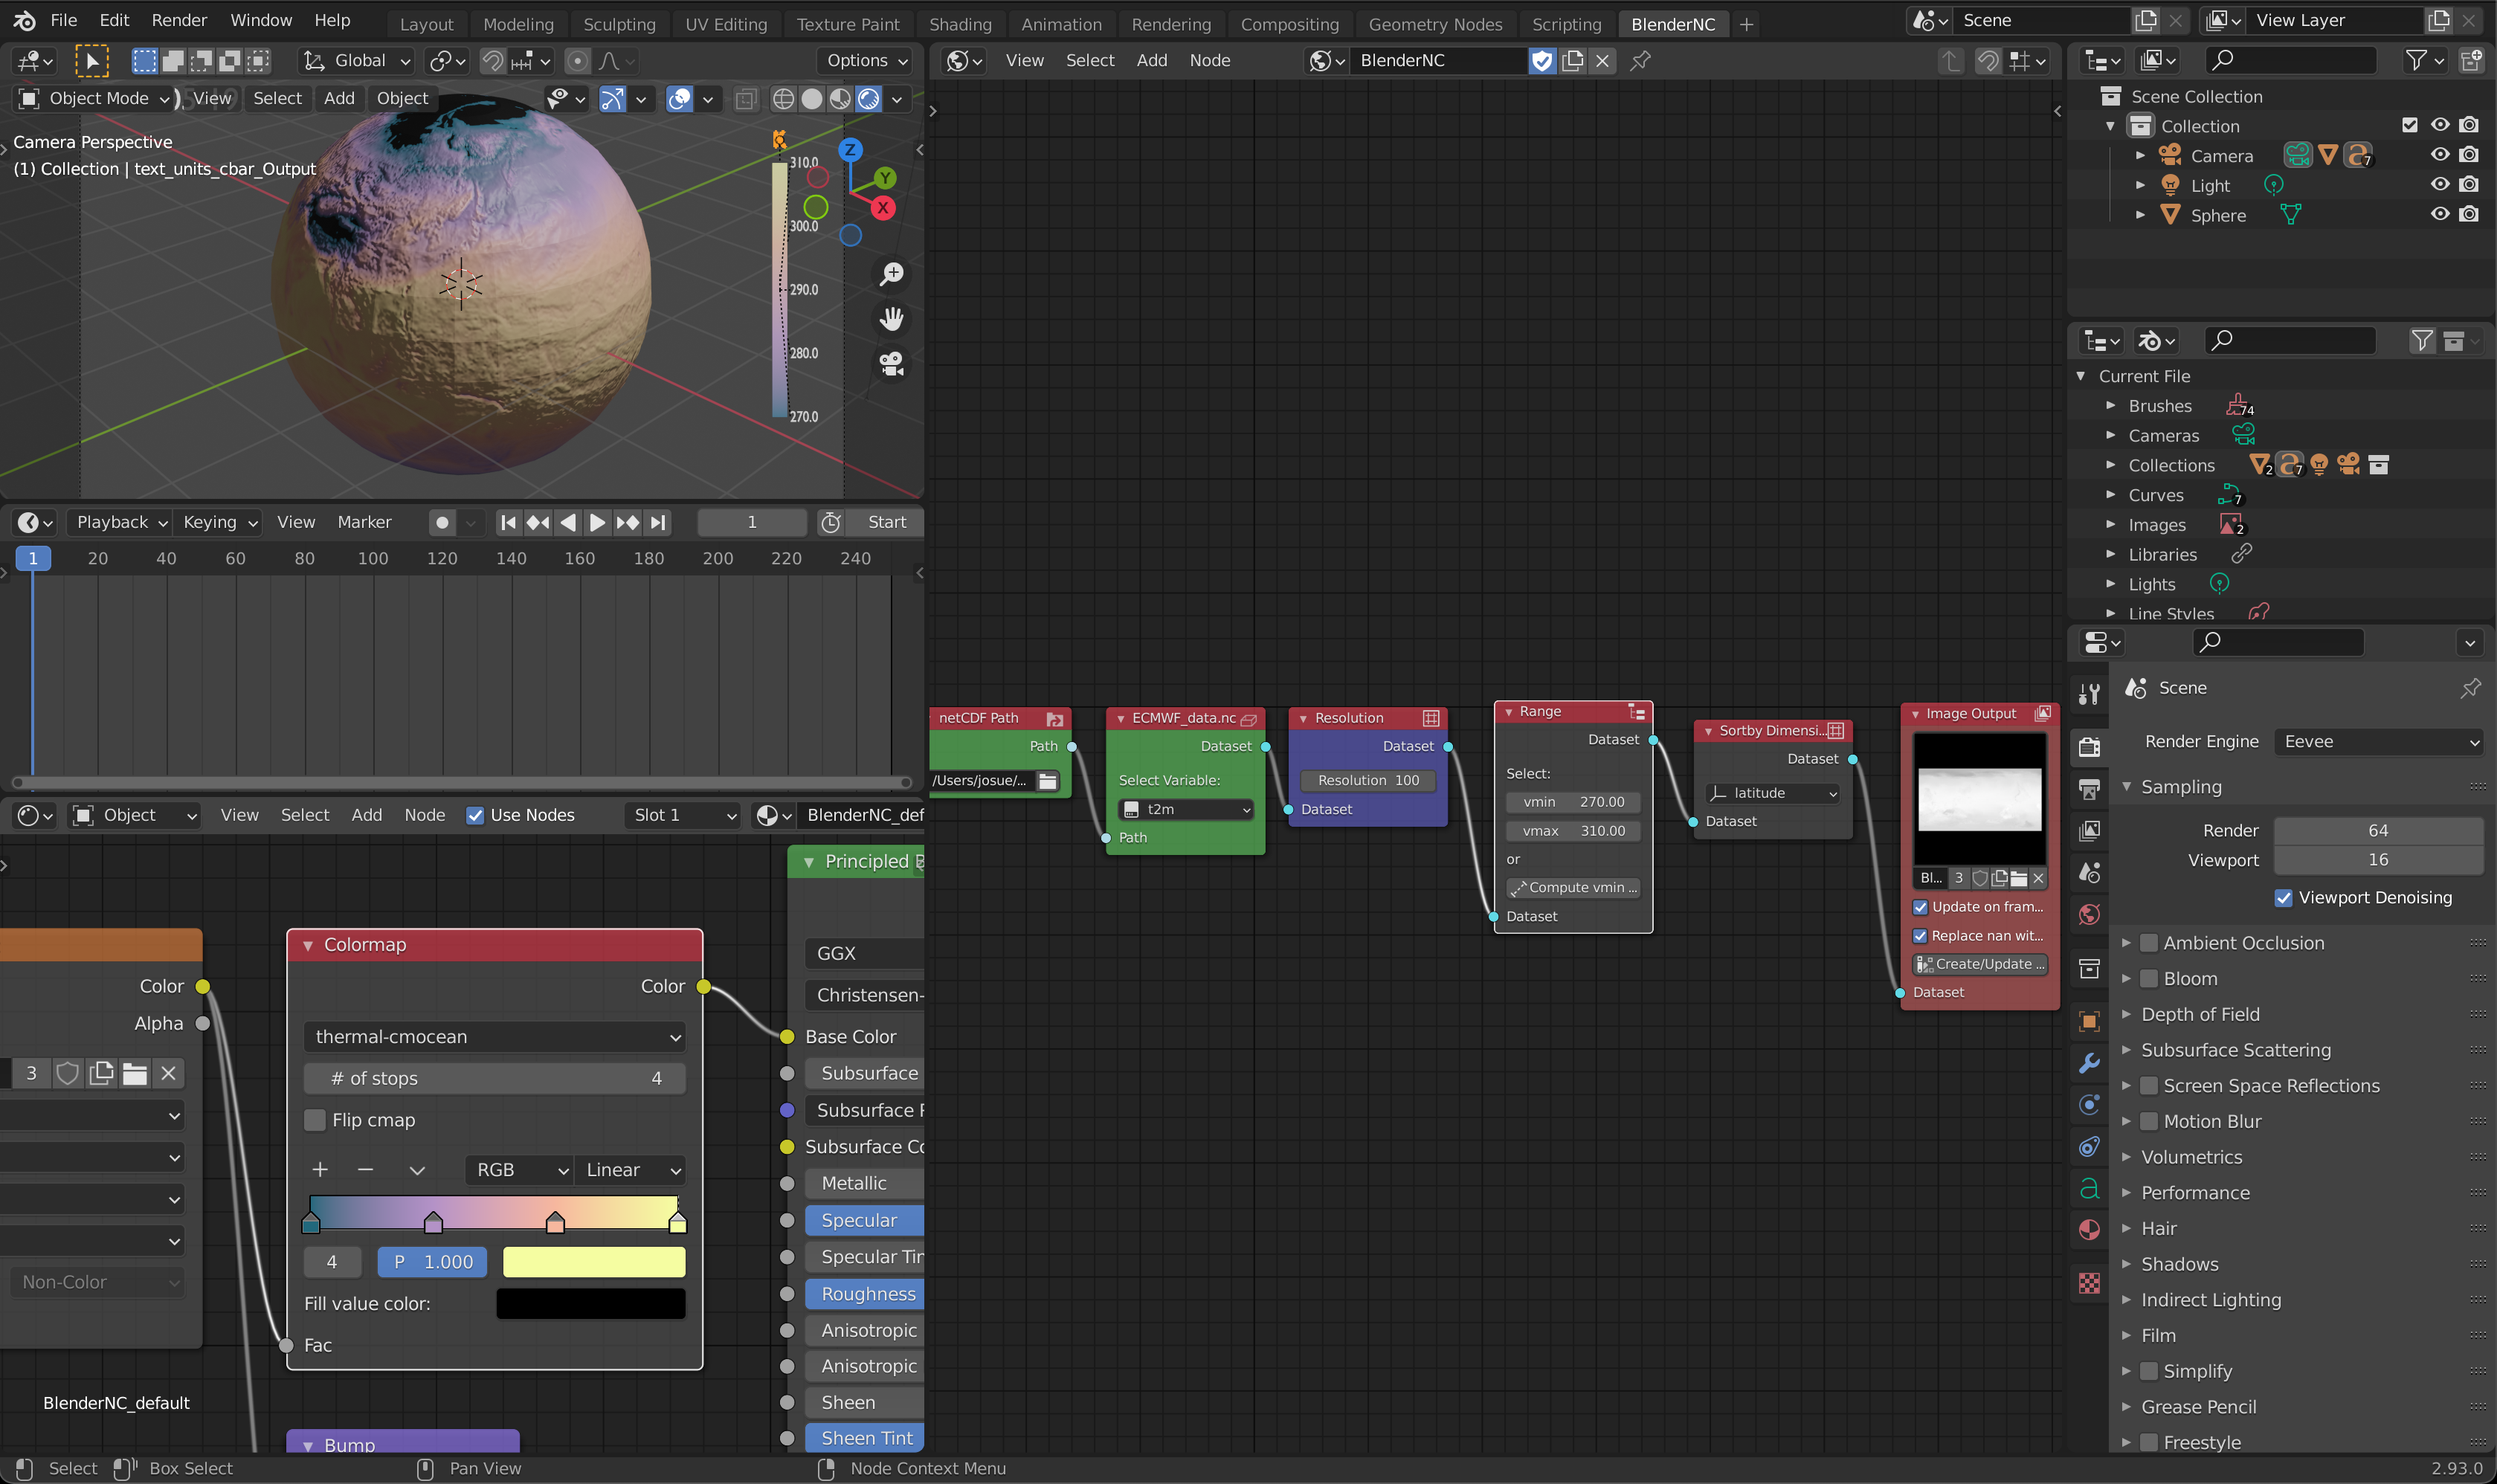
Within the material nodetree, you will find a node titled
Colormap, in this node, you can change the colormap used for the preview and render. Currently, BlenderNC supports cmocean and matplotlib colormaps.
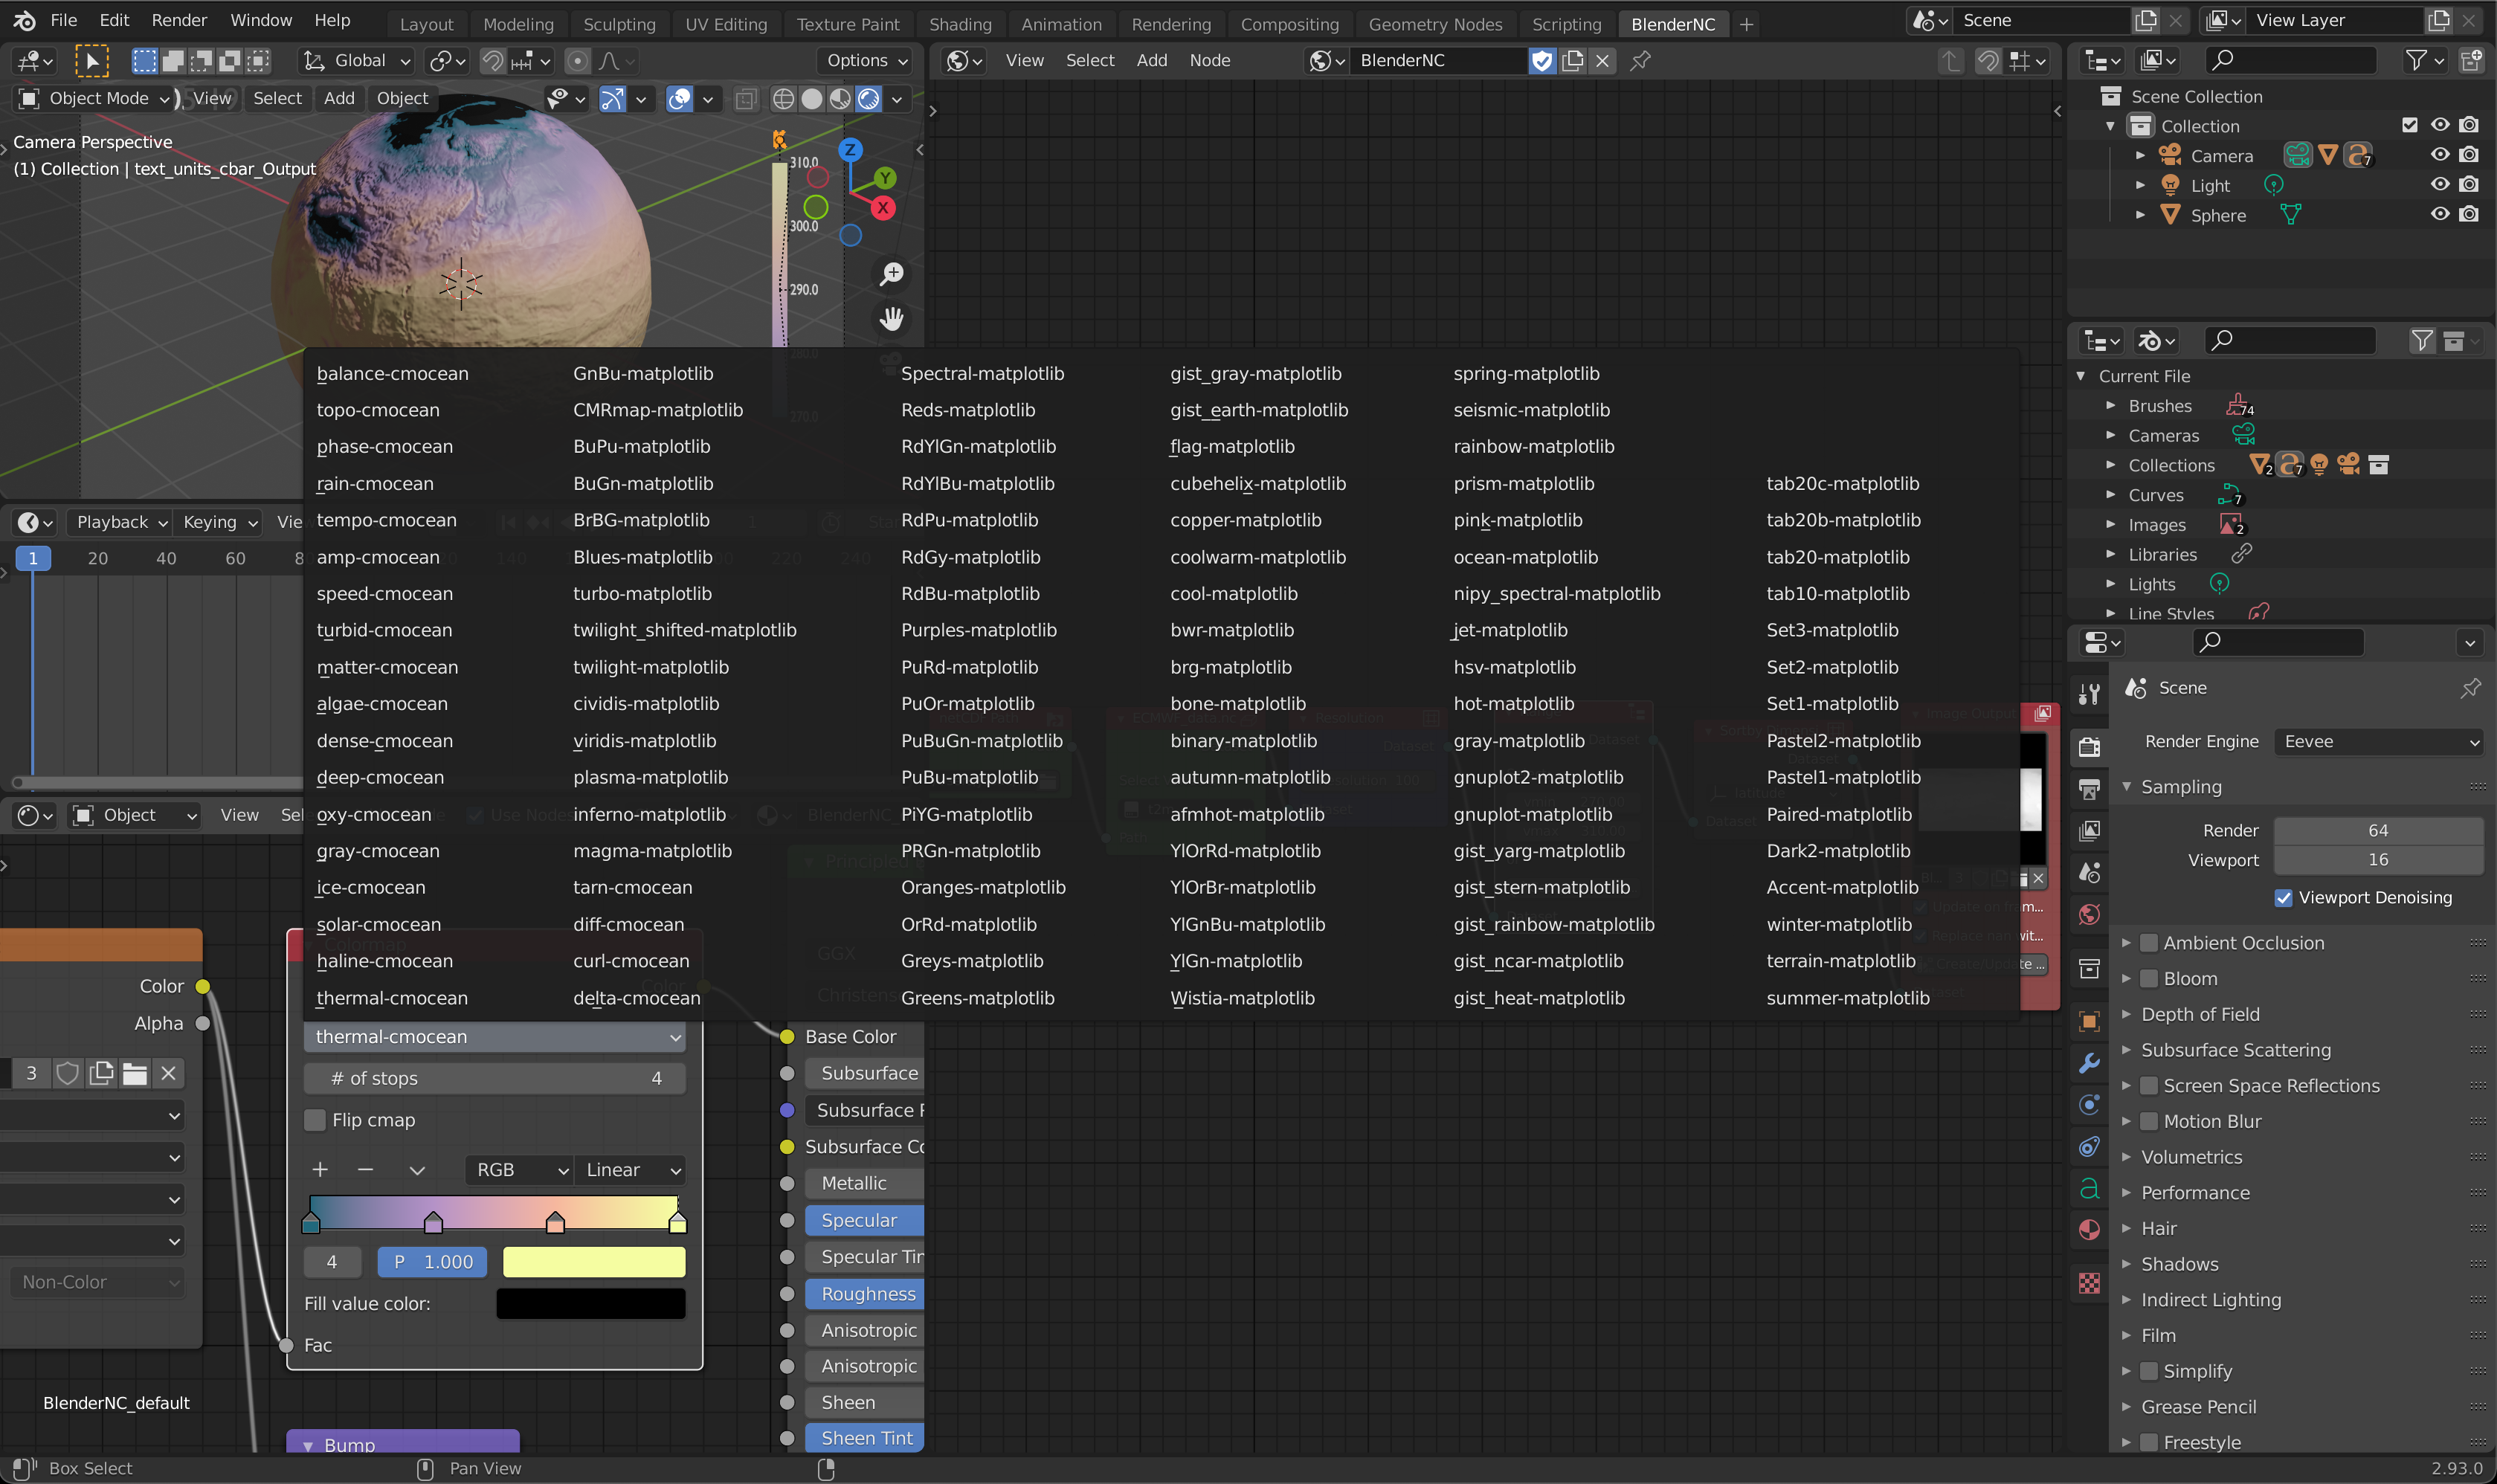
Select a different colormap, for example
gist_heat
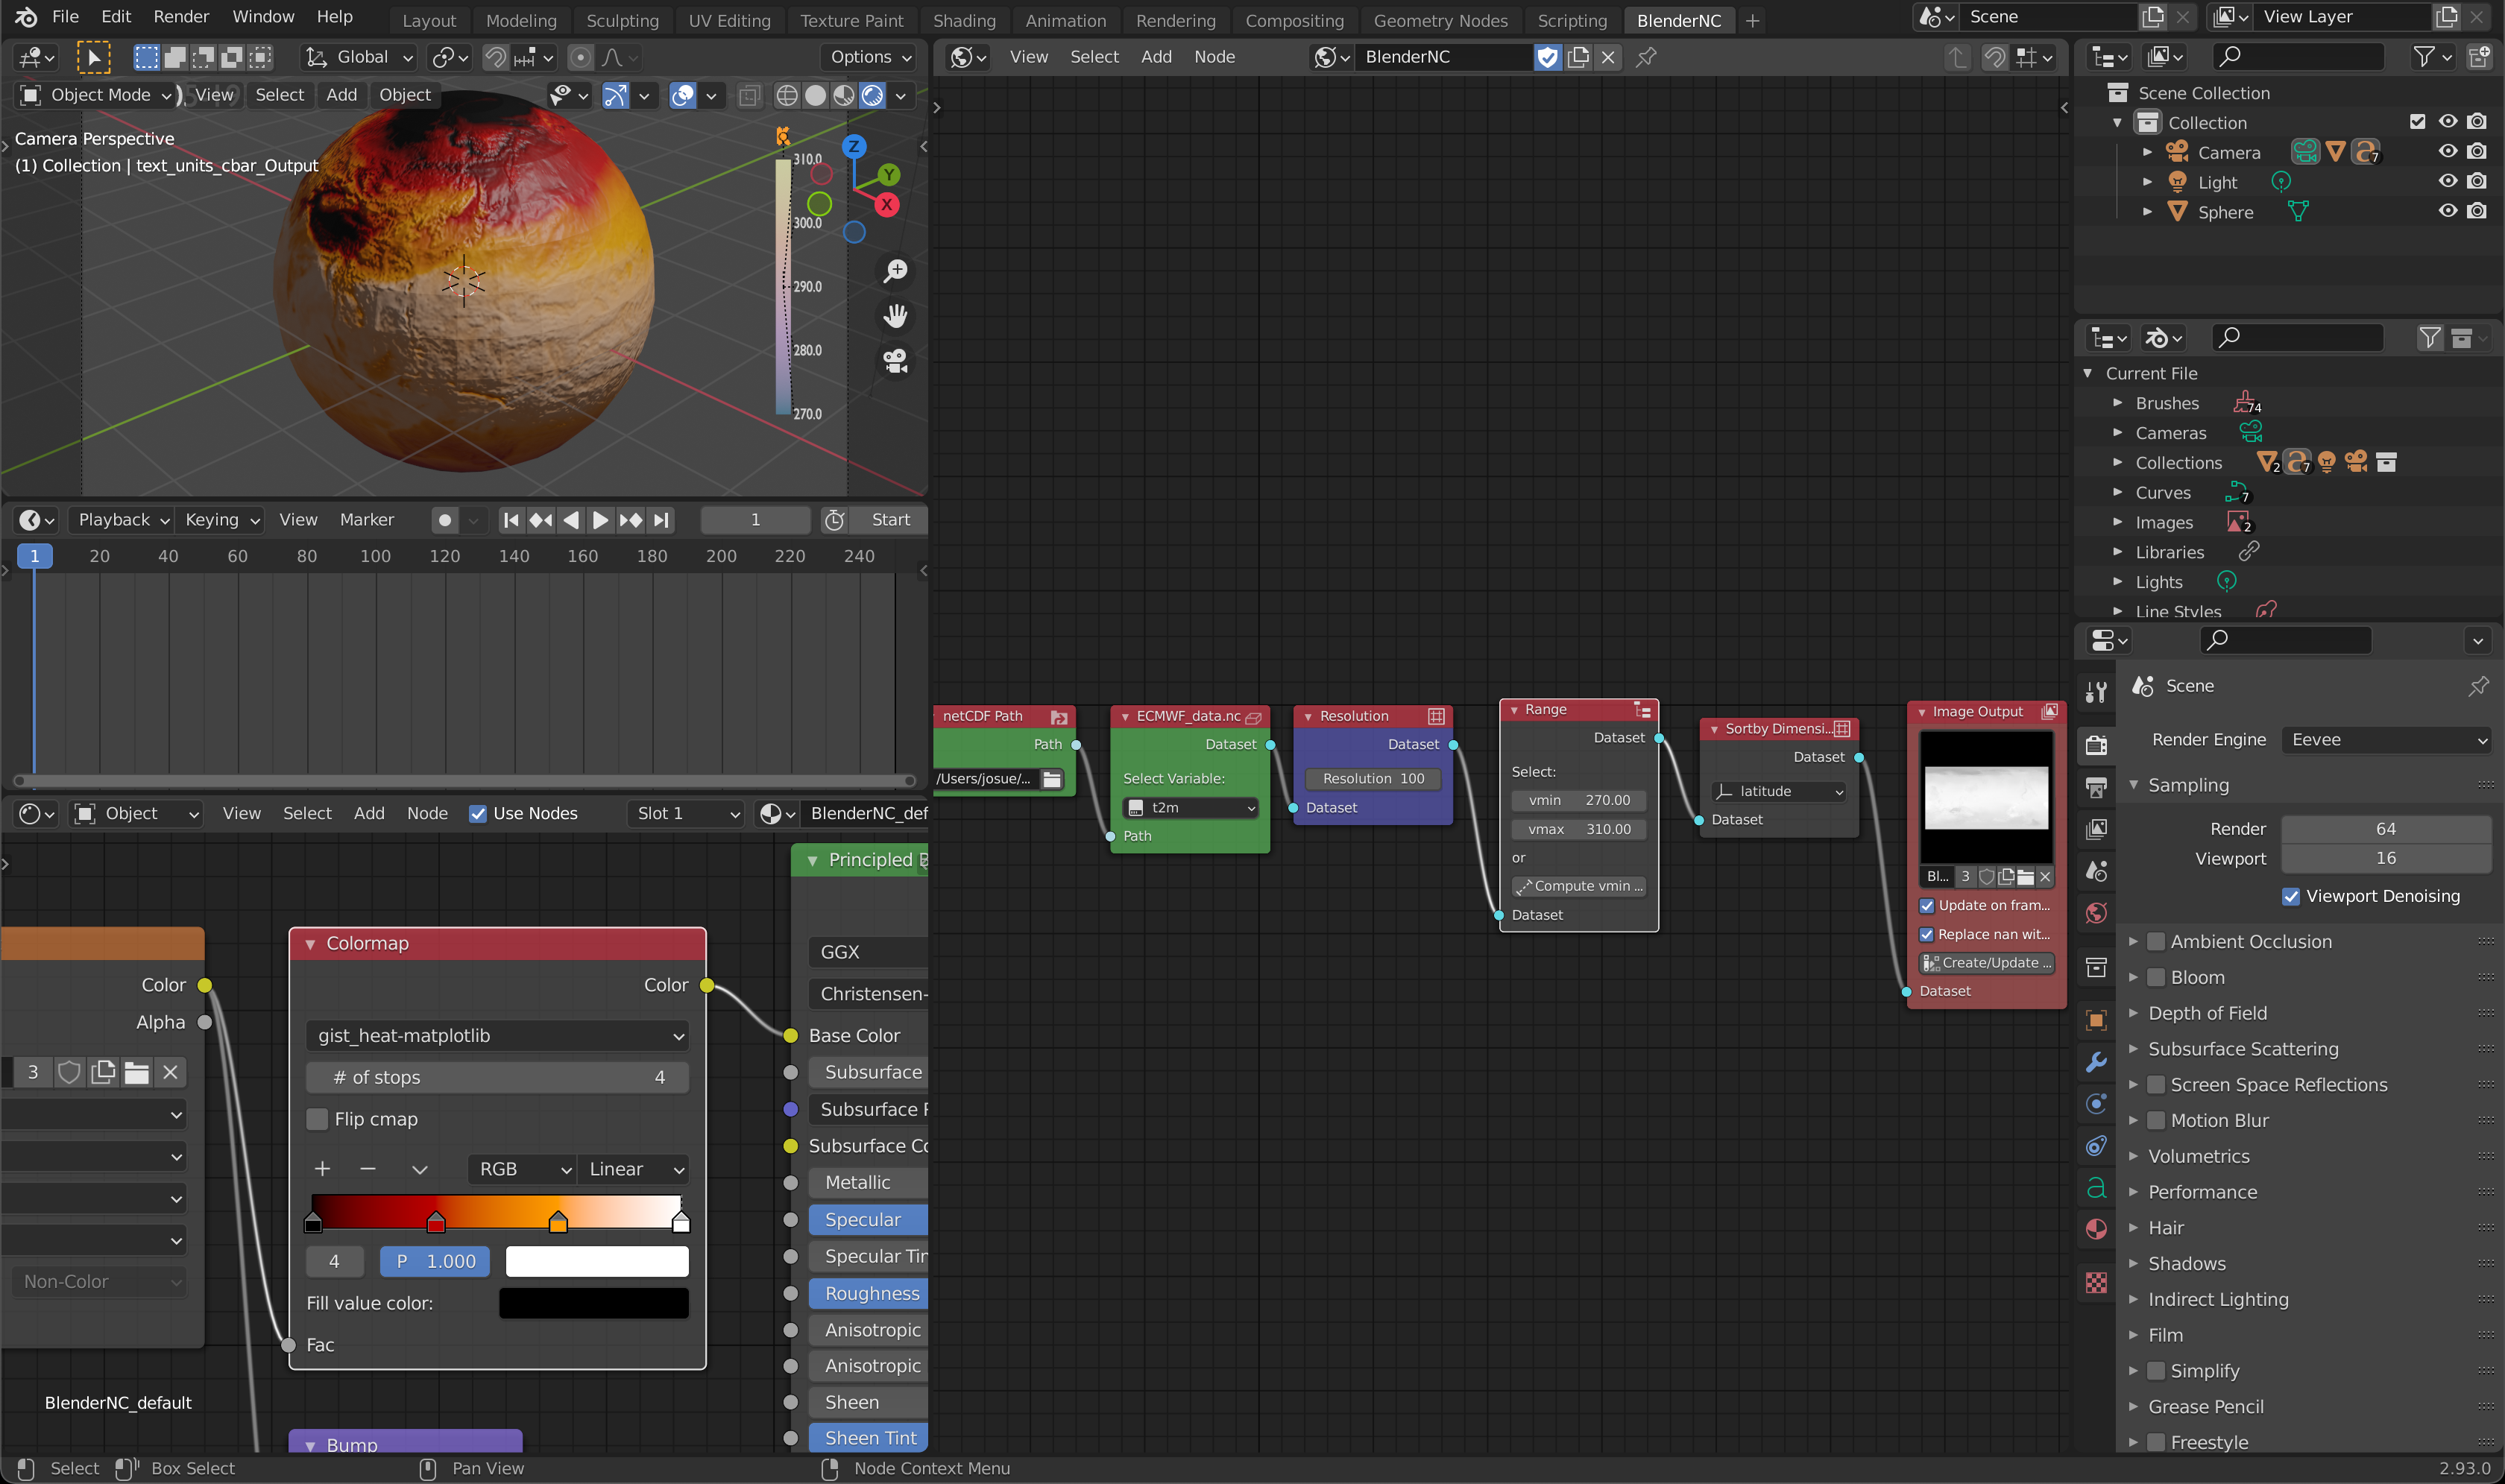
Note
Changing the colormap, doesn’t change the colorbar material. This will be autimatically handle in a future release of BlenderNC.
To update the colorbar, click over the
Create/Update colorbarin the BlenderNC nodetreeImage outputnode highlighted in orange.
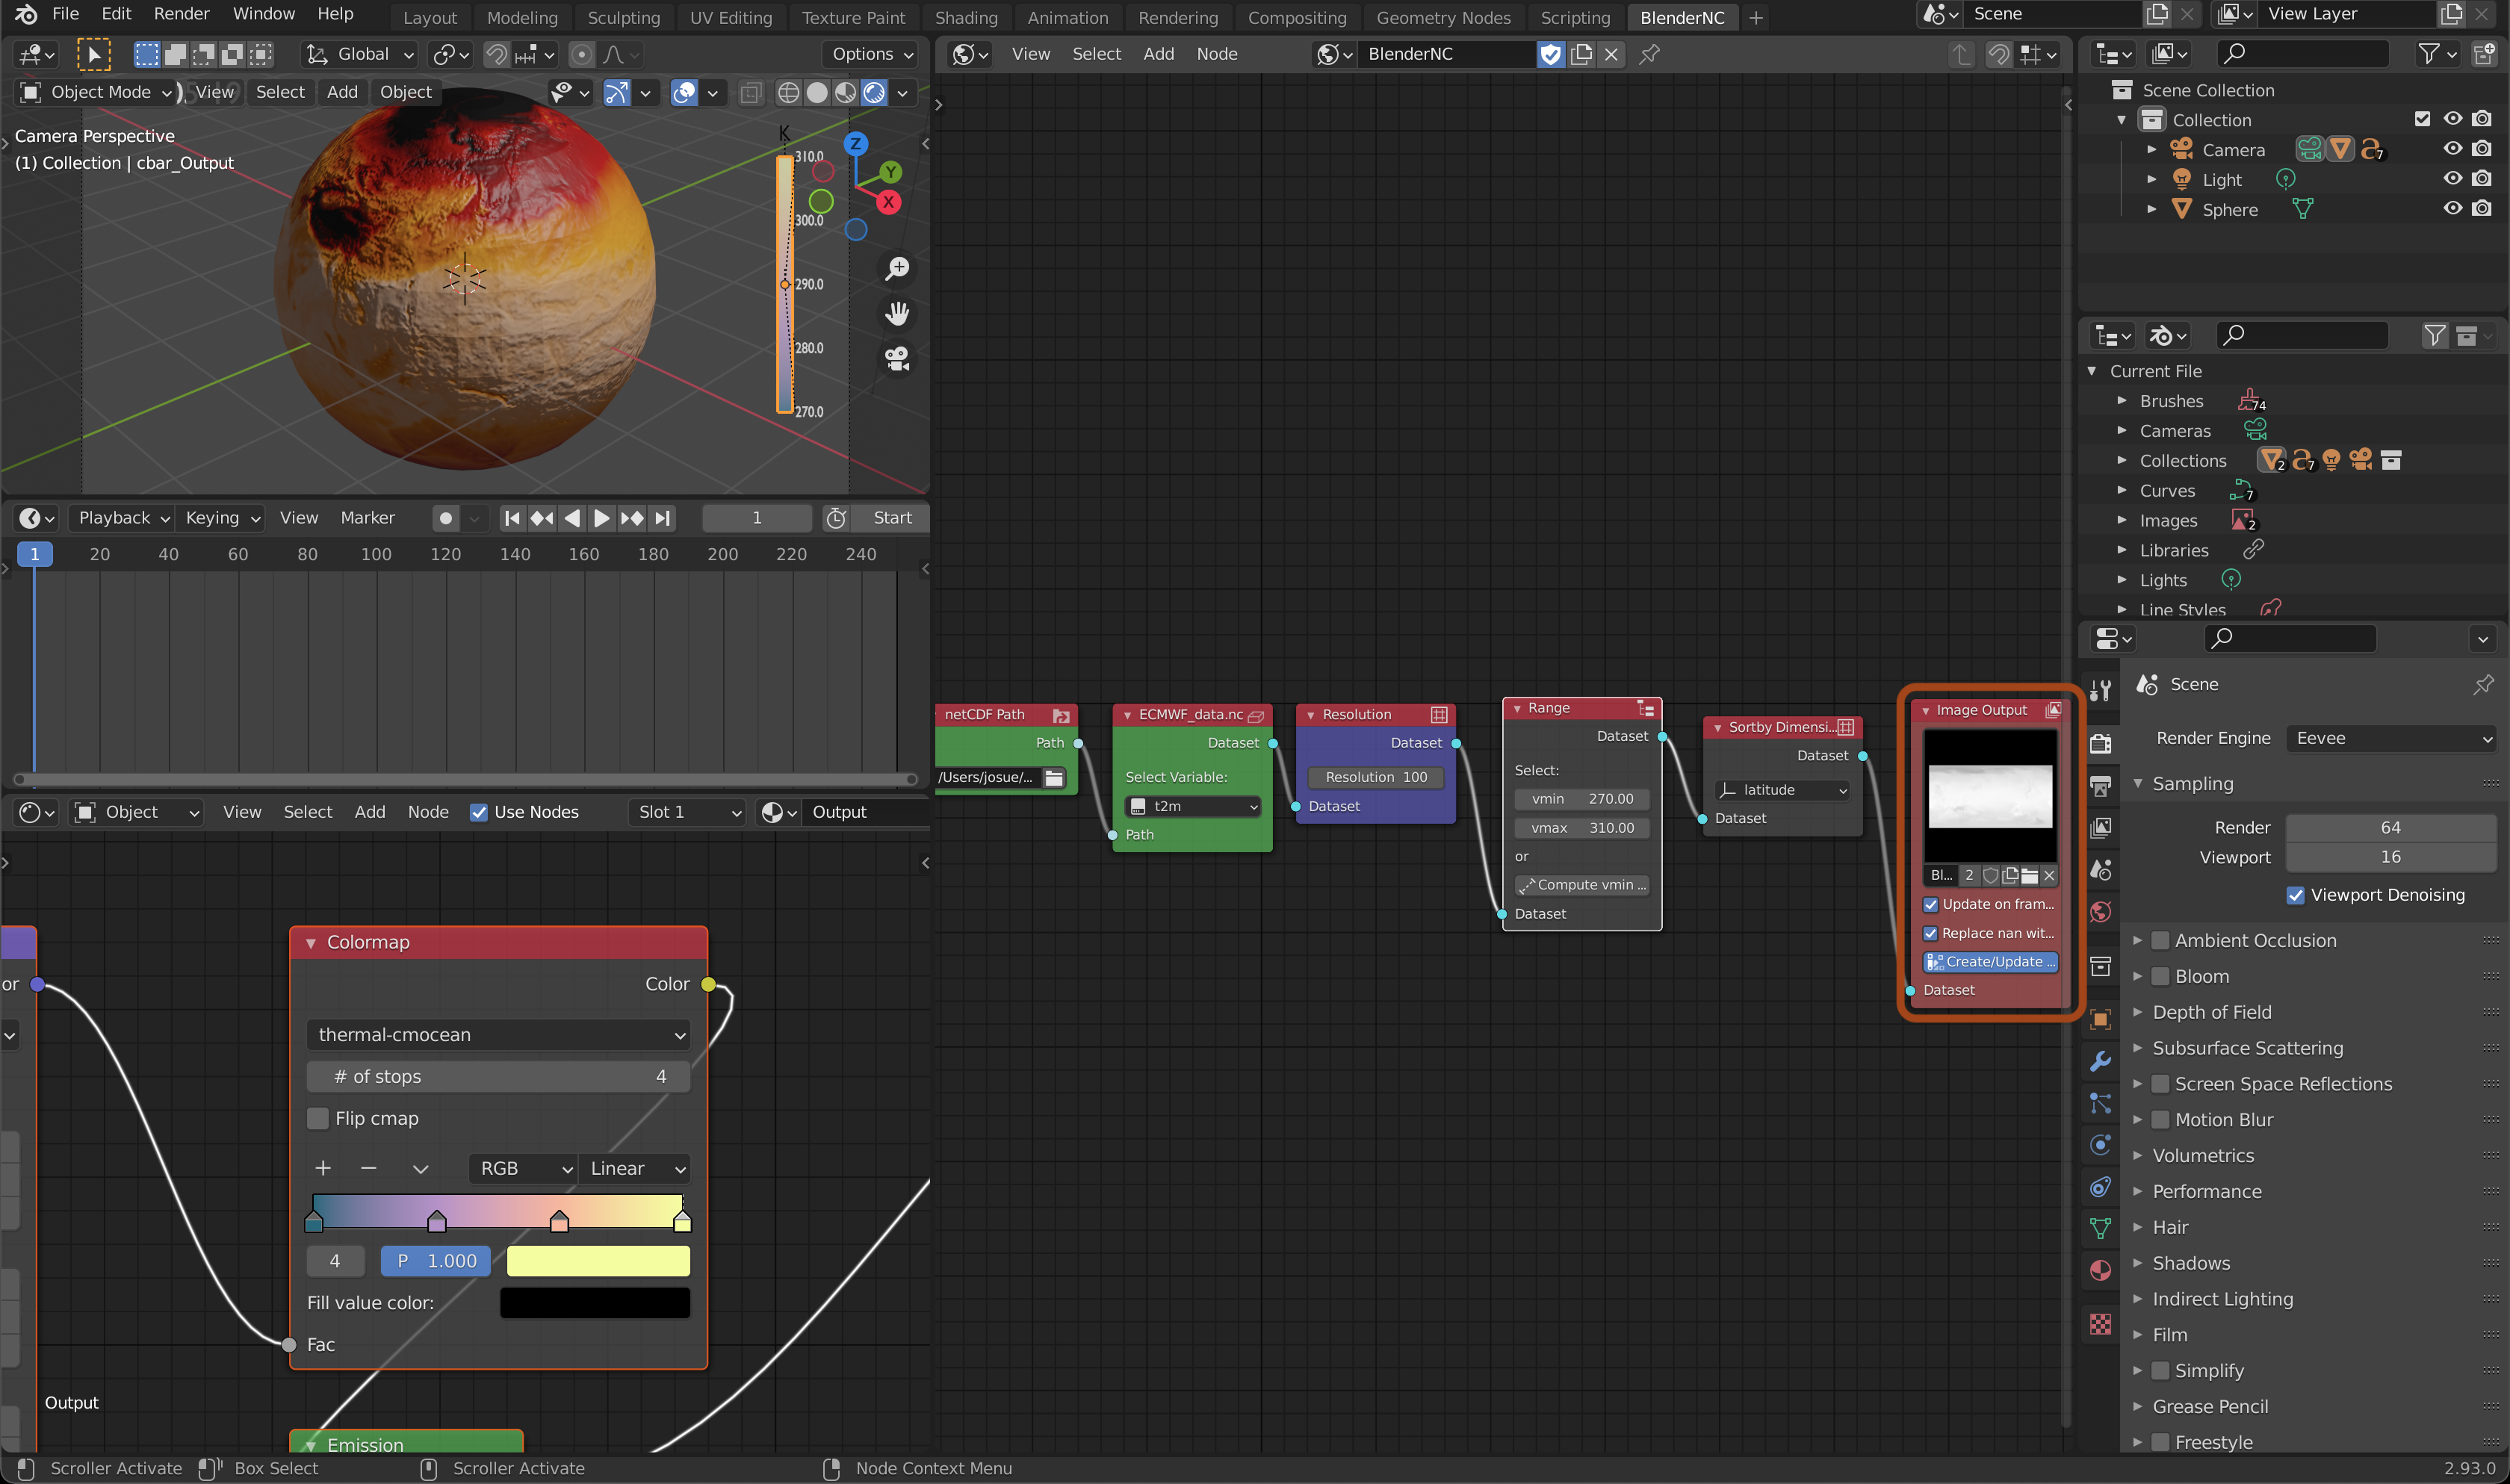
This concludes this tutorial: