Displacement rendering
Important
It is important to be familiar with the BlenderNC nodetree (PRO mode!) to follow this tutorial, and have completed the previous tutorial: Import ECMWF netCDF and Import ECMWF GRIB.
Some data has been provided by ECMWF, and it is included at the main BlenderNC repository in the path blendernc/test/dataset.
blendernc
└── tests
    └── dataset
        ├── ECMWF_data.grib
        ├── ECMWF_data.nc
        ├── ssh_1995-01.nc
        └── ssh_1995-01.zarr
This example will use the file ECMWF_data.grib, and builds up from the previous tutorial: Import ECMWF GRIB.
Import ECMWF GRIB finished by loading two datasets; mid cloud coverage (mcc) and surface temperature at 2m (t2m).
In this tutorial will explore:
creating a displacement of two cloud levels; mid cloud coverage (mcc) and low cloud coverage (lcc),
animate three fields of the dataset,
and render an animation.
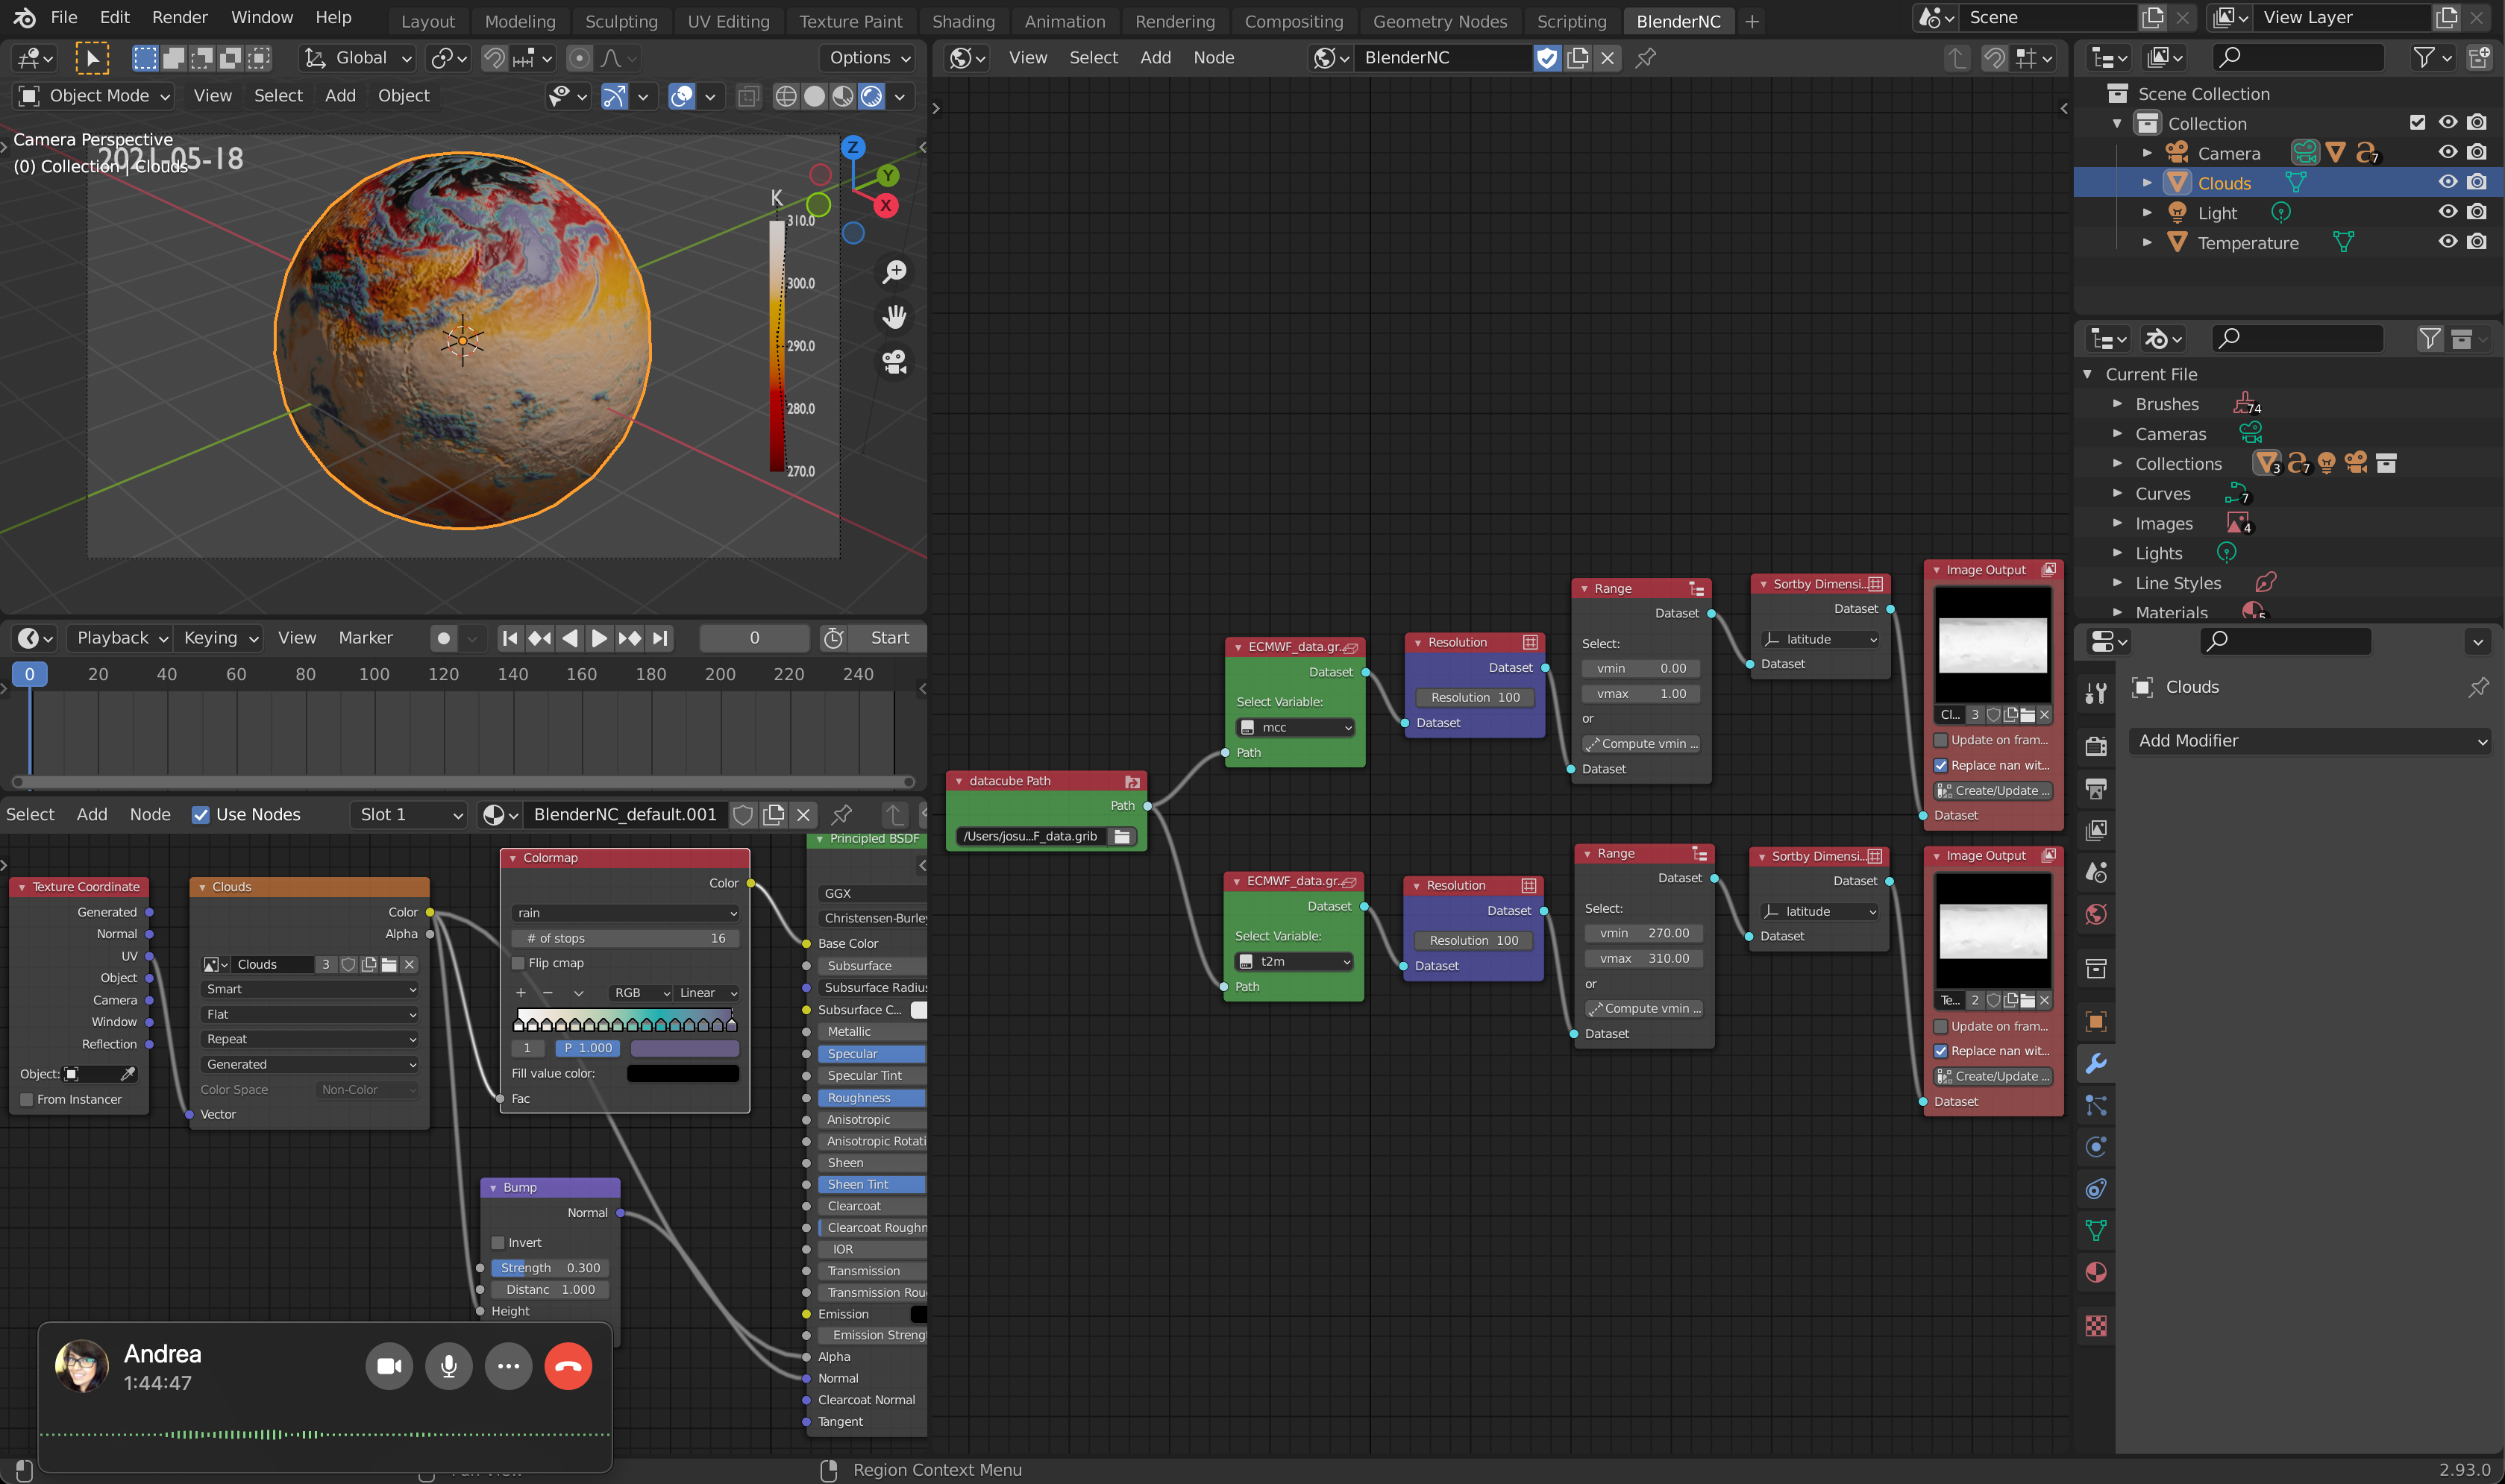
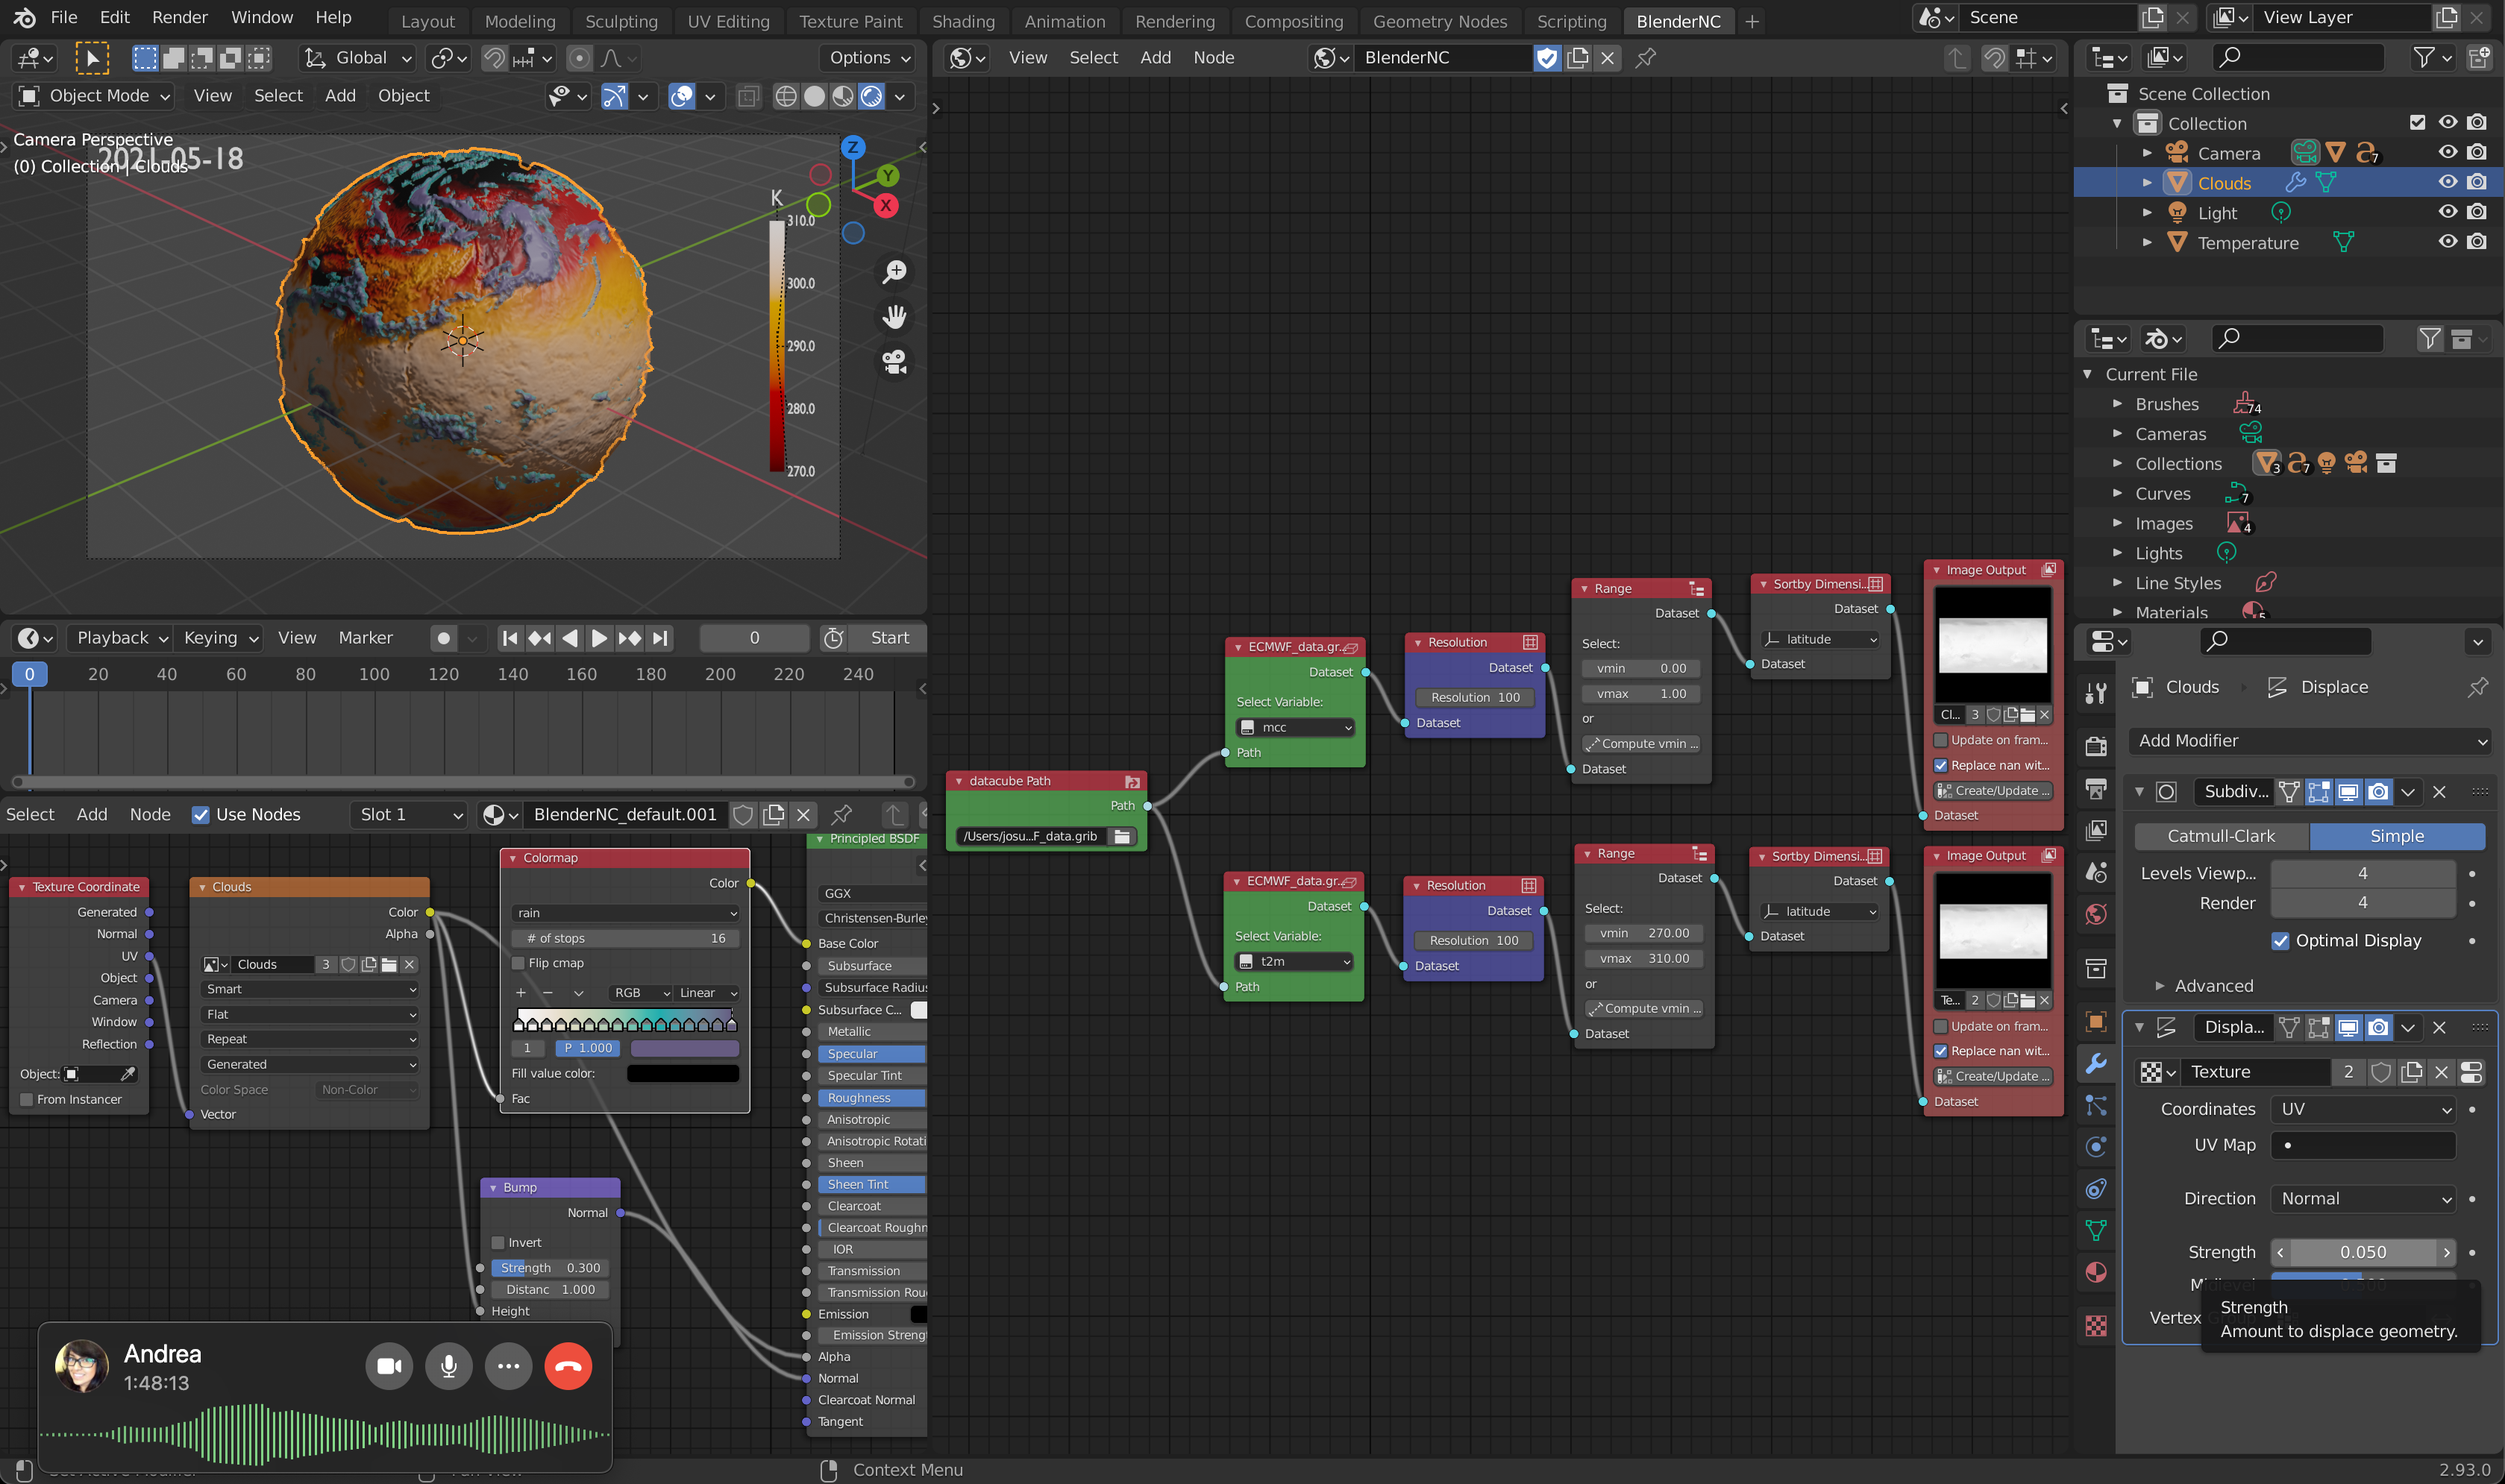
Let’s first add a displacement to the clouds:
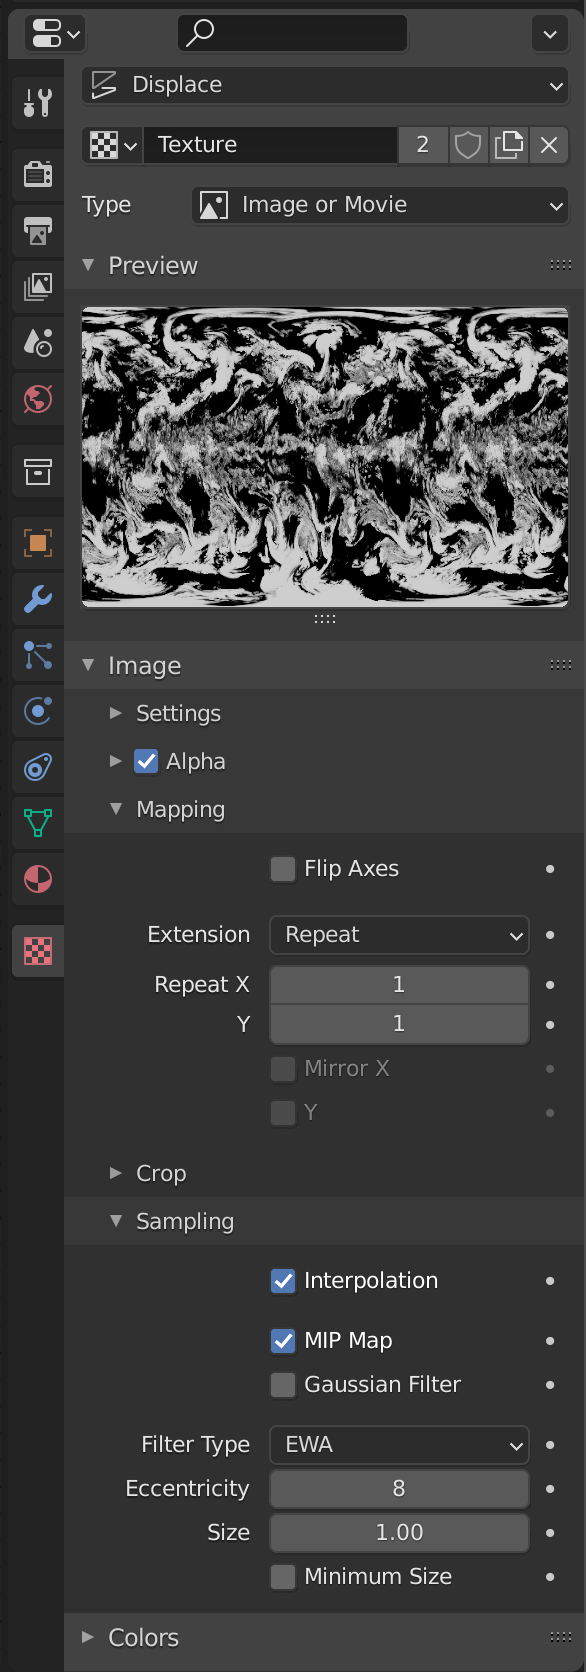
In the property menu, switch to the texture property and create a new texture (Rename texture to
mid_cloud):
In the texture property menu assign the cloud image as source.
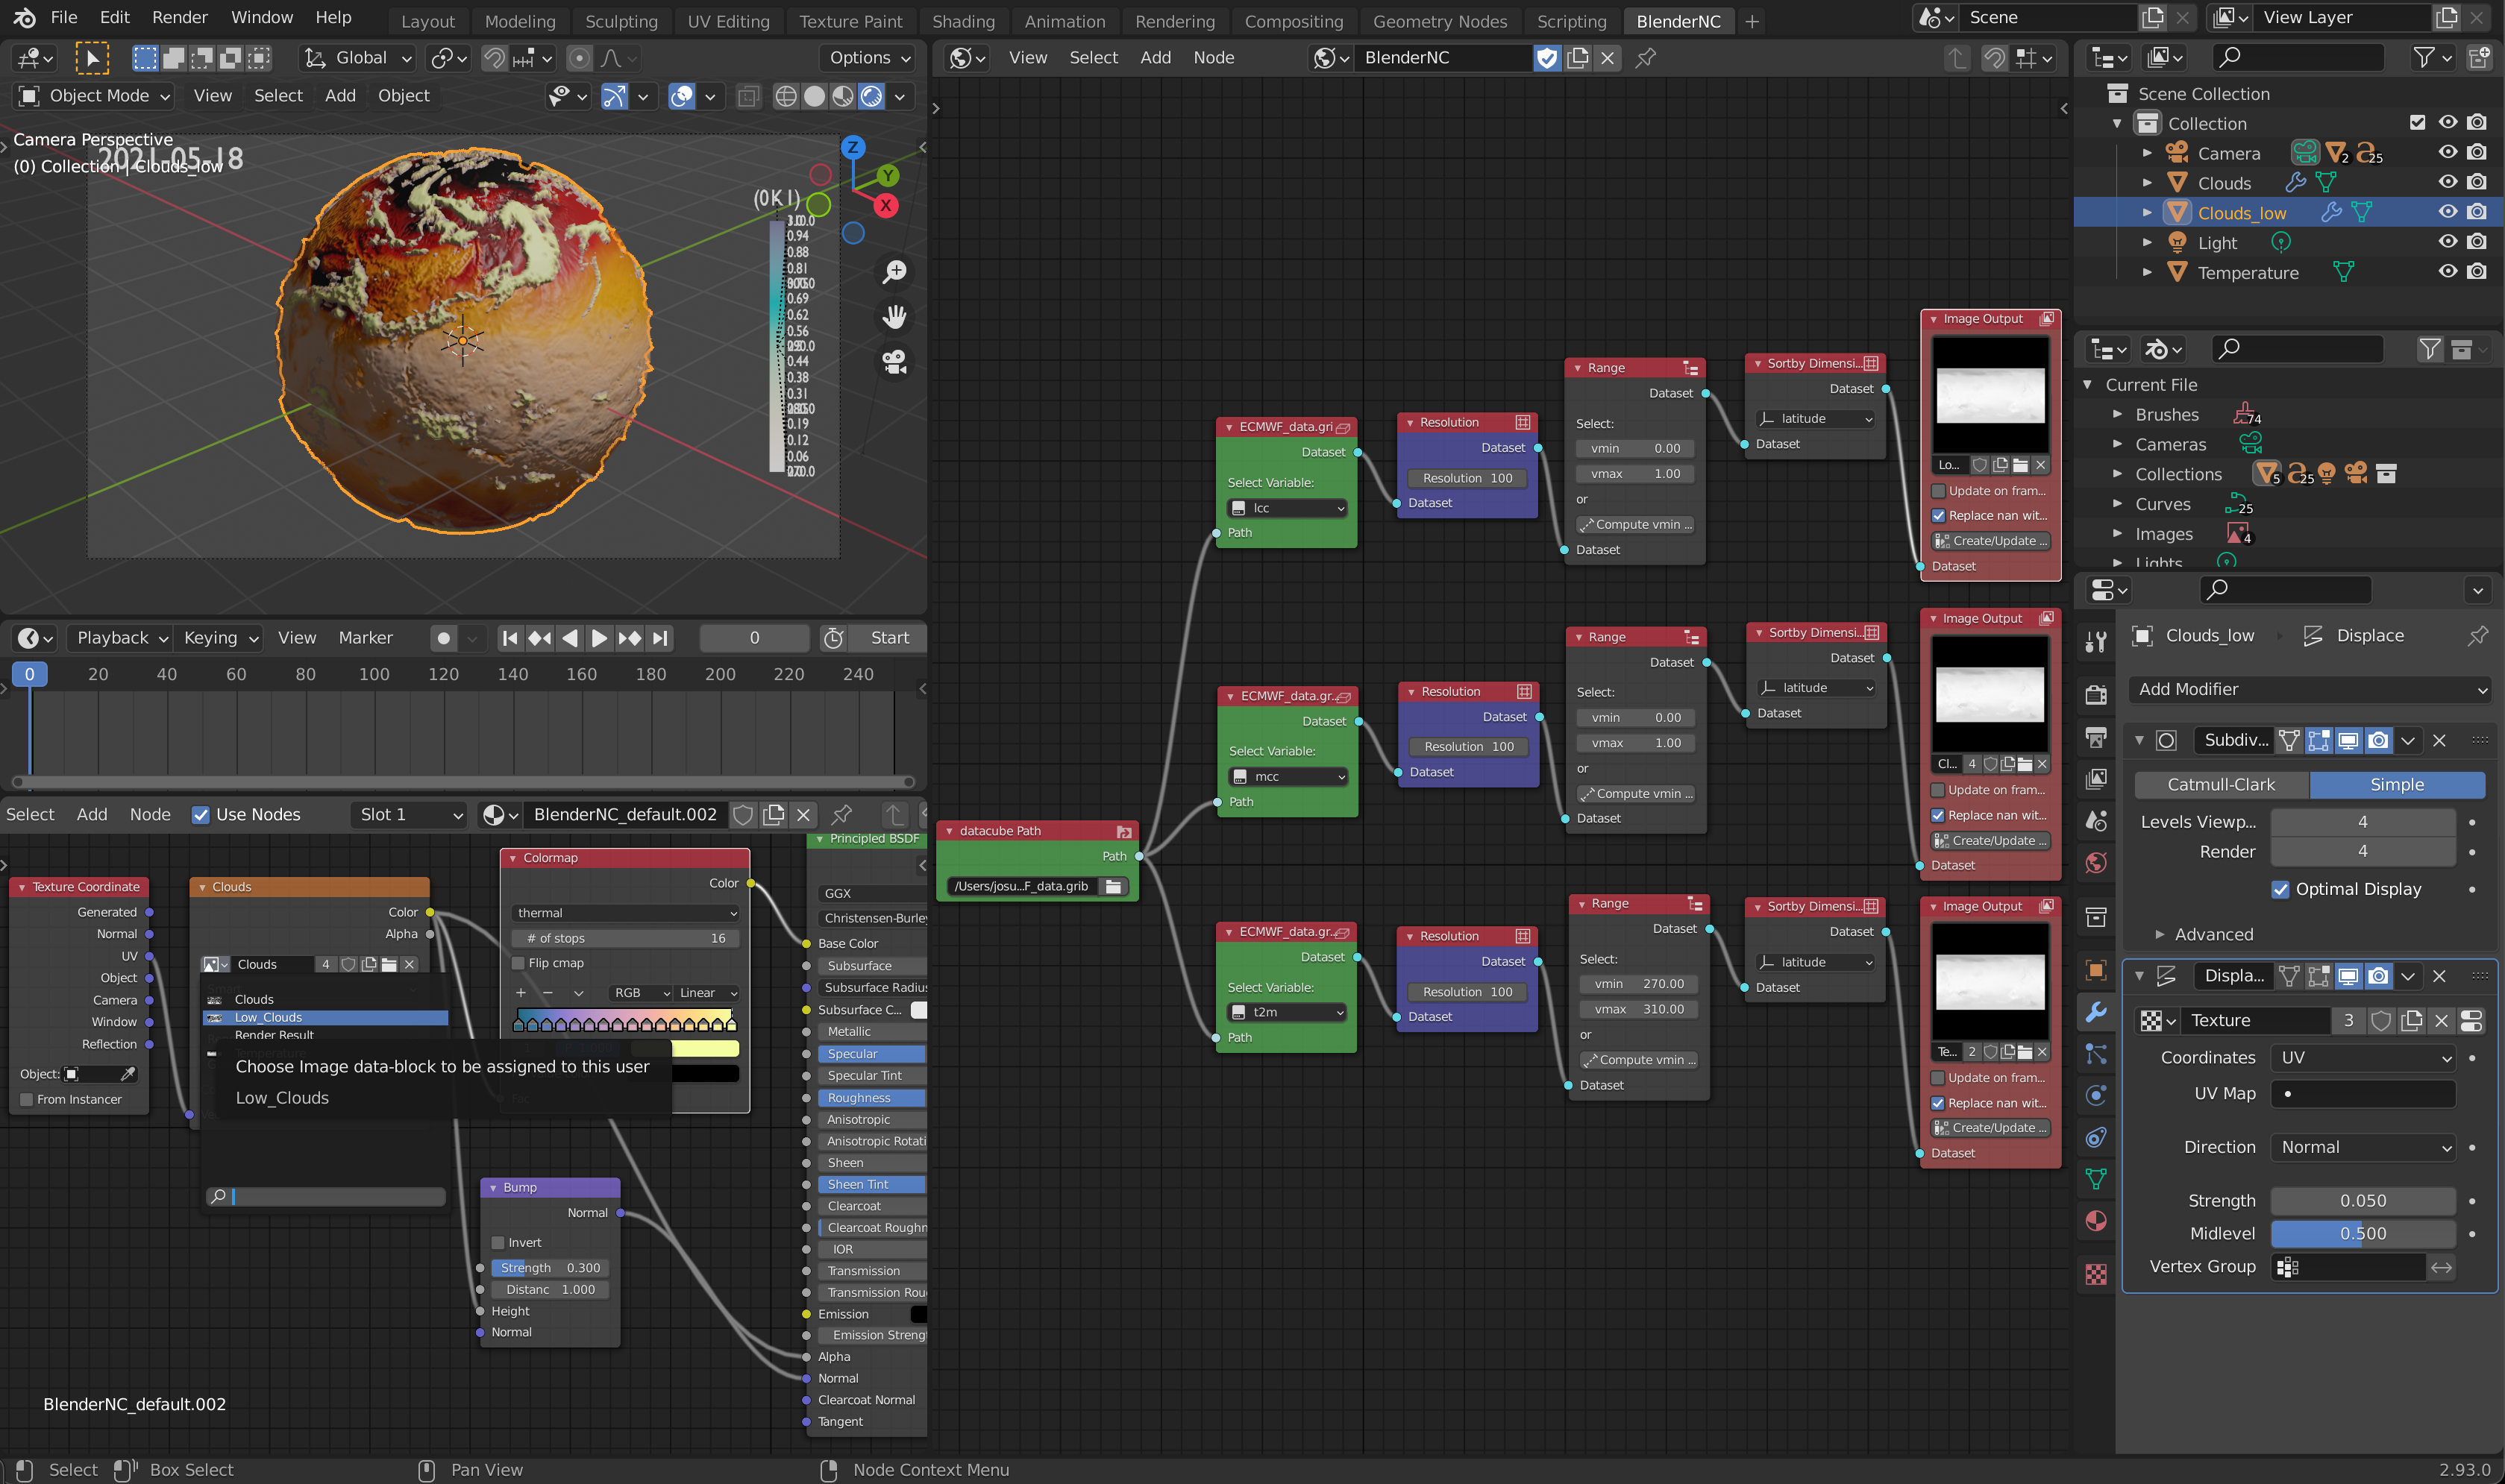
In the property menu, switch to the modifier property.
In the modifier property, add a subdivision modifier using the simple subdivision and increase the render subdivision.
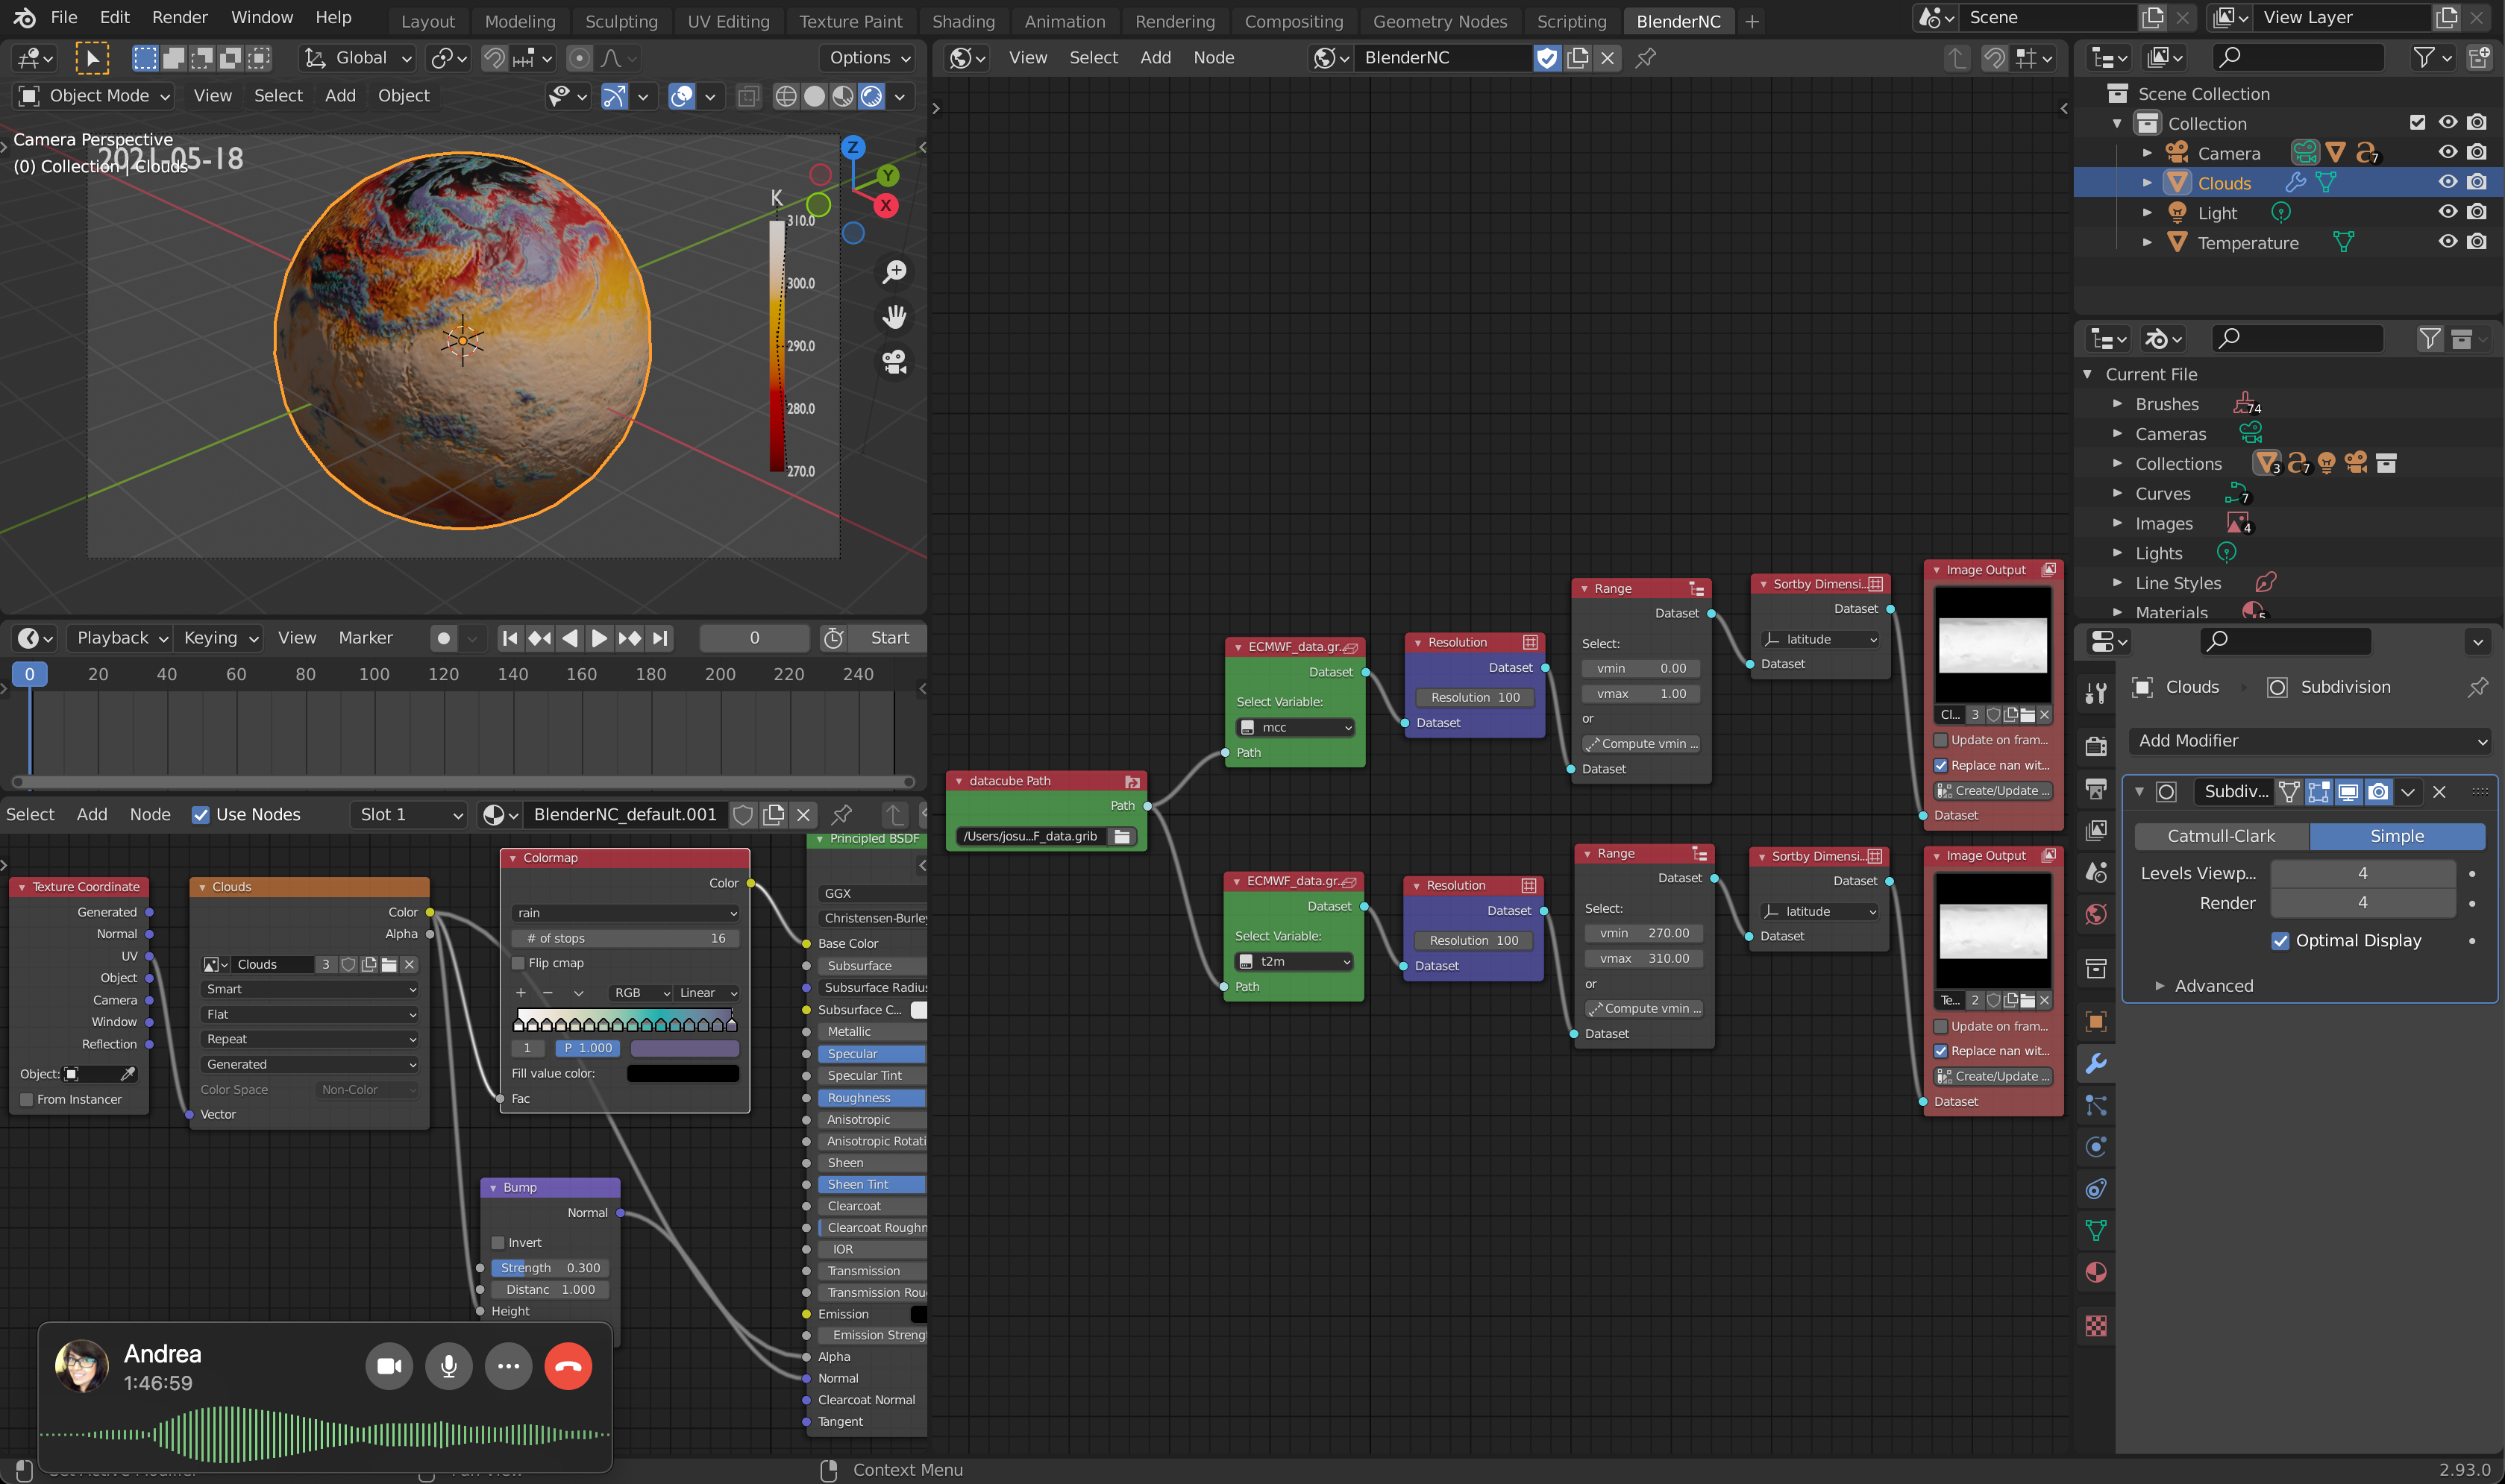
Important
A larger number of subdivisions will increase the render time. By decreasing the levels of viewports the viewport responsiveness will increase.
Add a displacement modifier and select the texture (
mid_cloud).
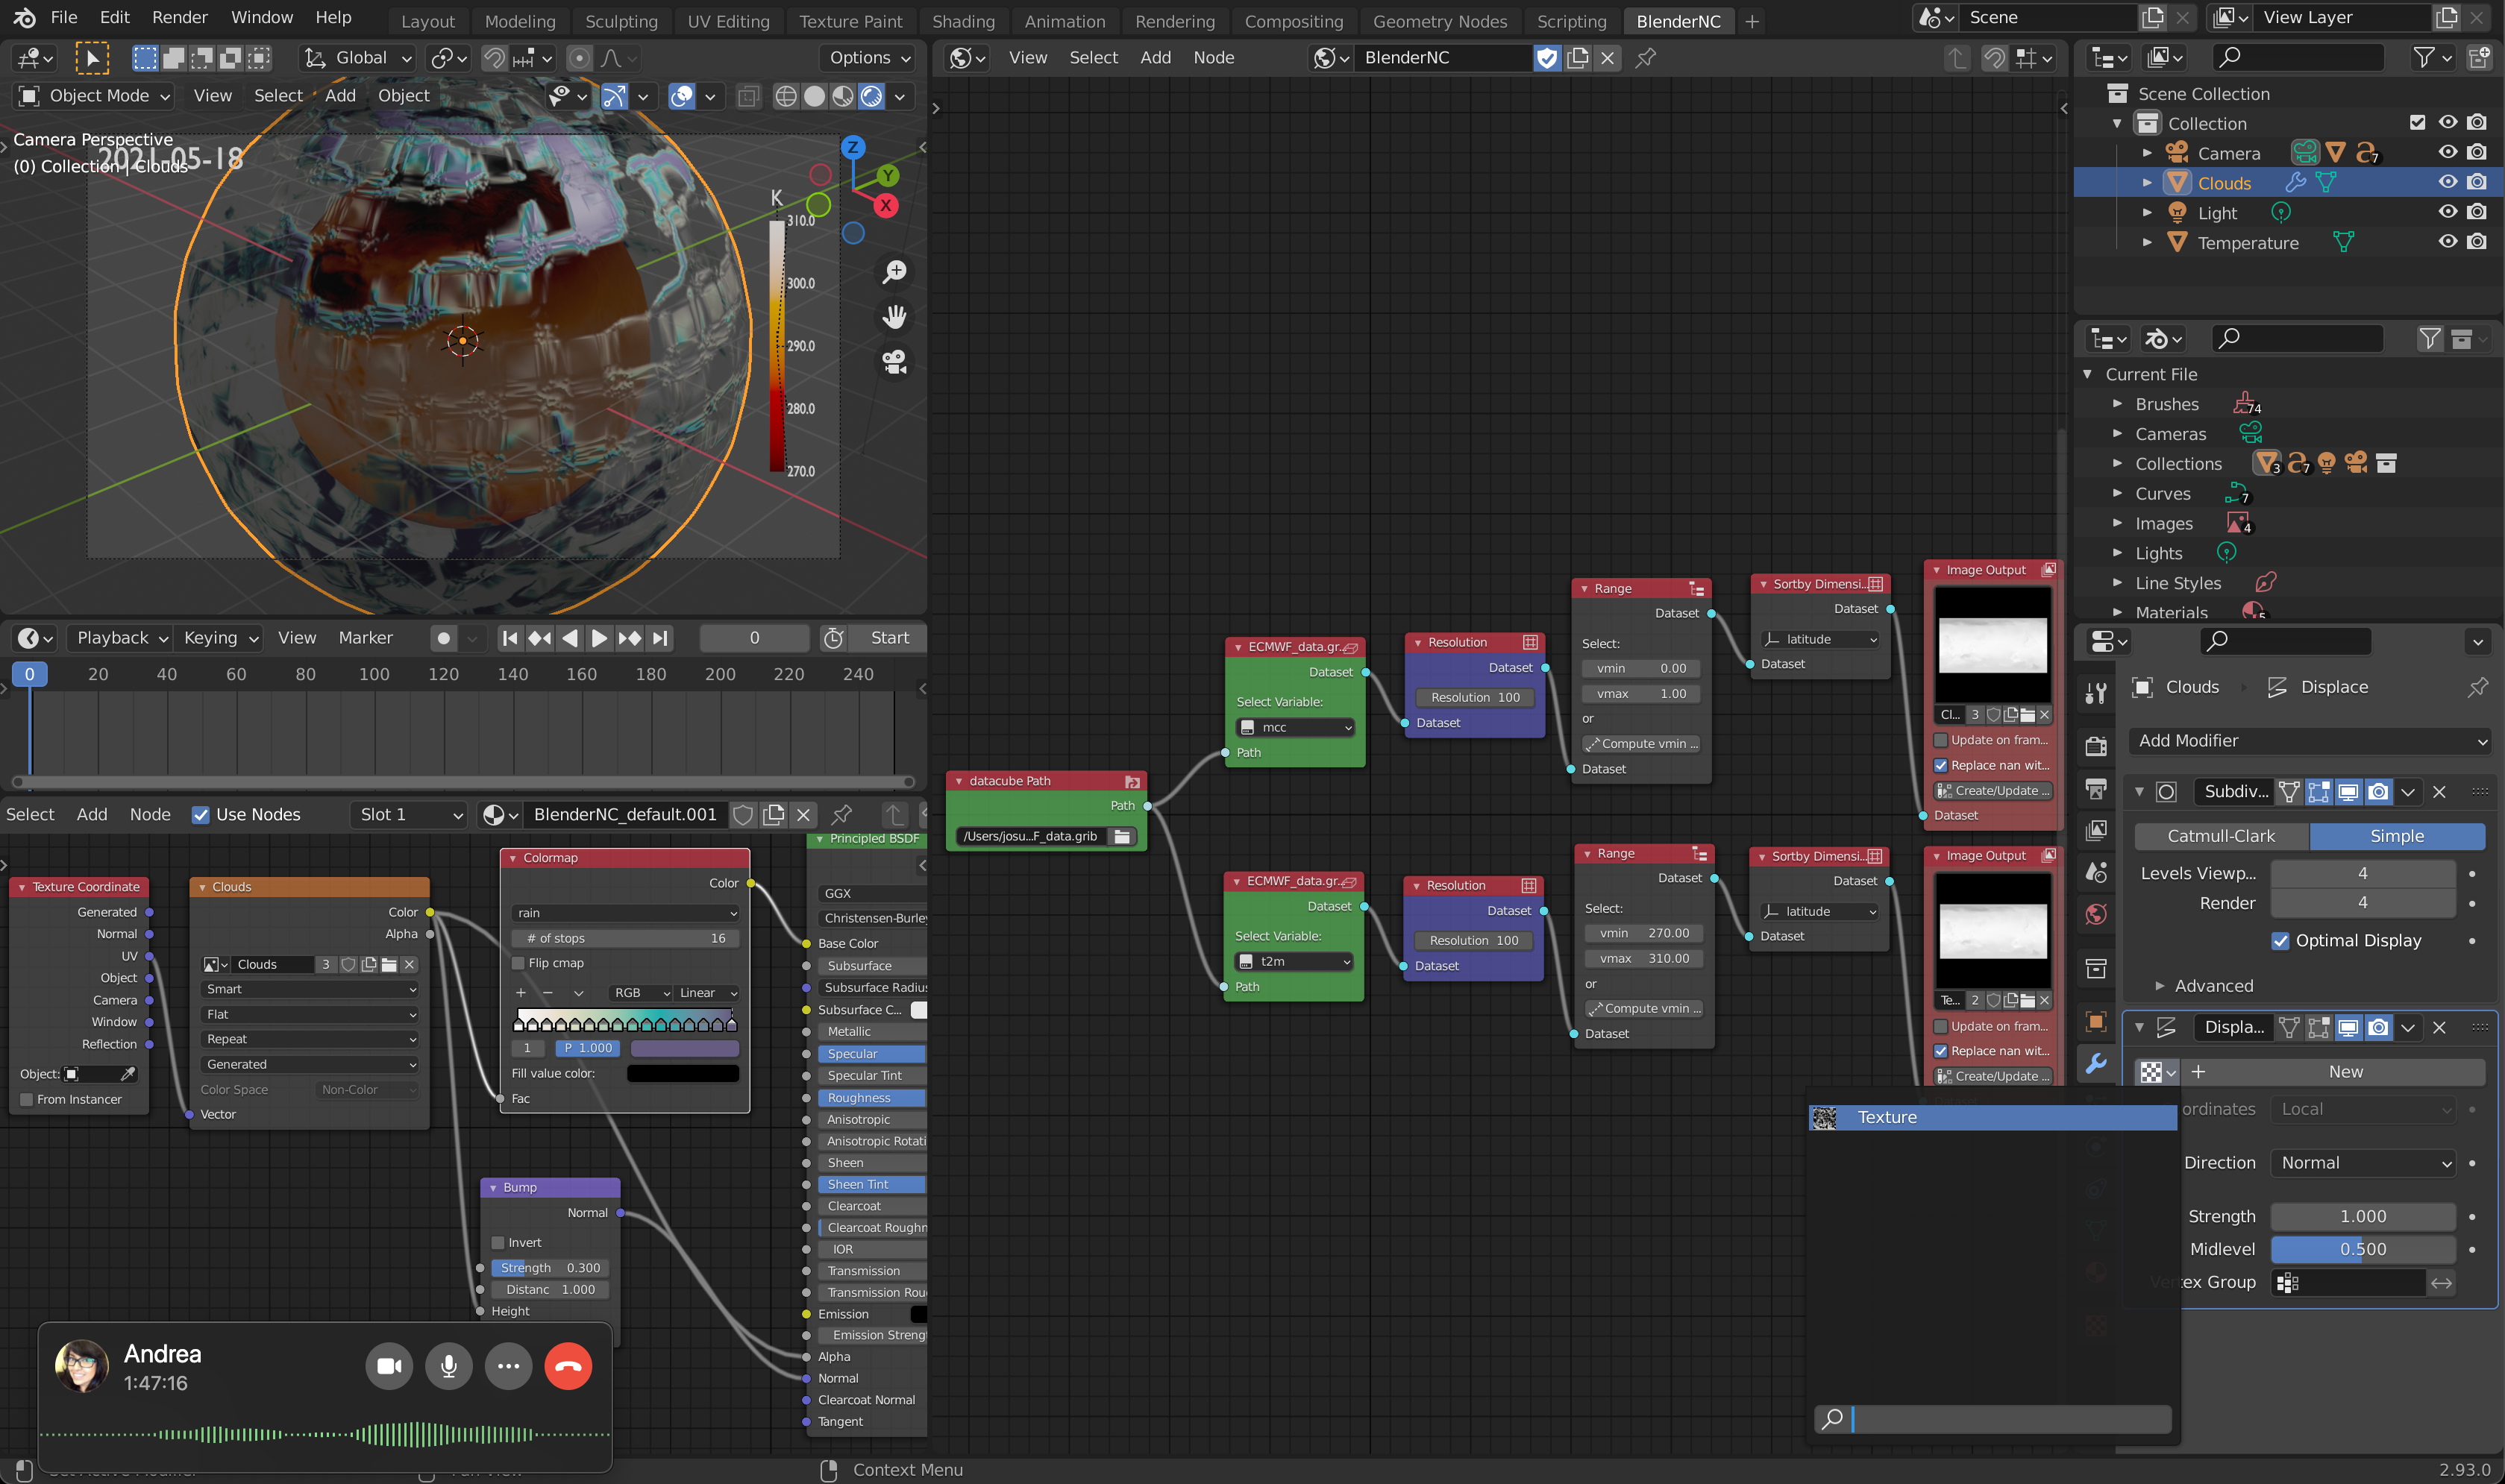
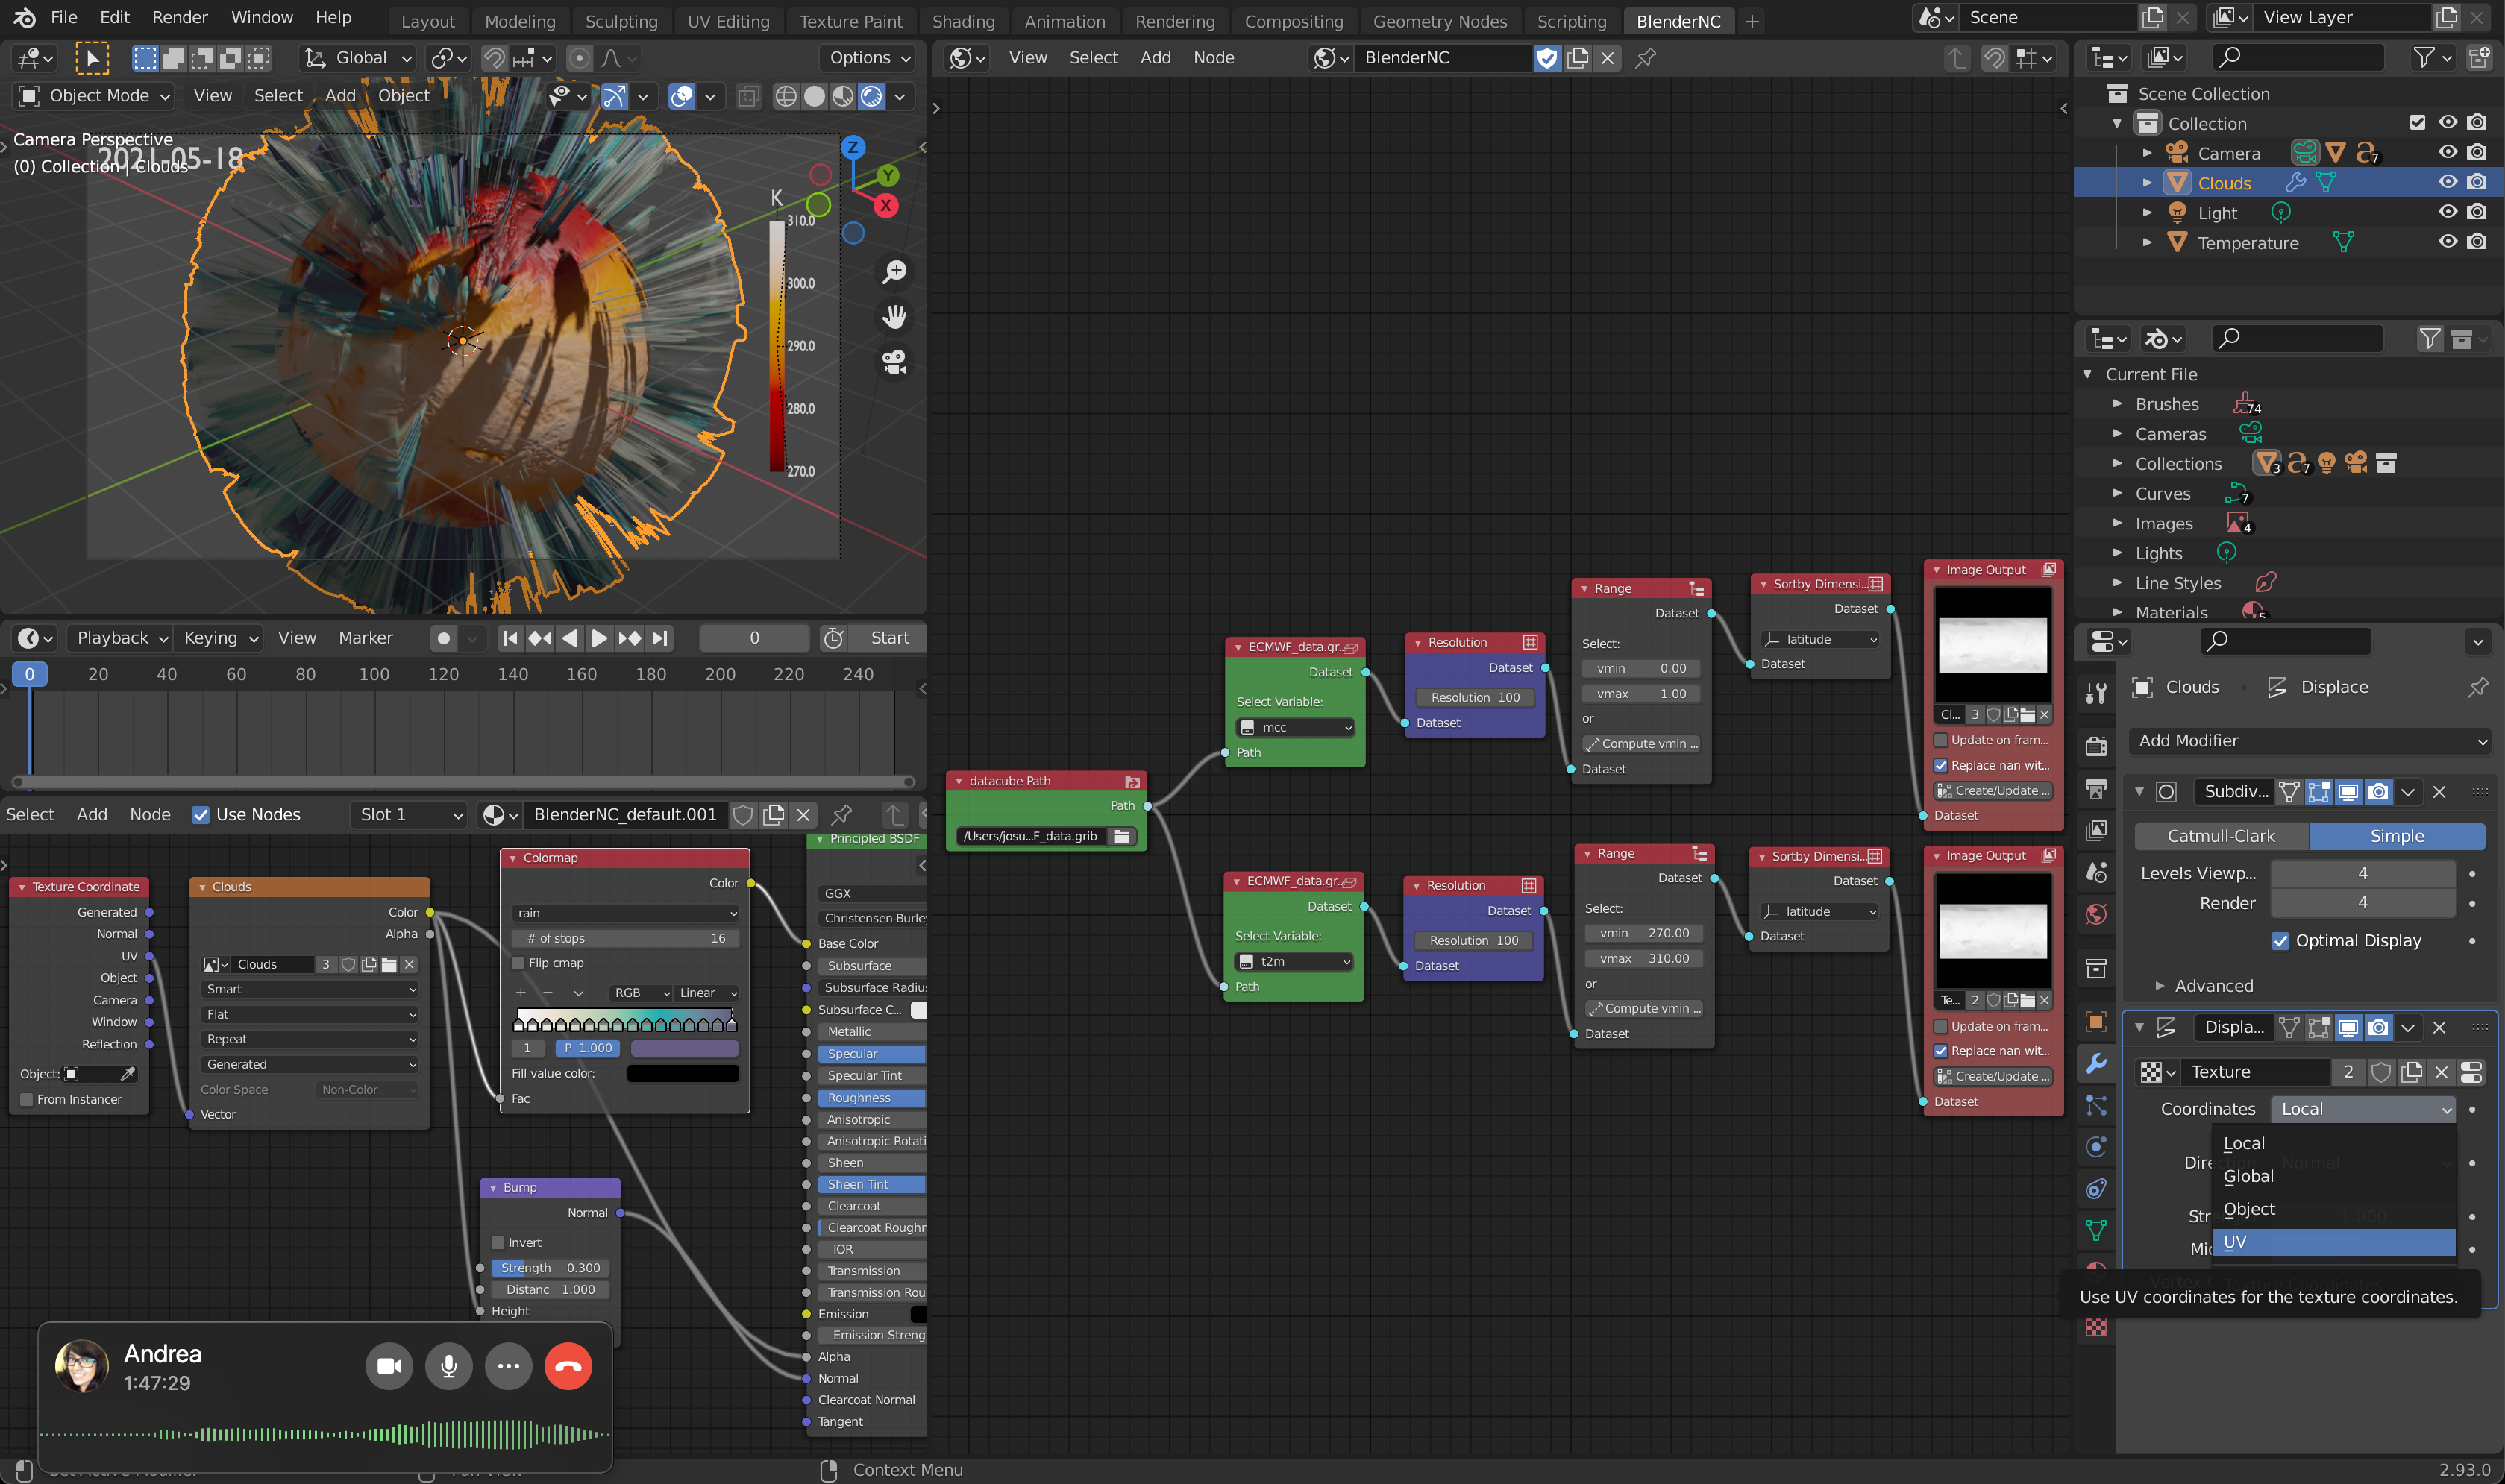
Switch the coordinates from
NormaltoUV.
Now let’s reduce the intensity of the displacement modifier strength to
0.05
Note
You can play with any of the parameters; including the displacement texture in the texture property, to smooth and apply a gaussian filter to the image.
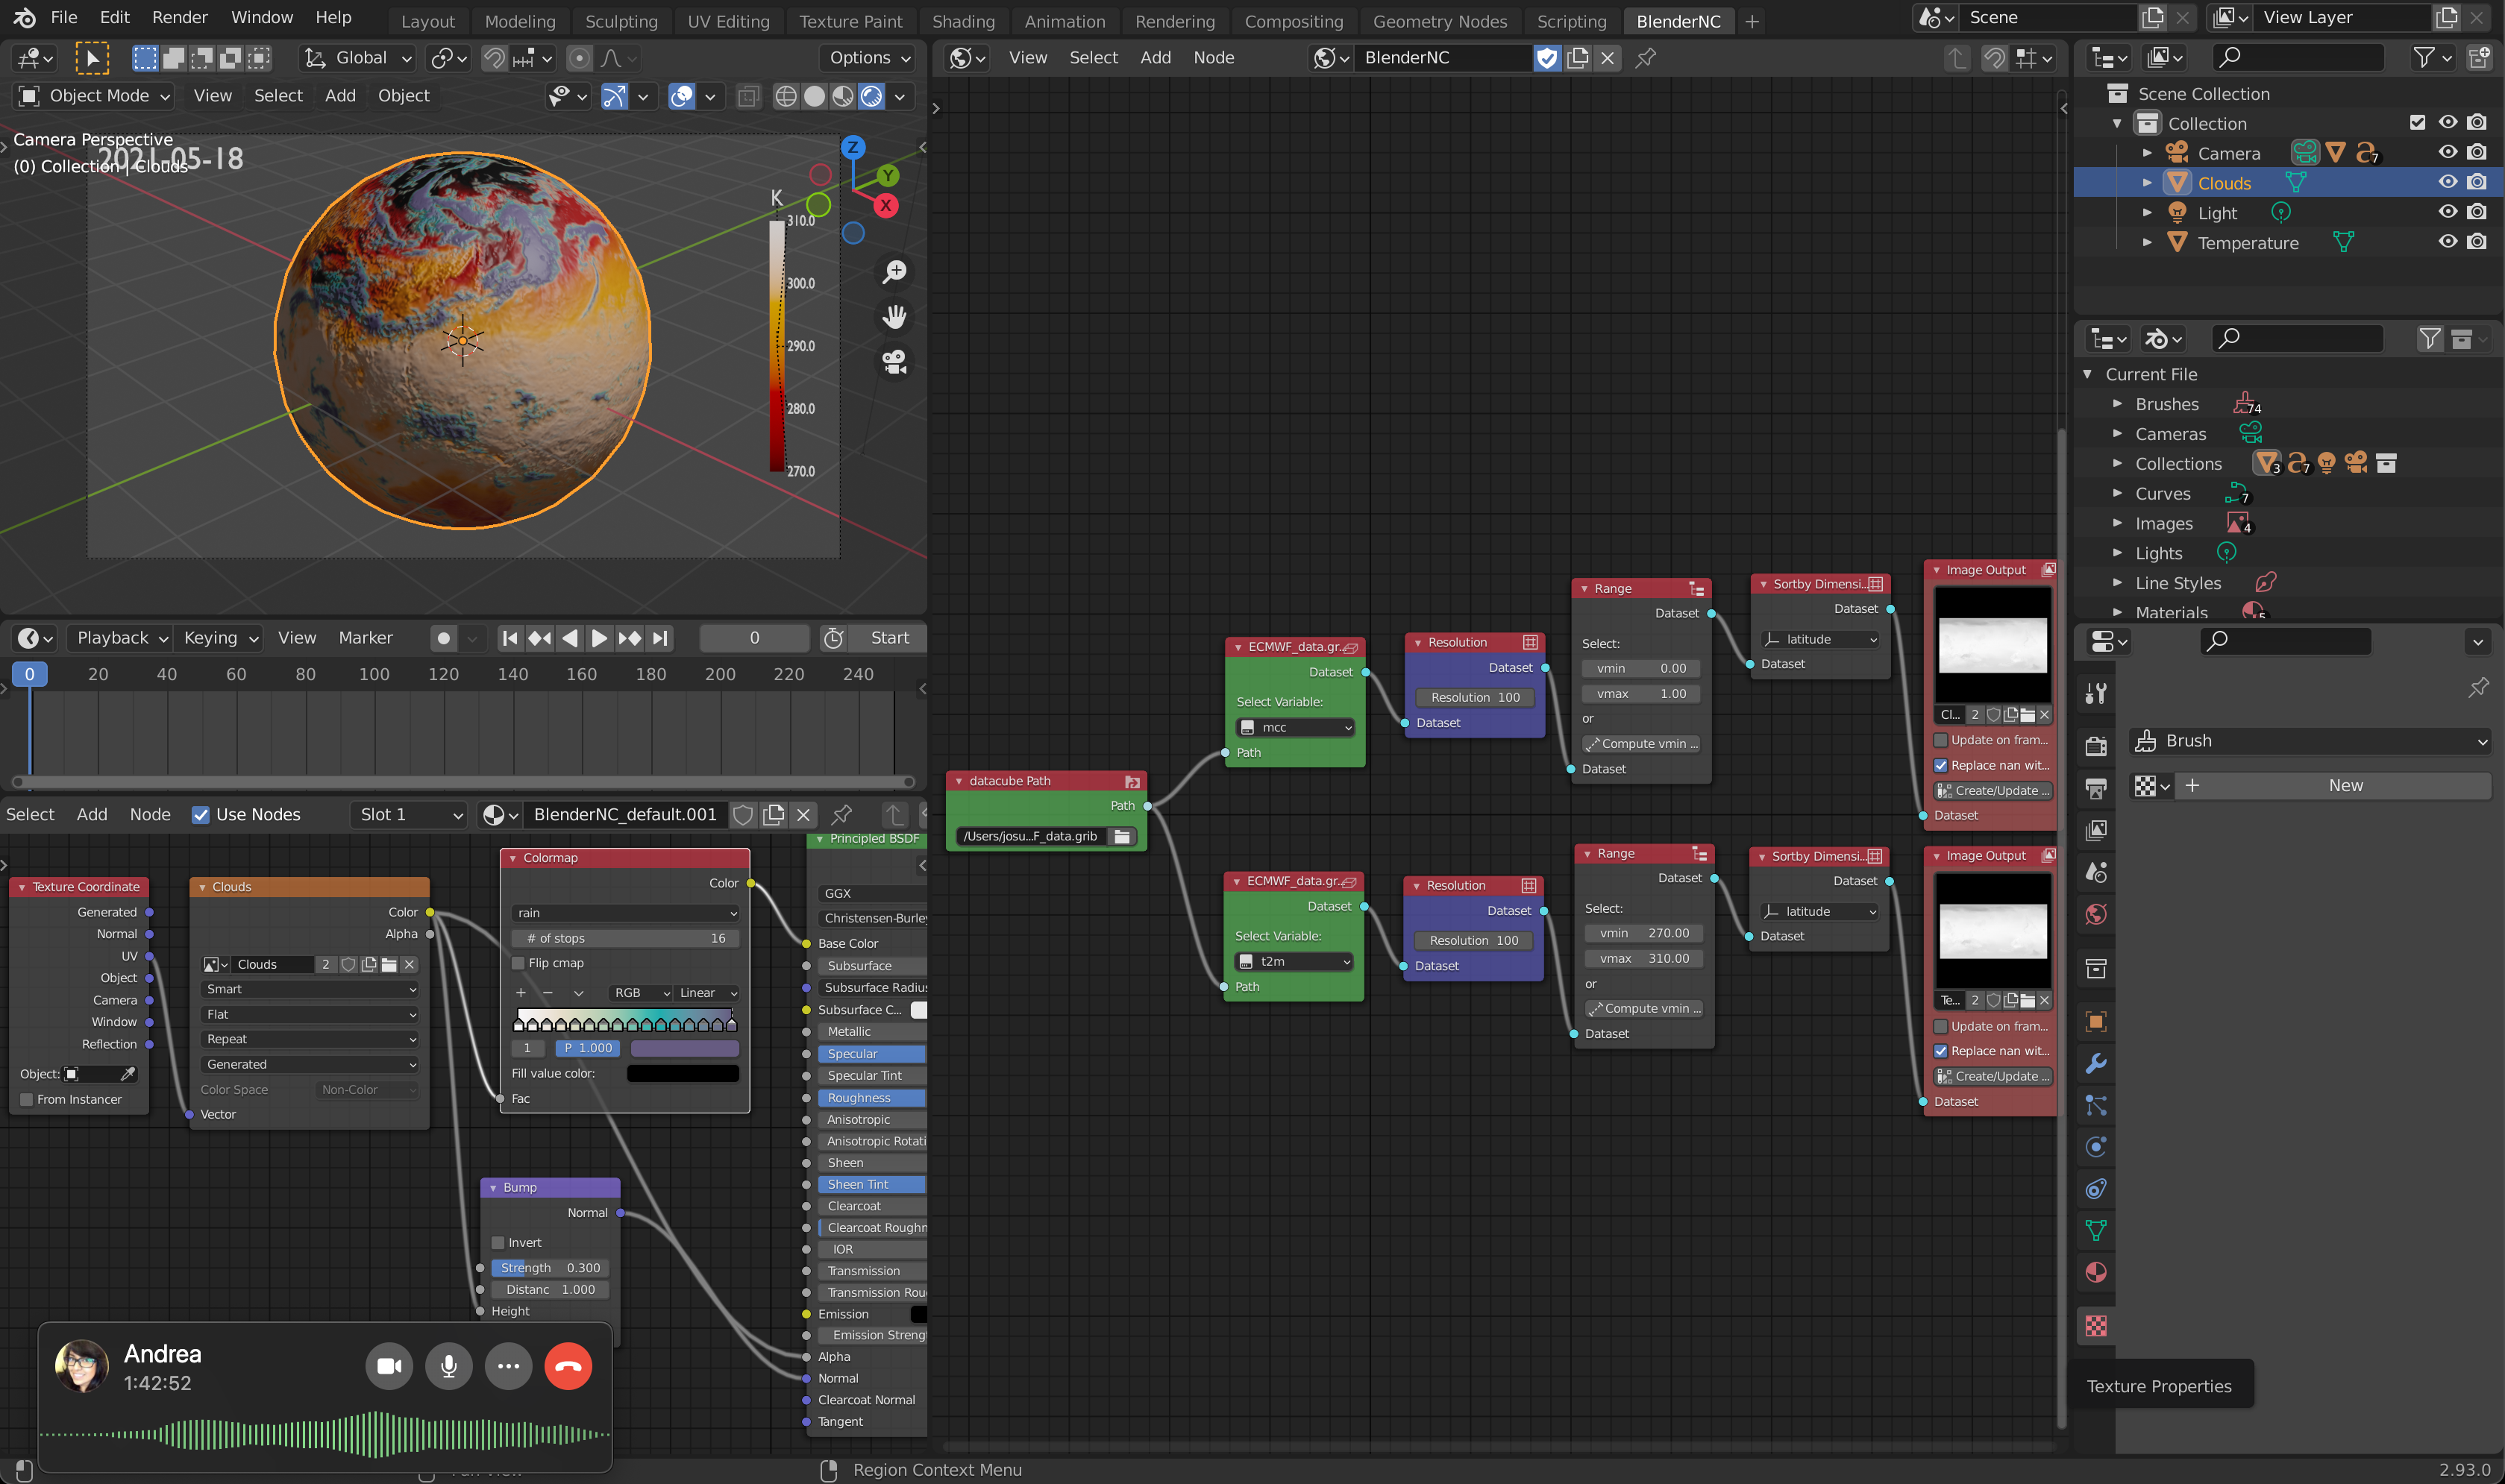
To add another field, for example, the low cloud coverage (lcc), we can duplicate the cloud object (UV sphere) and rename it to Clouds_low.
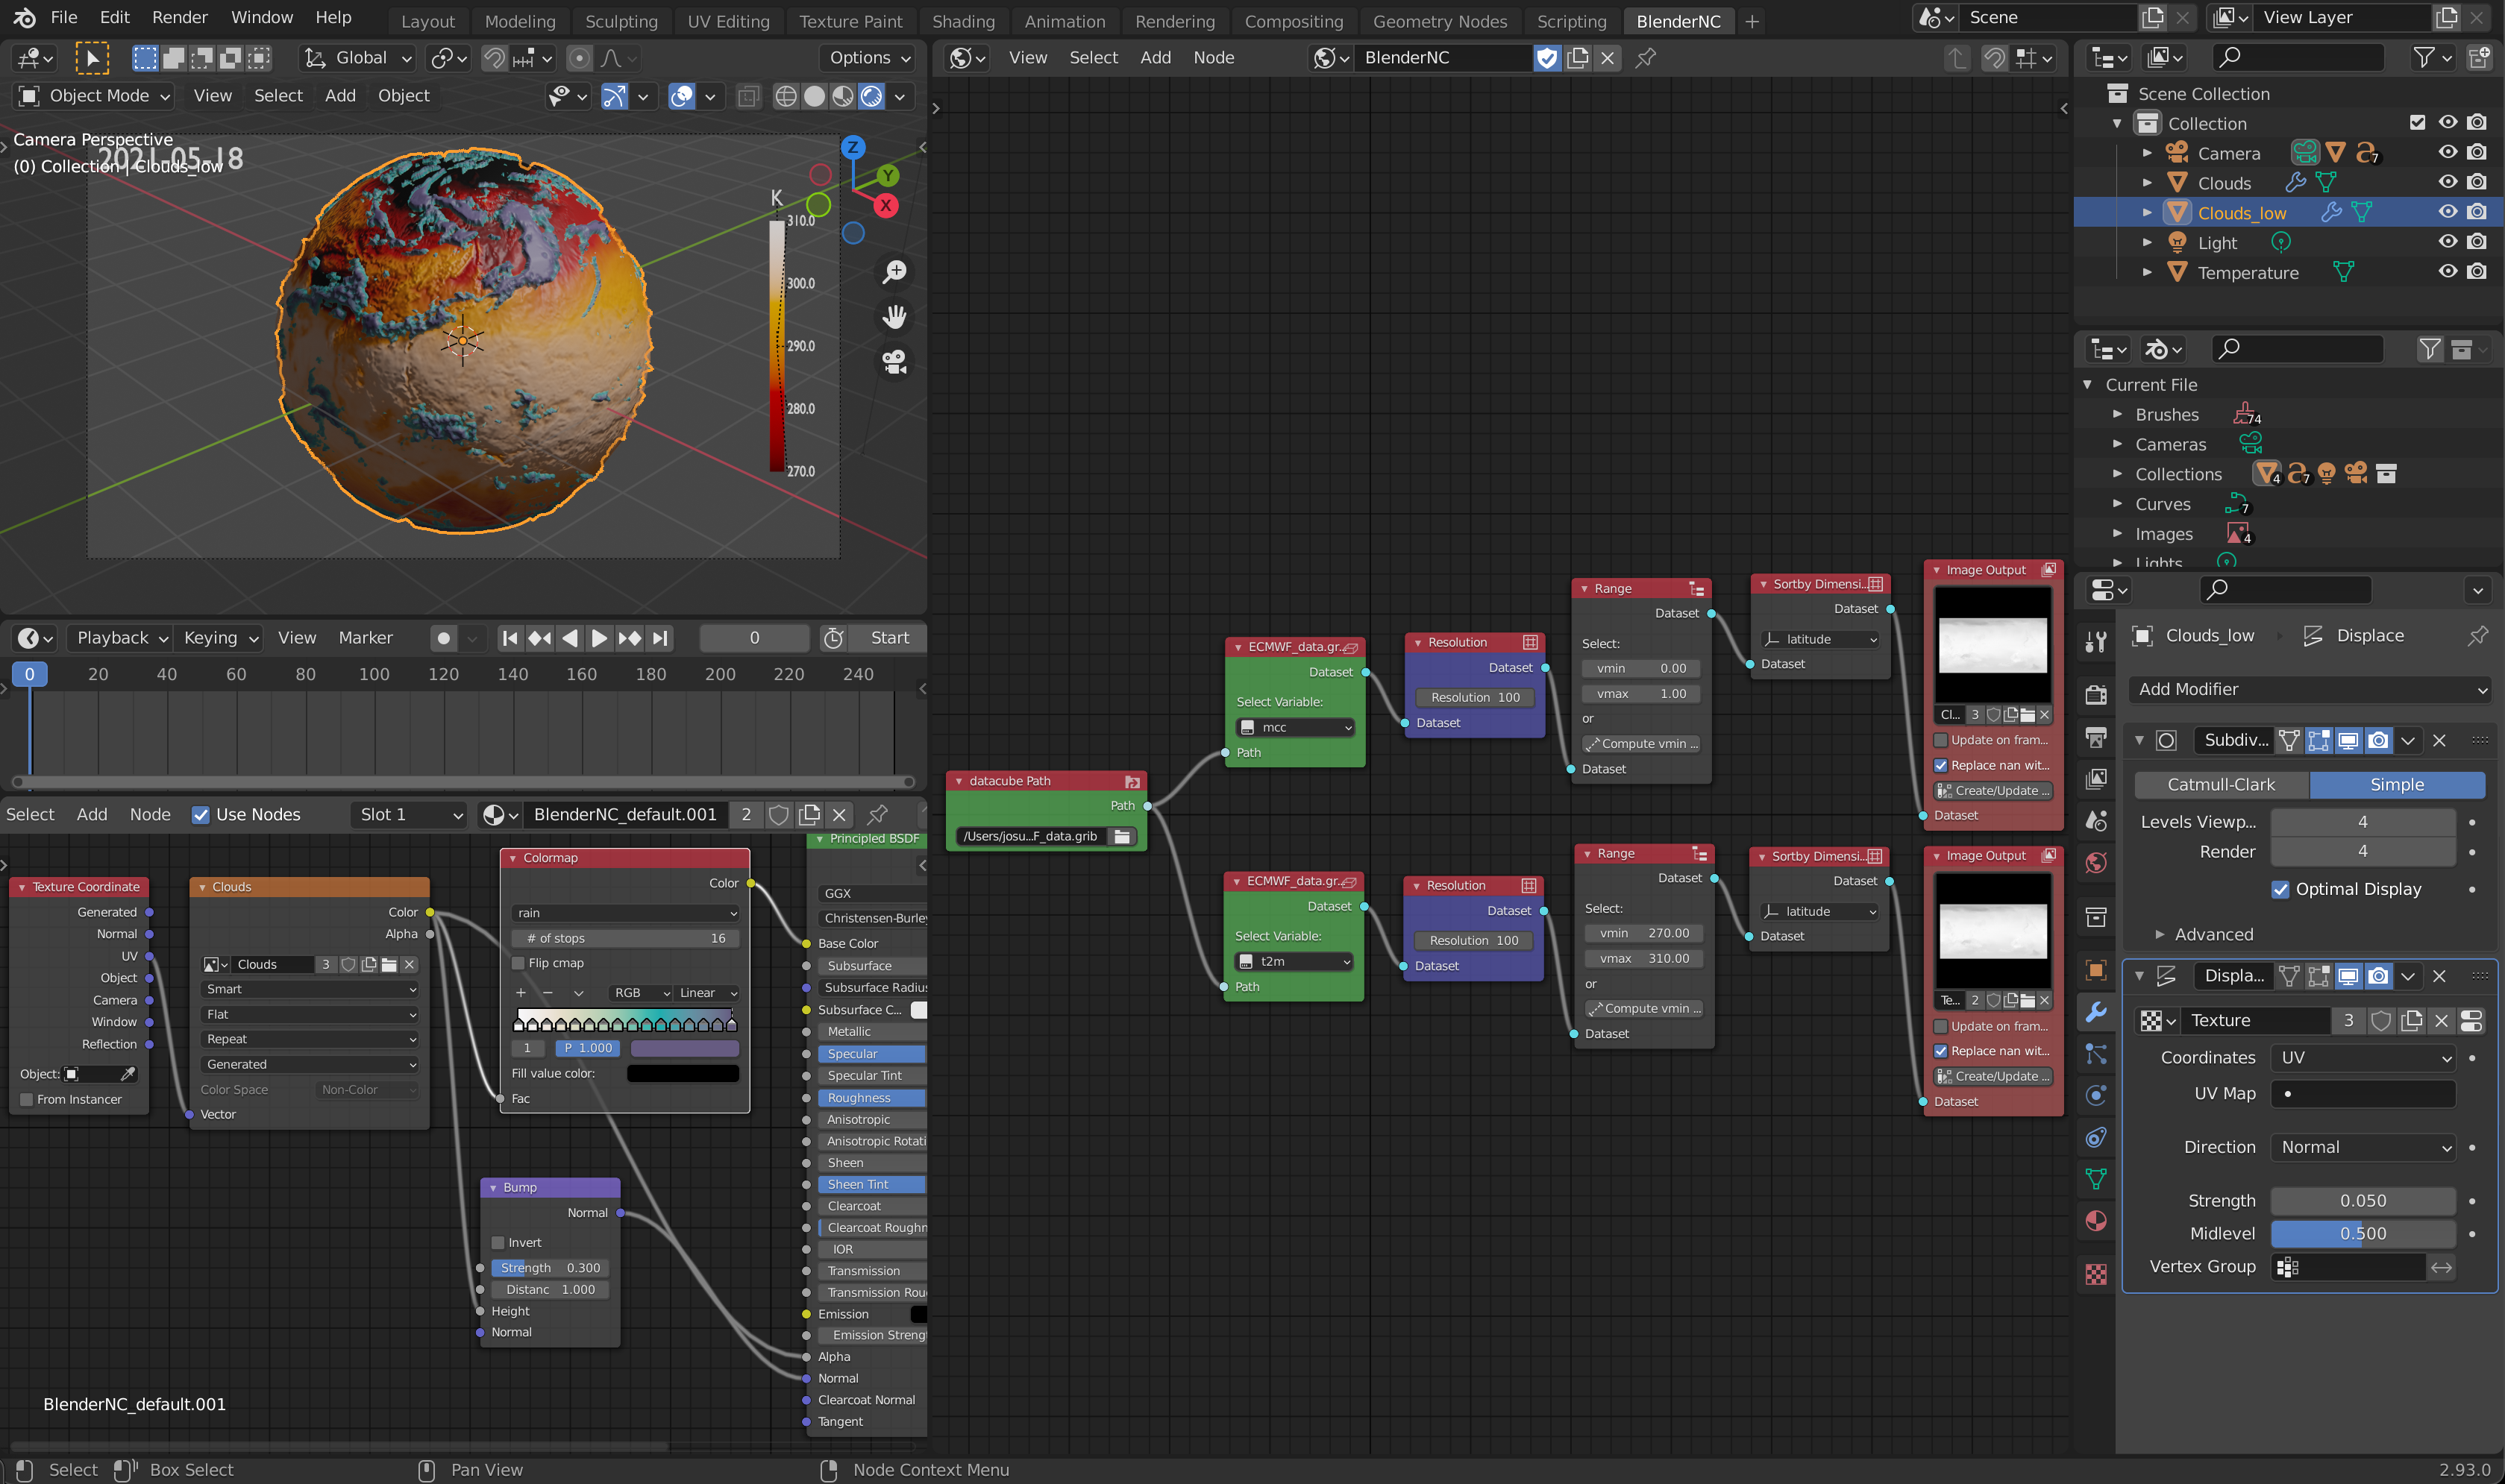
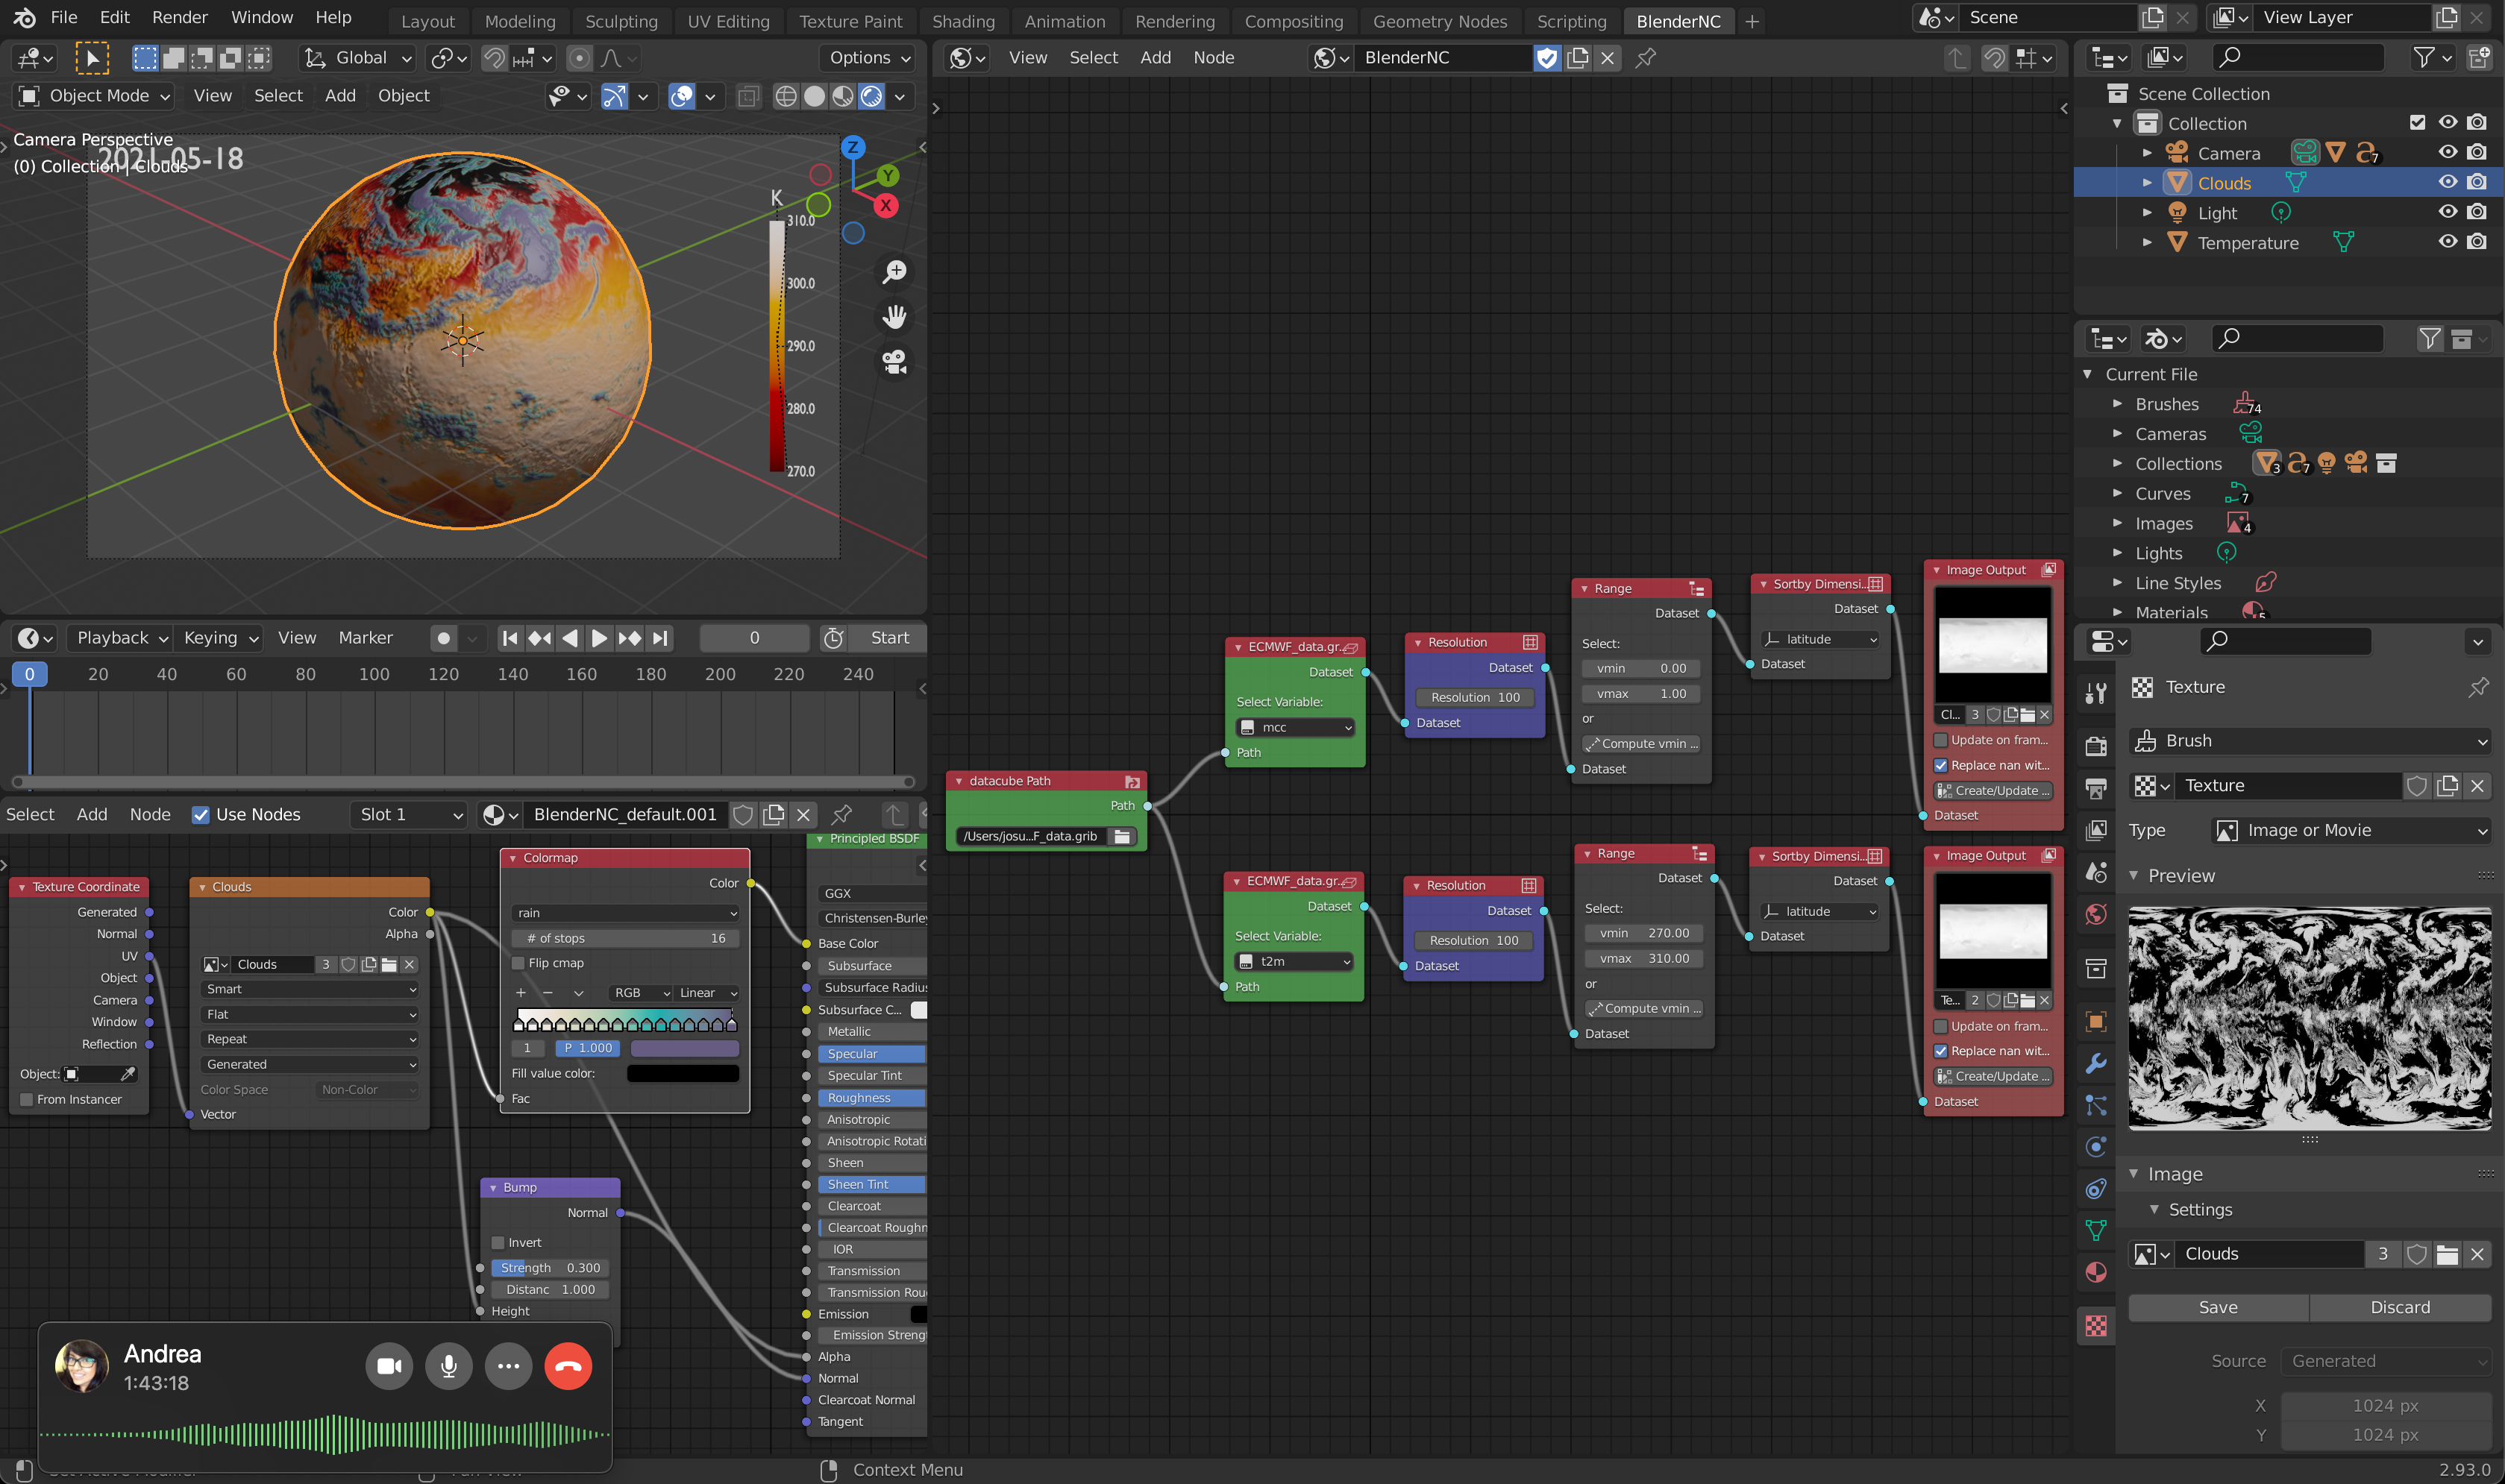
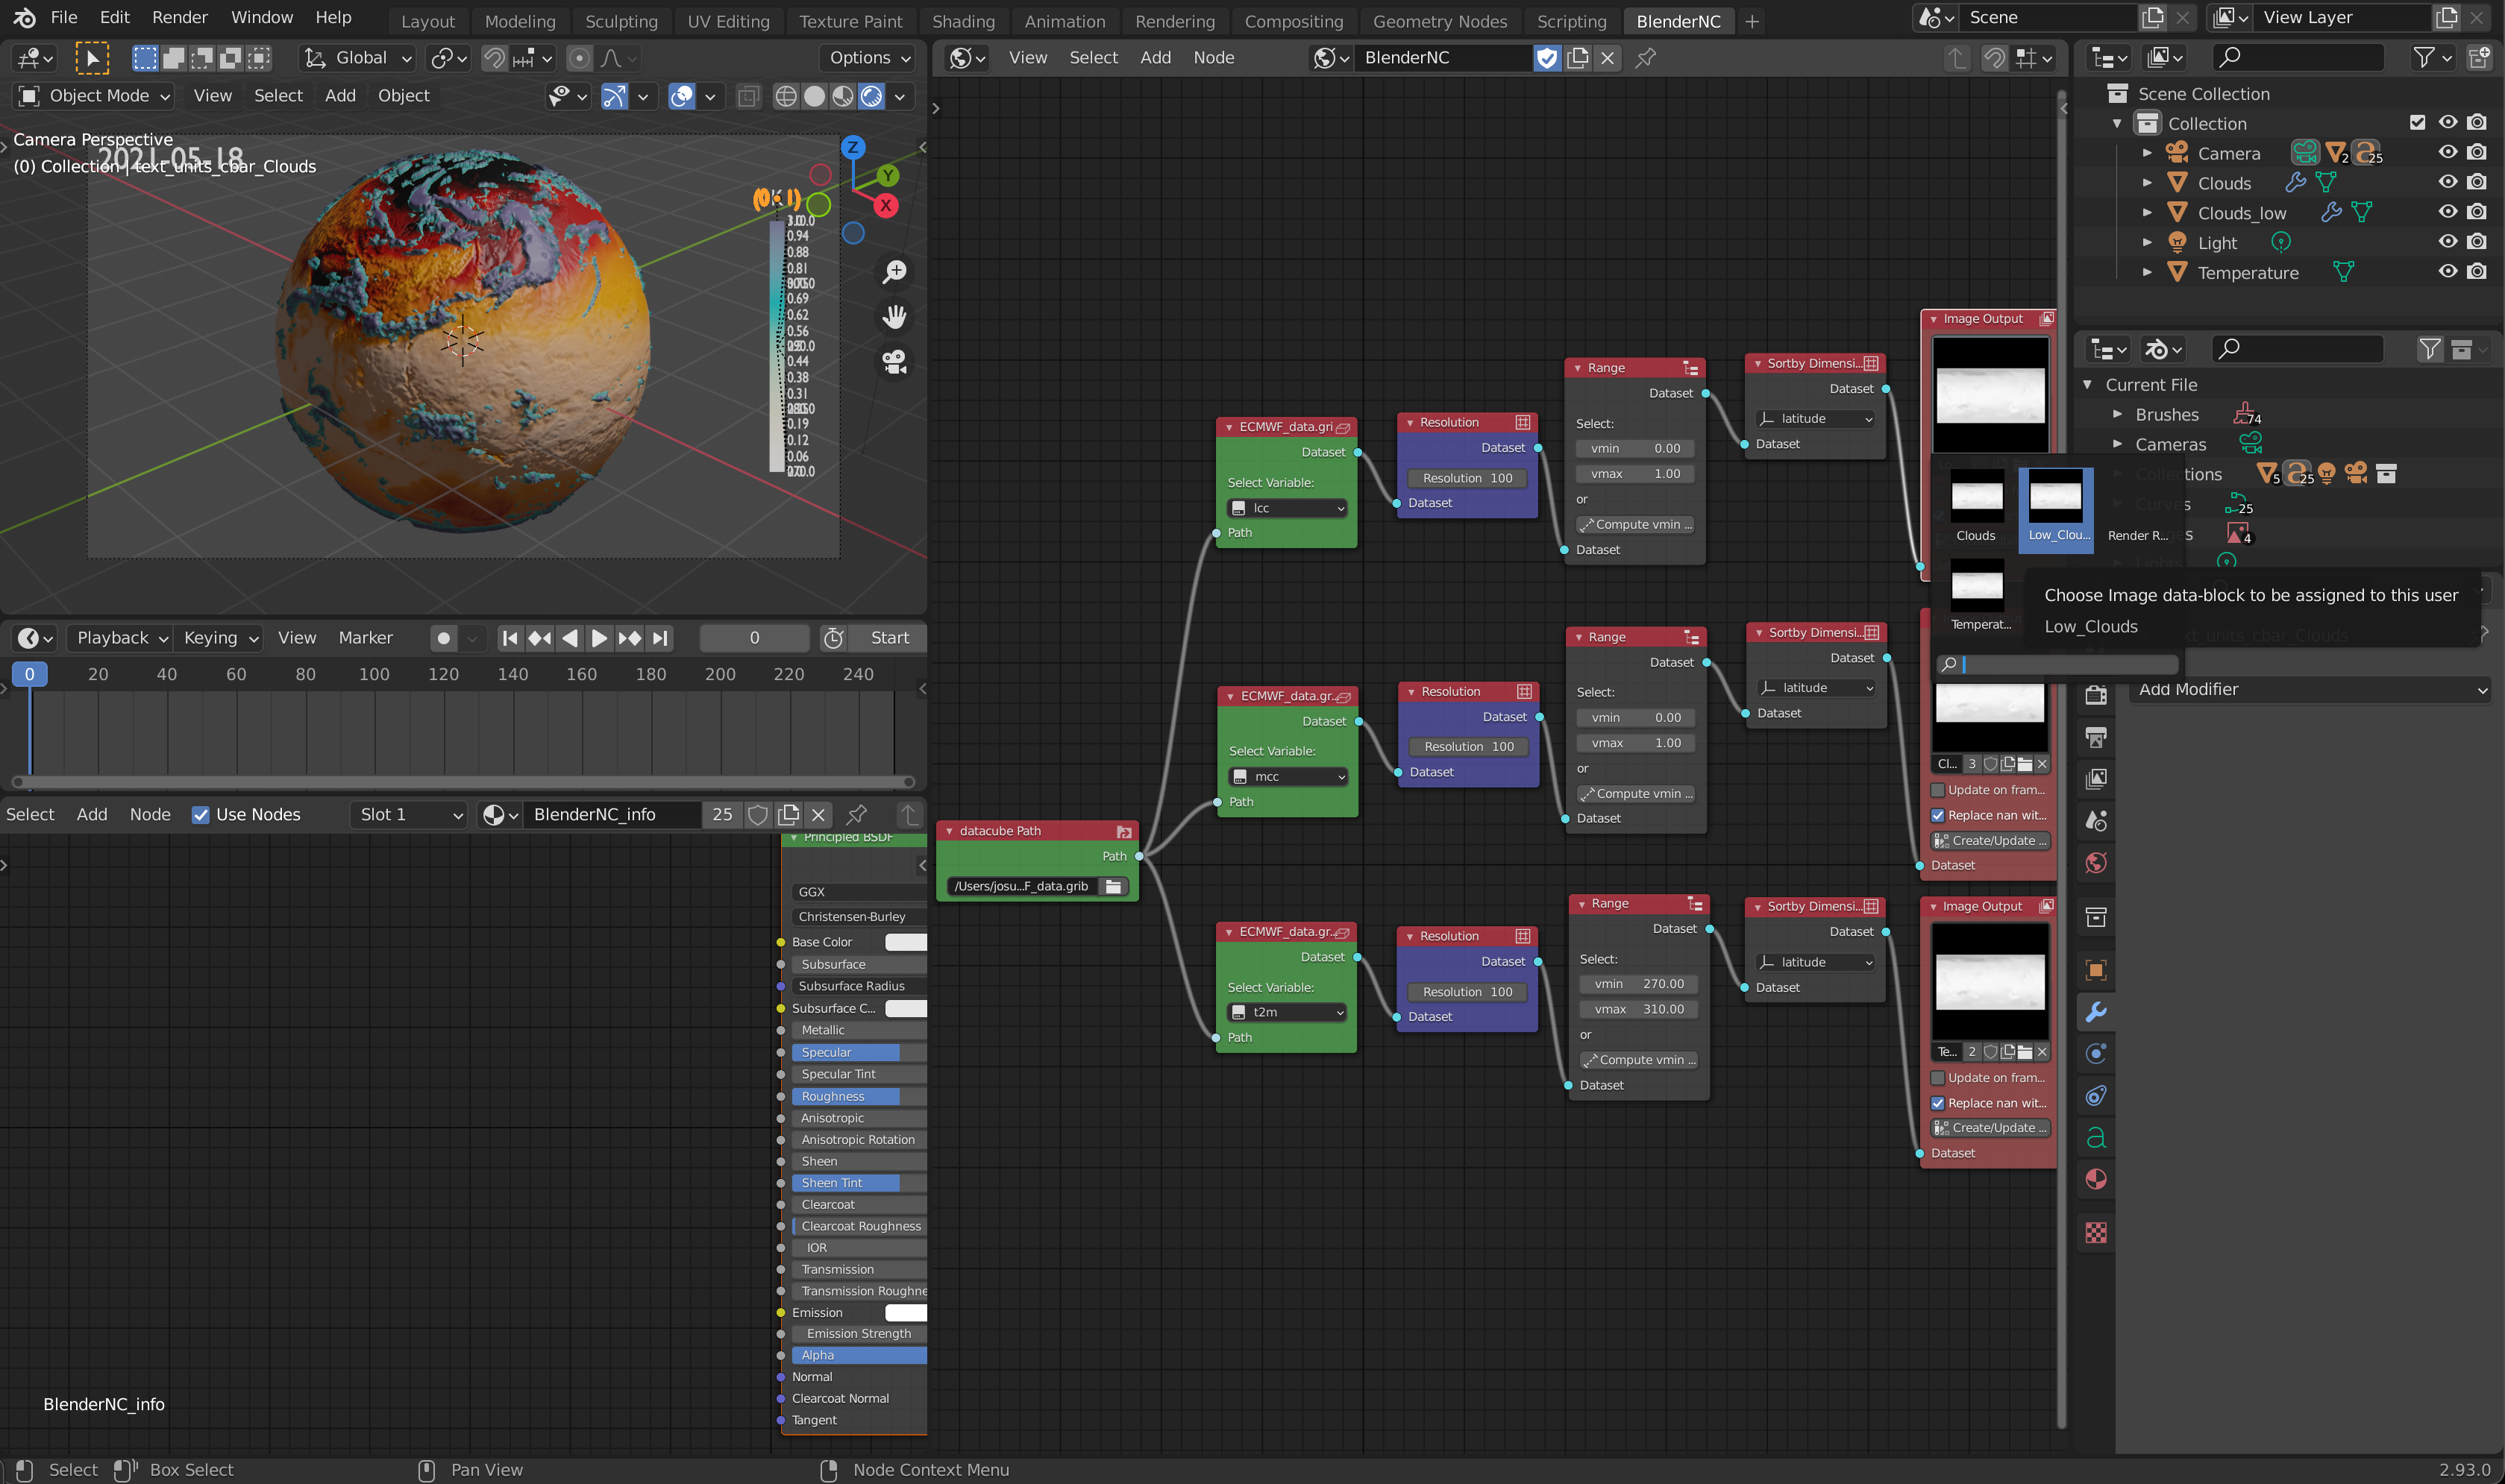
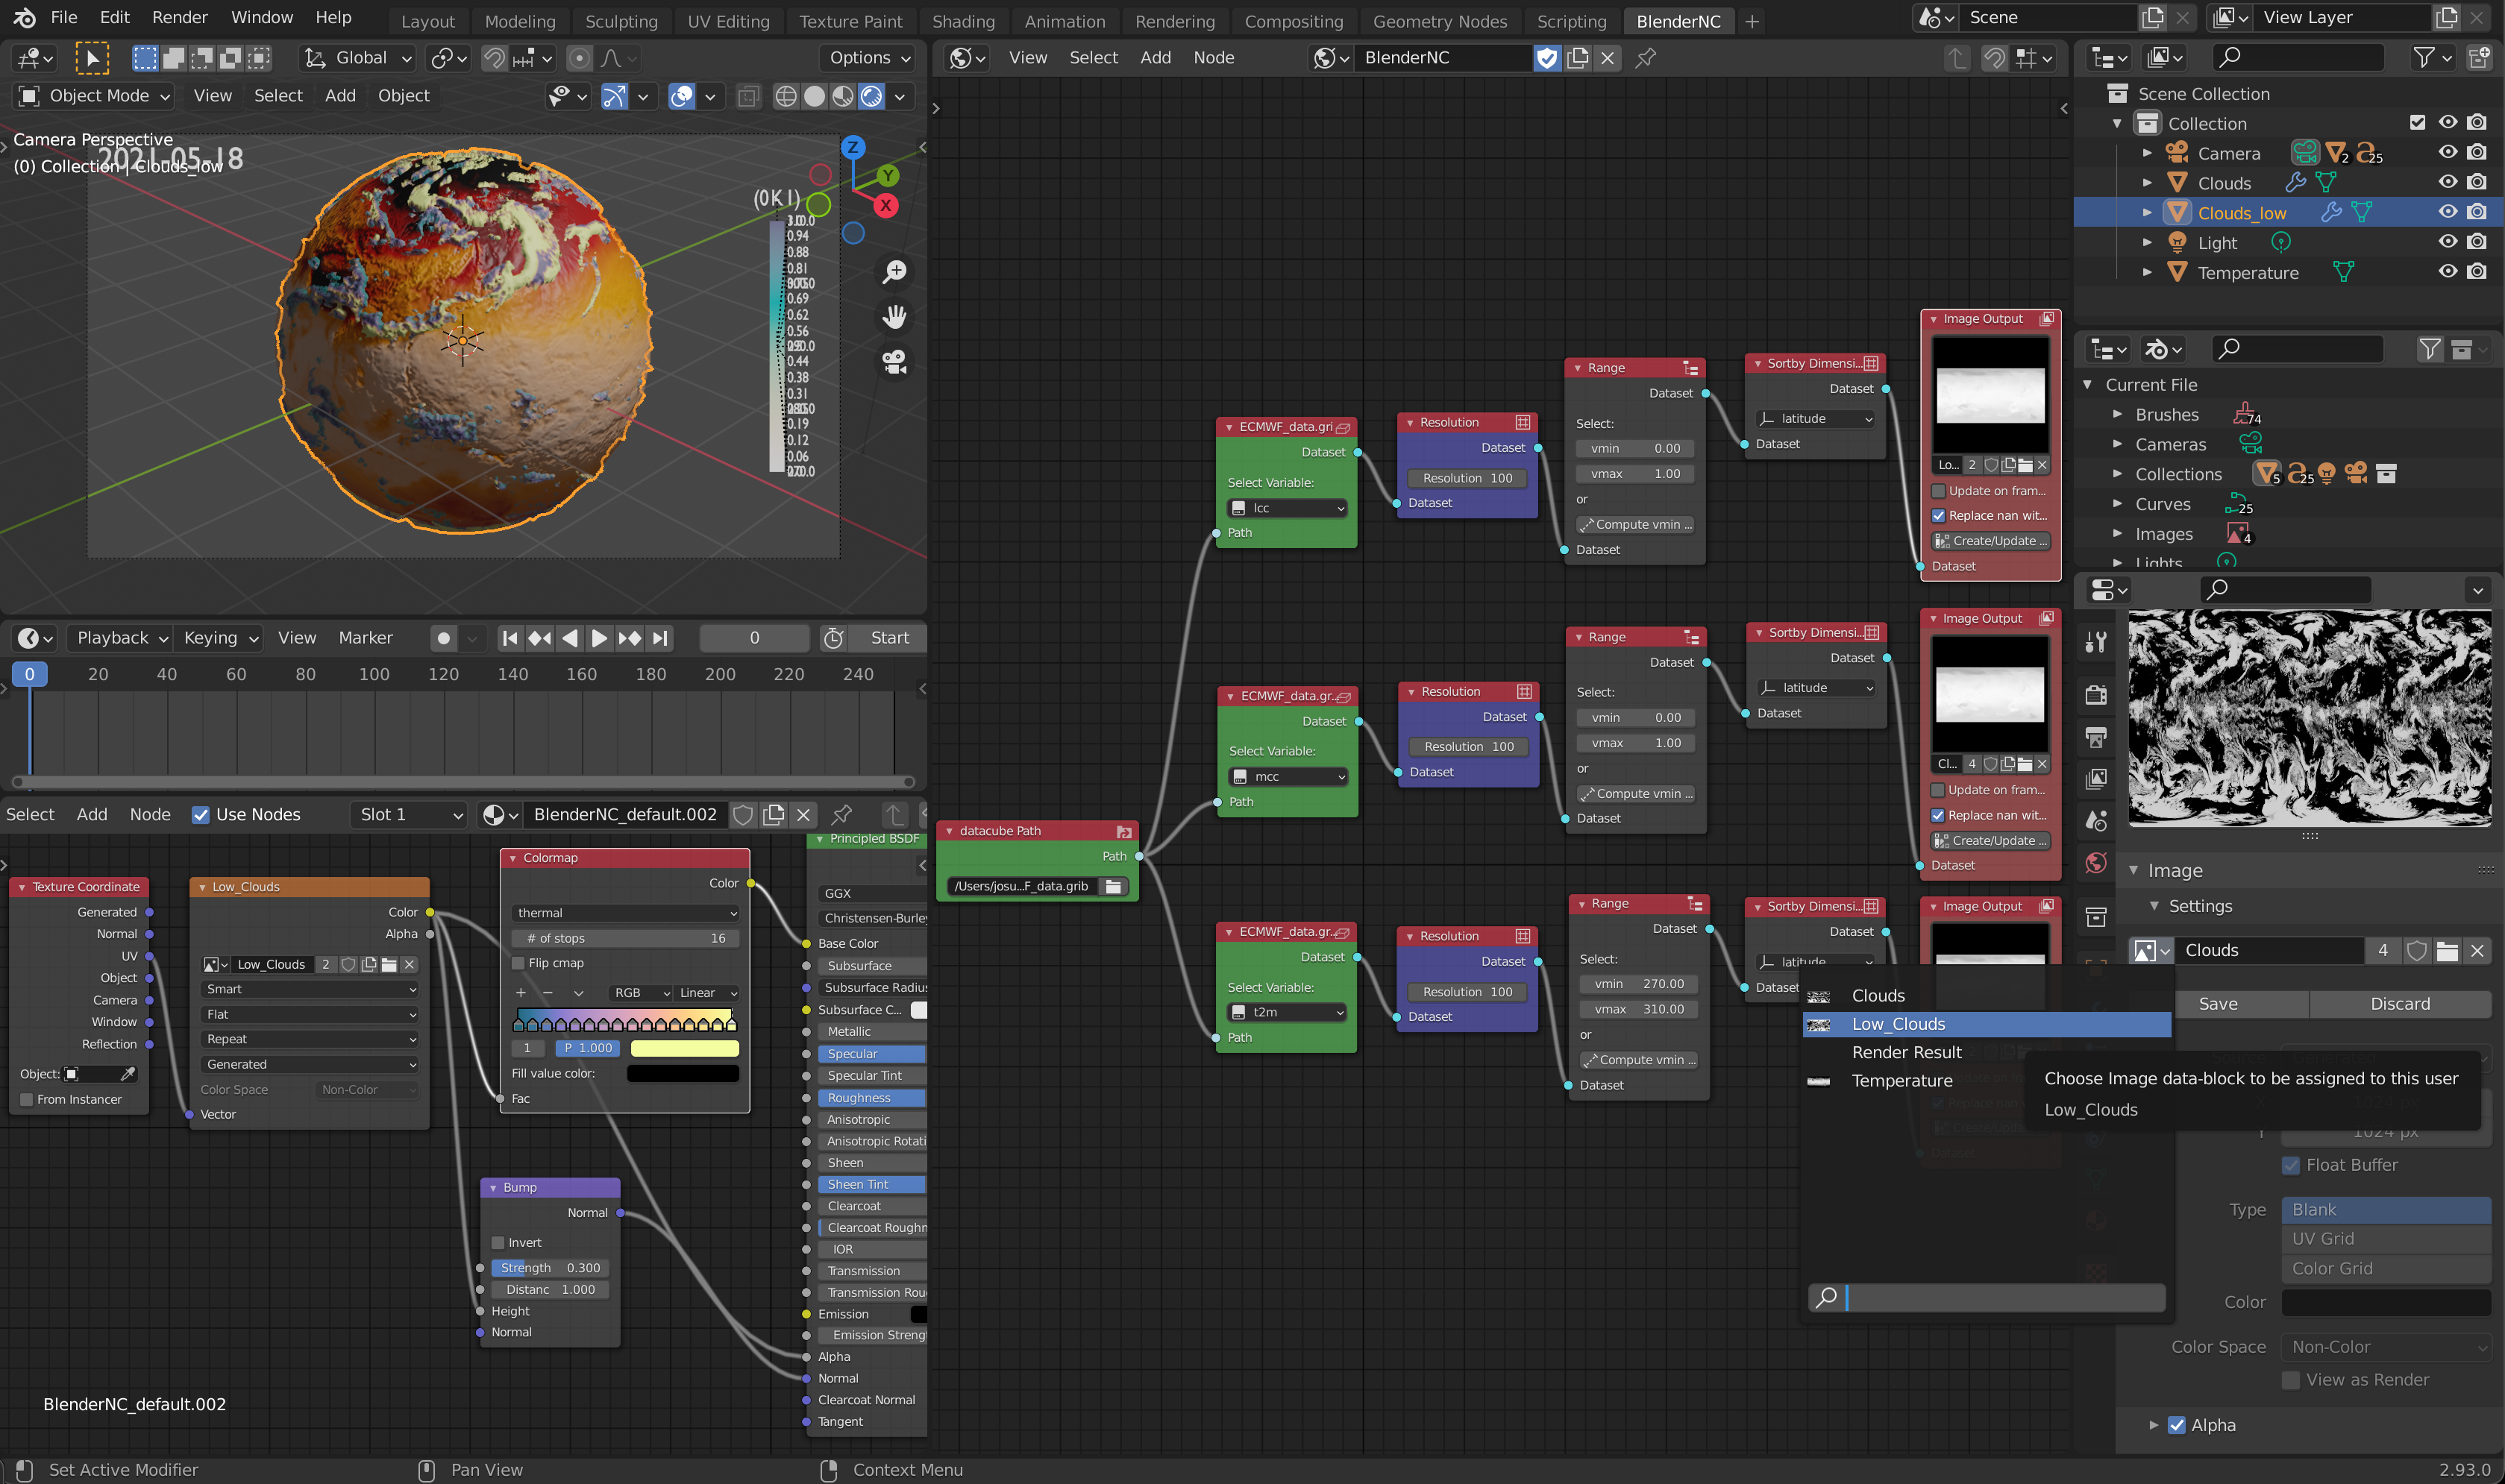
Now we will repeat a similar process, but first we need to create a new image containing the lcc variable in the BlenderNC nodetree:
Select the Clouds_low object and unlink the material by clicking over the number next to the material name.

Now, we can change the image source in the image texture node in the new material.
Similarly to the material, we now need to unlink the displacement texture in the texture property menu by clicking the number next to the name of the texture.
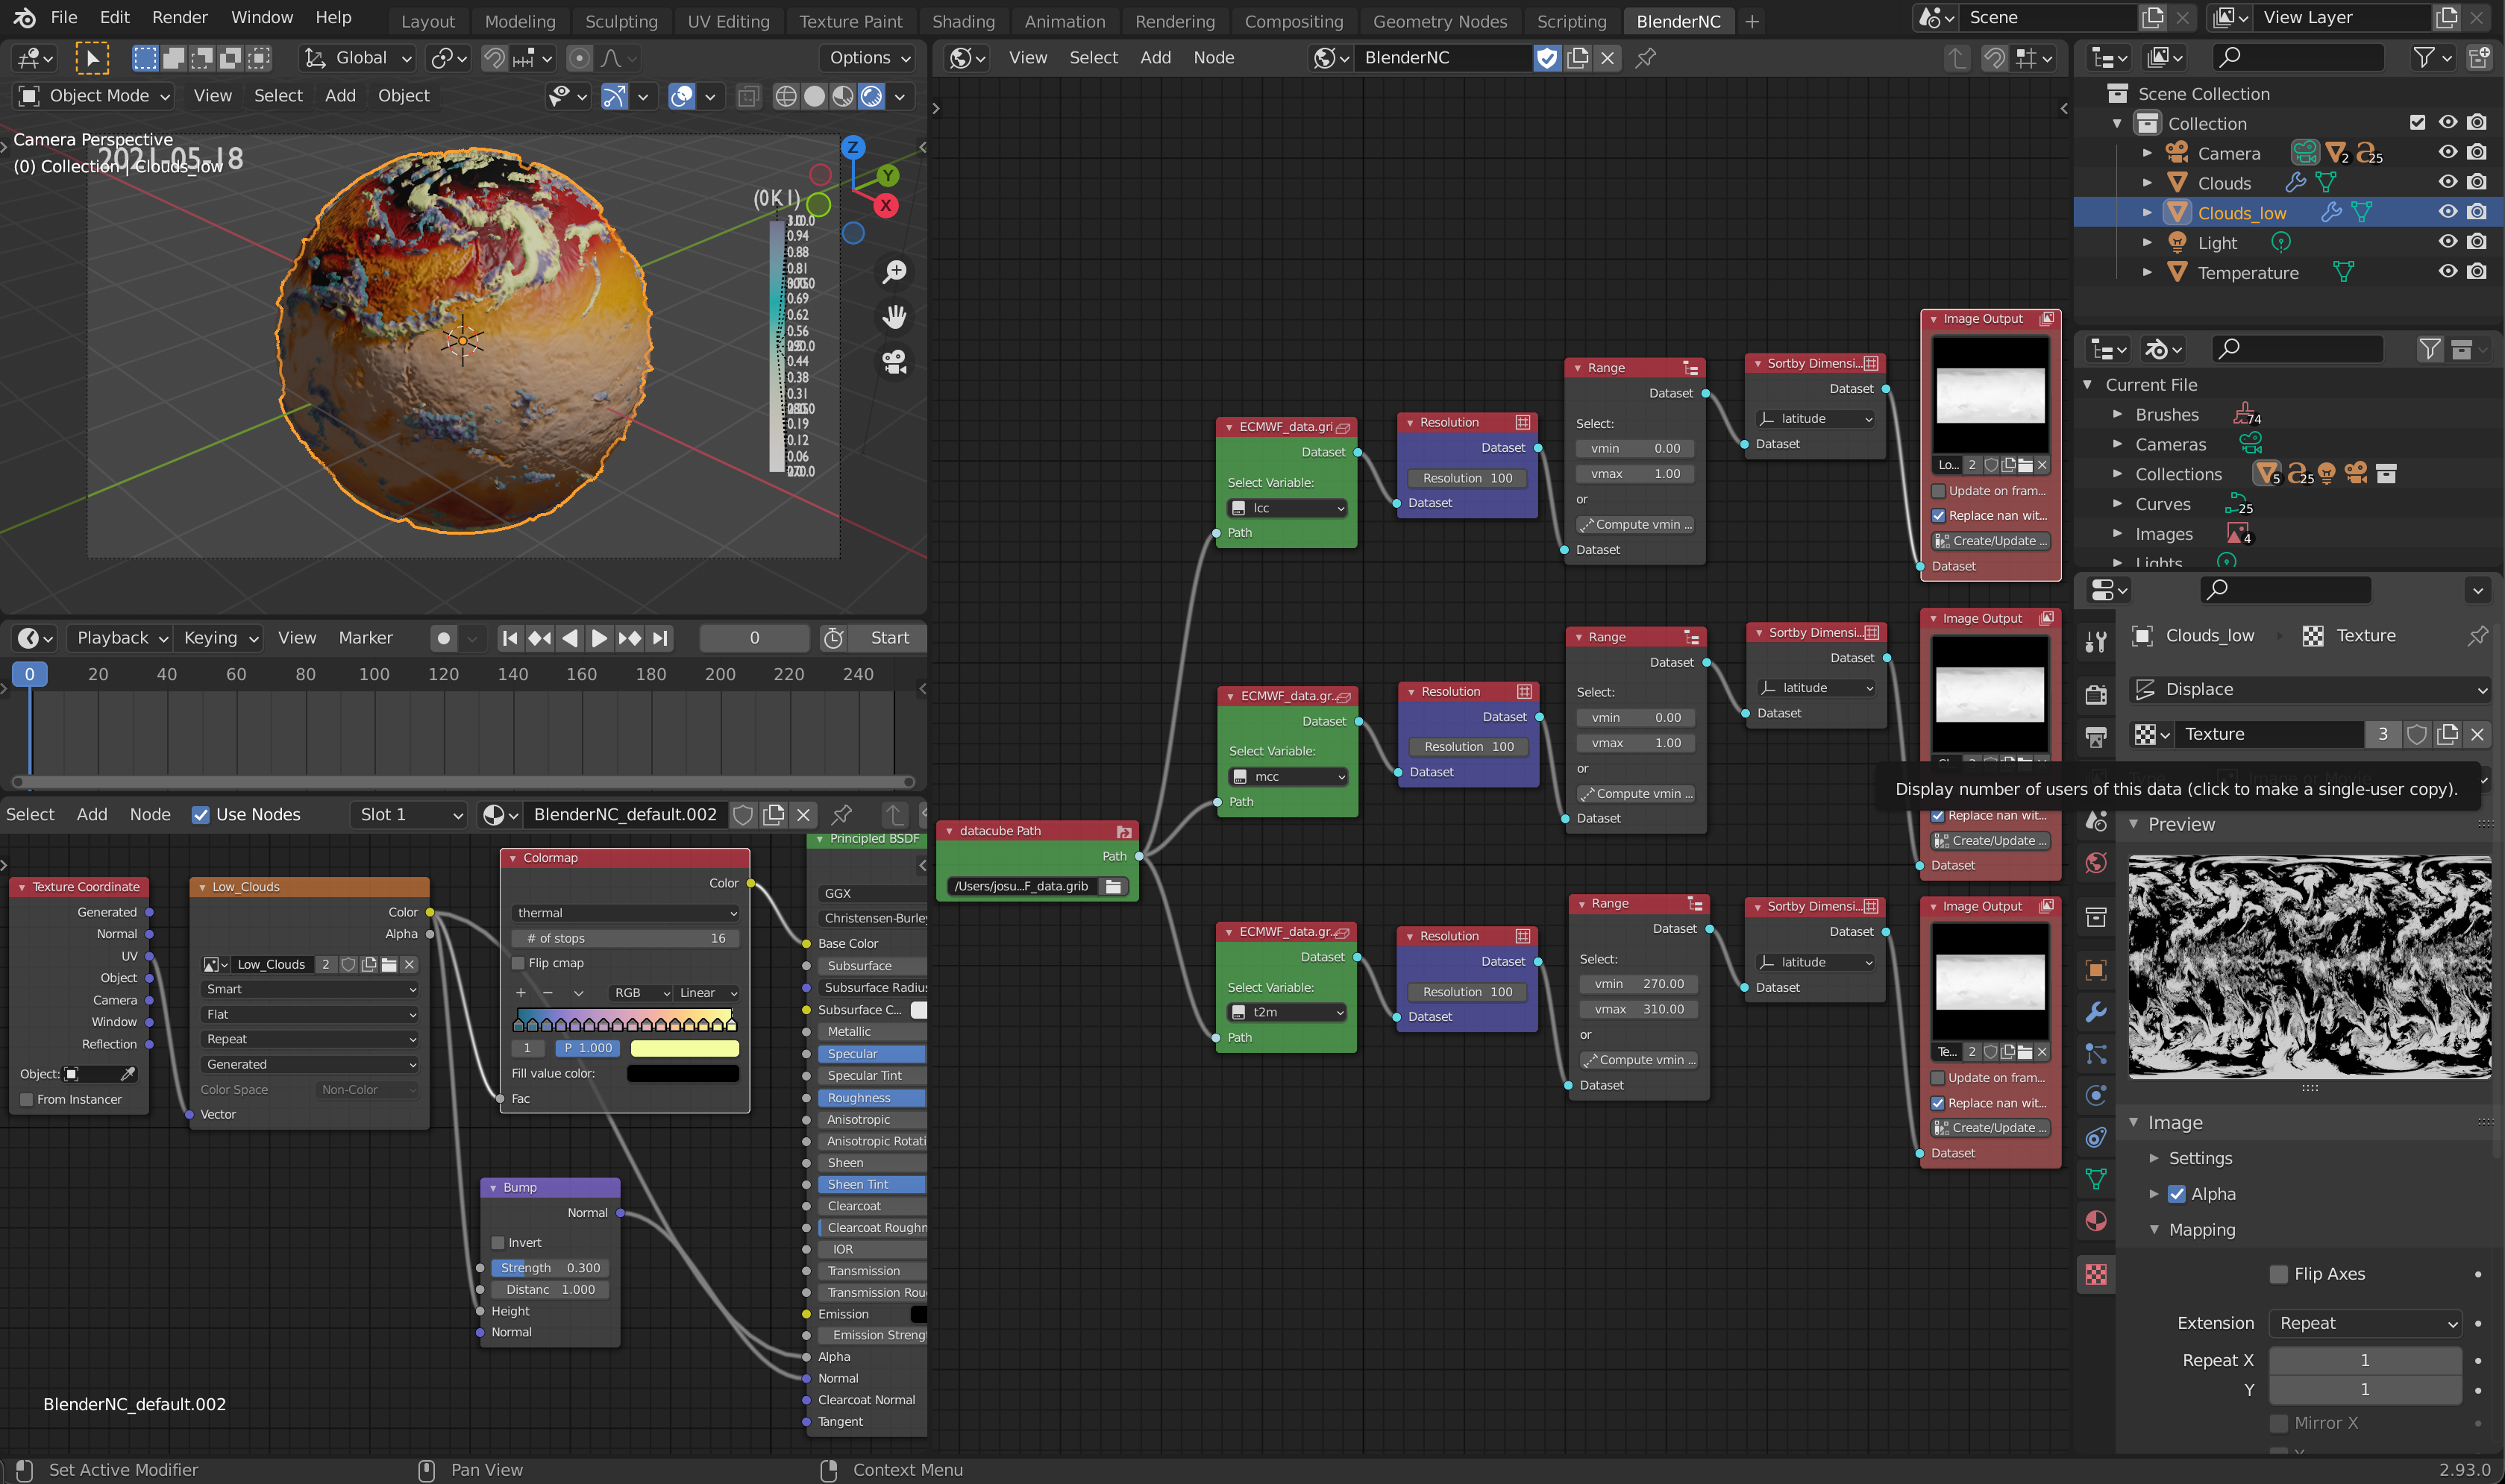
Change the displacement image source to the new image Clouds_low.
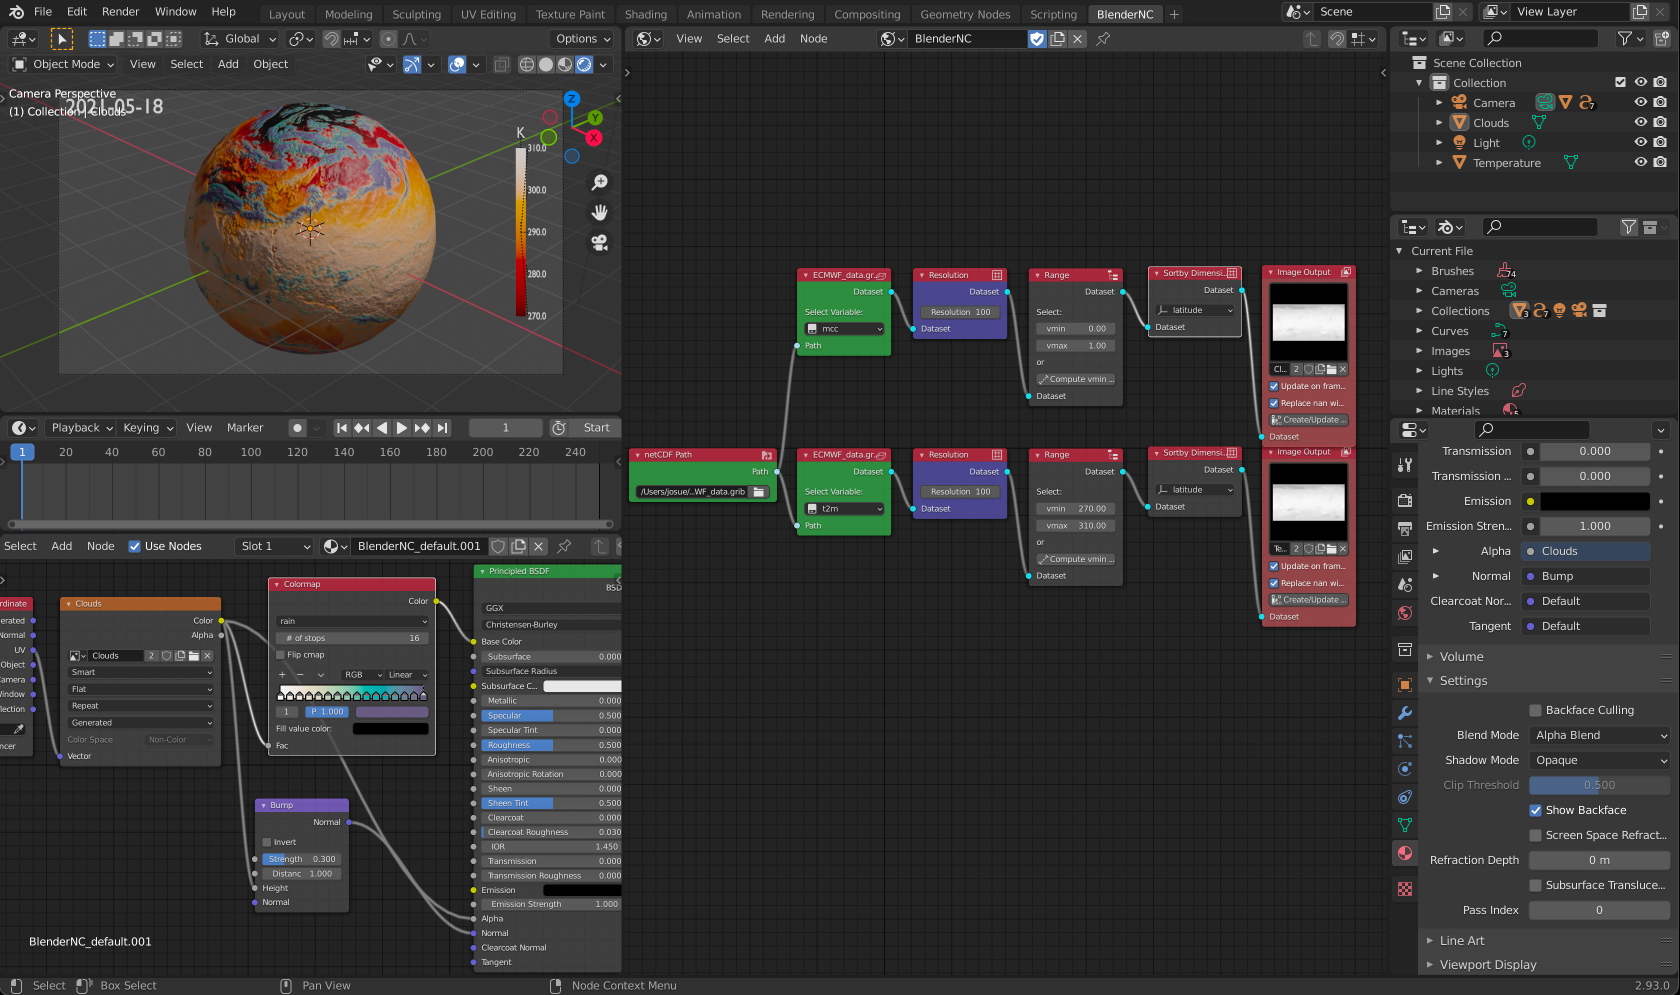
Now, we can change the colorbar from the default thermal to gray for example:
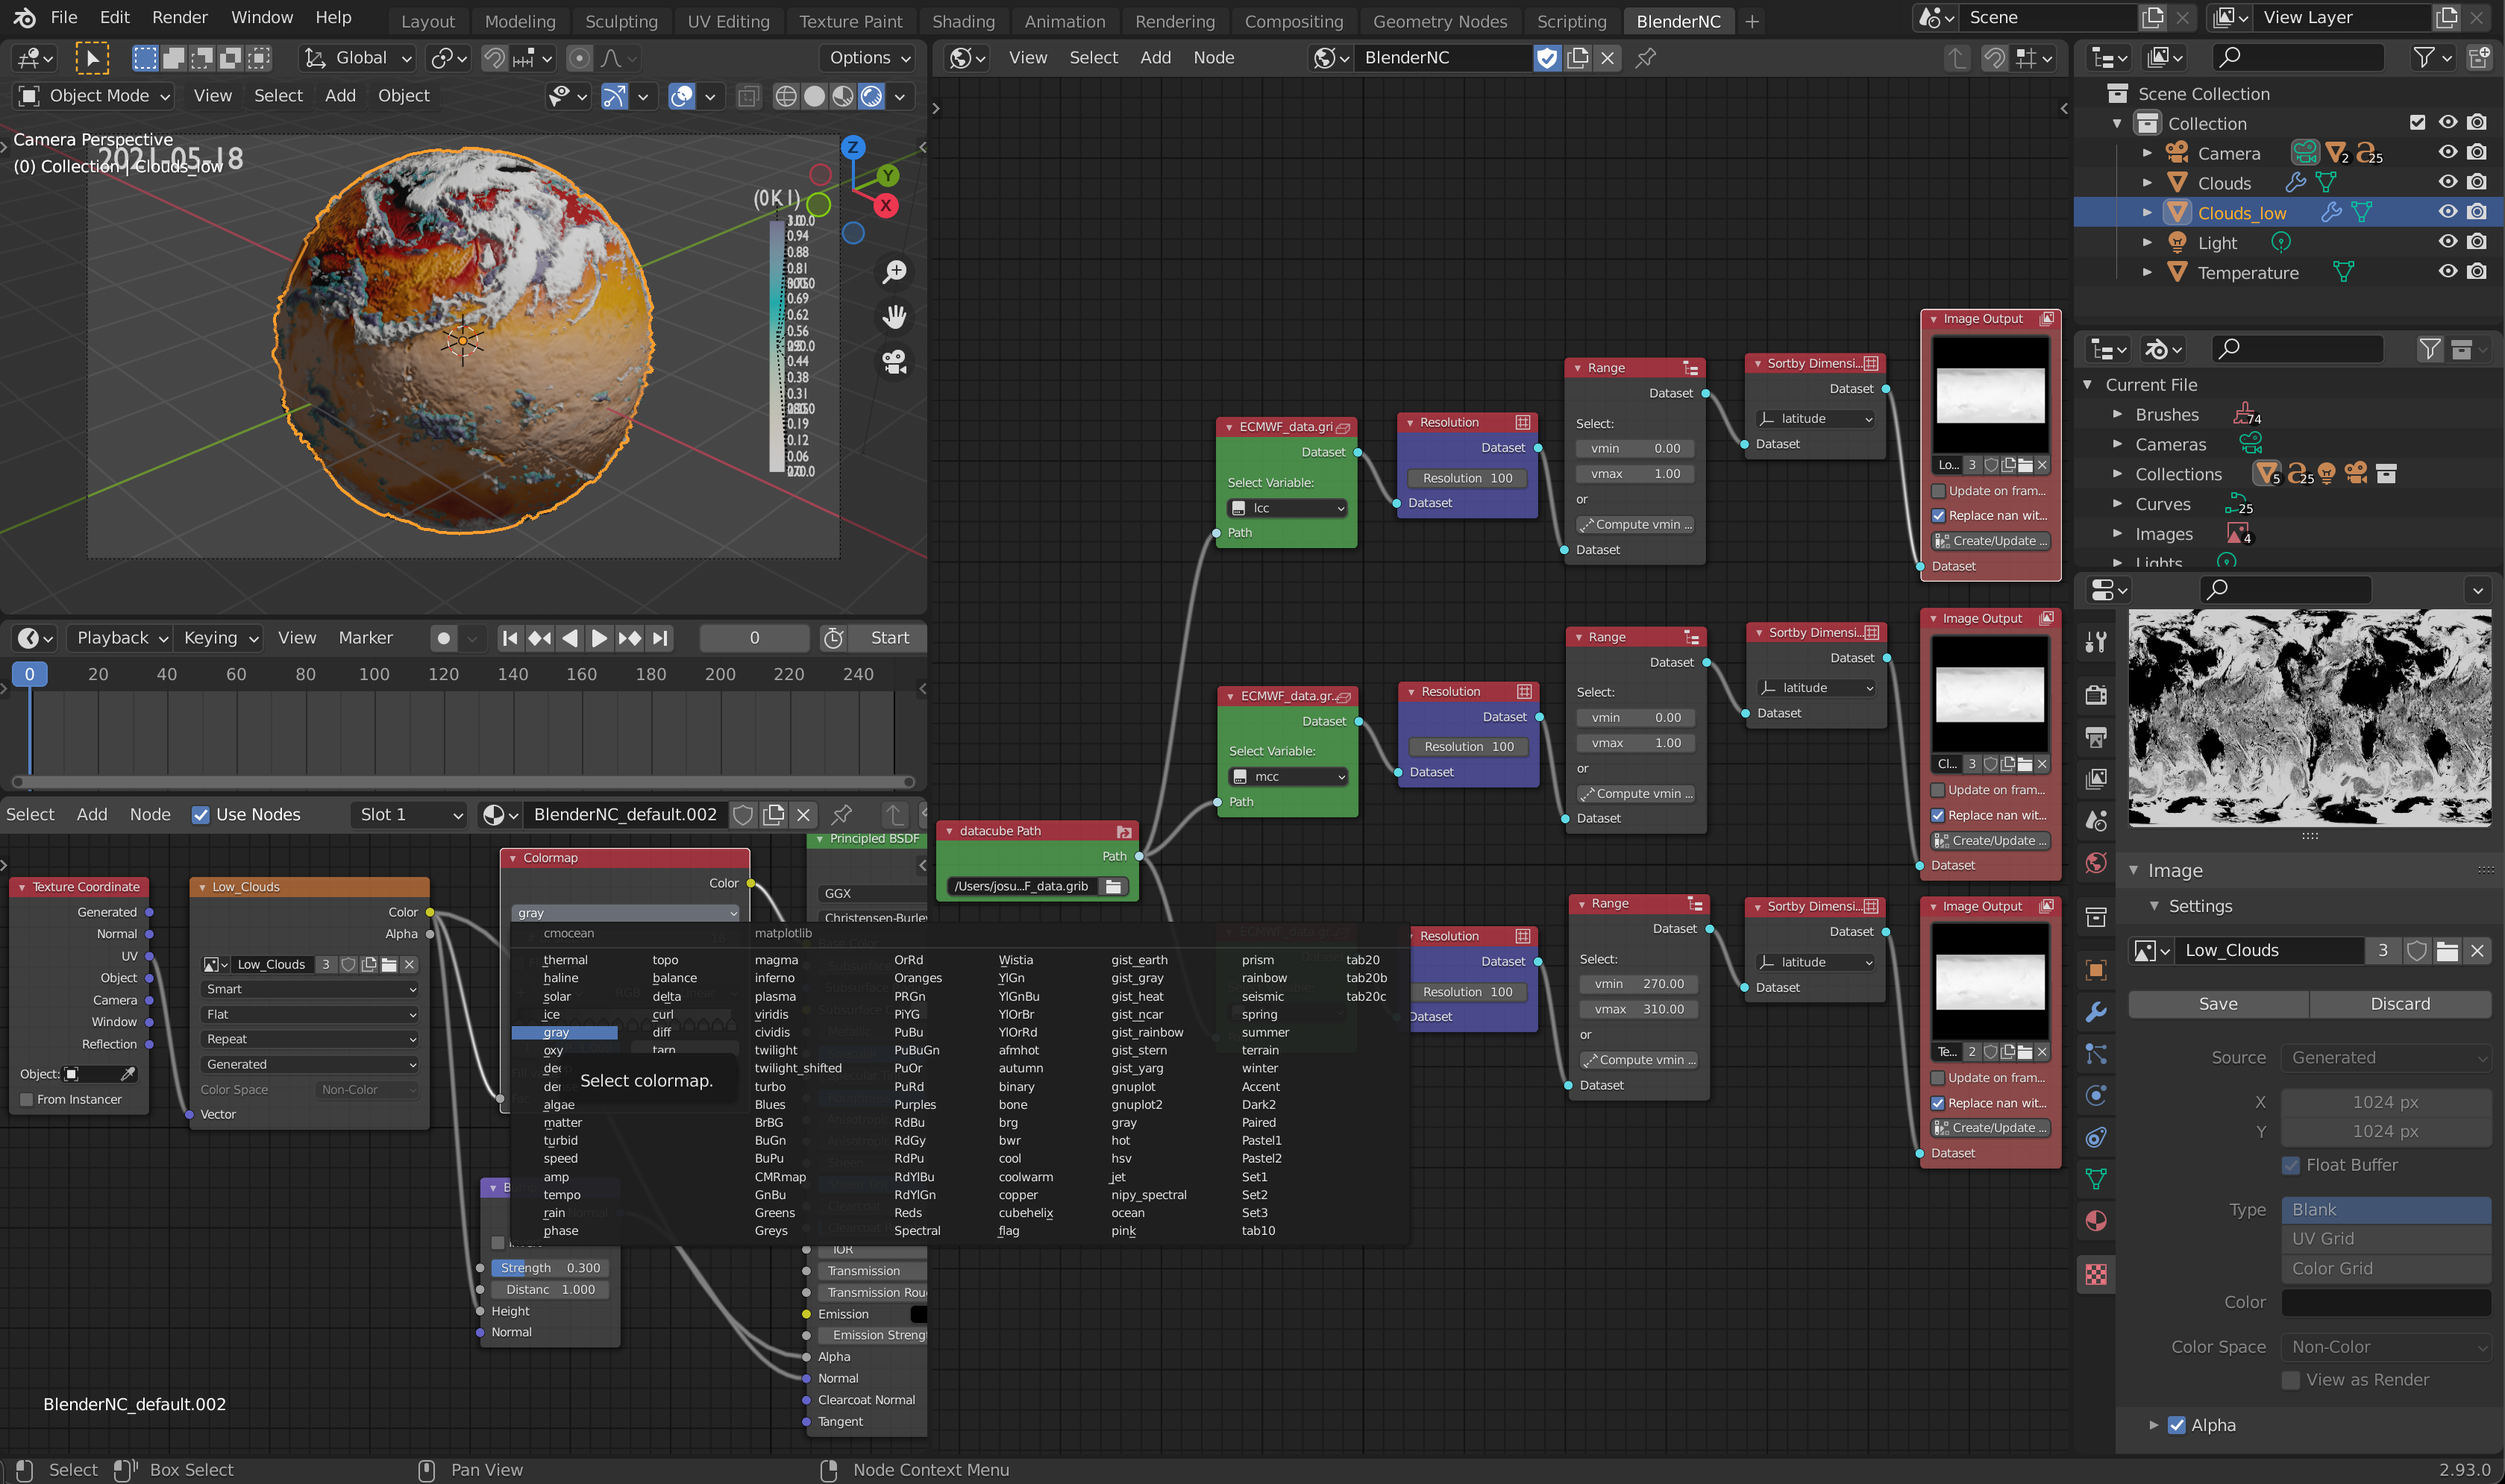
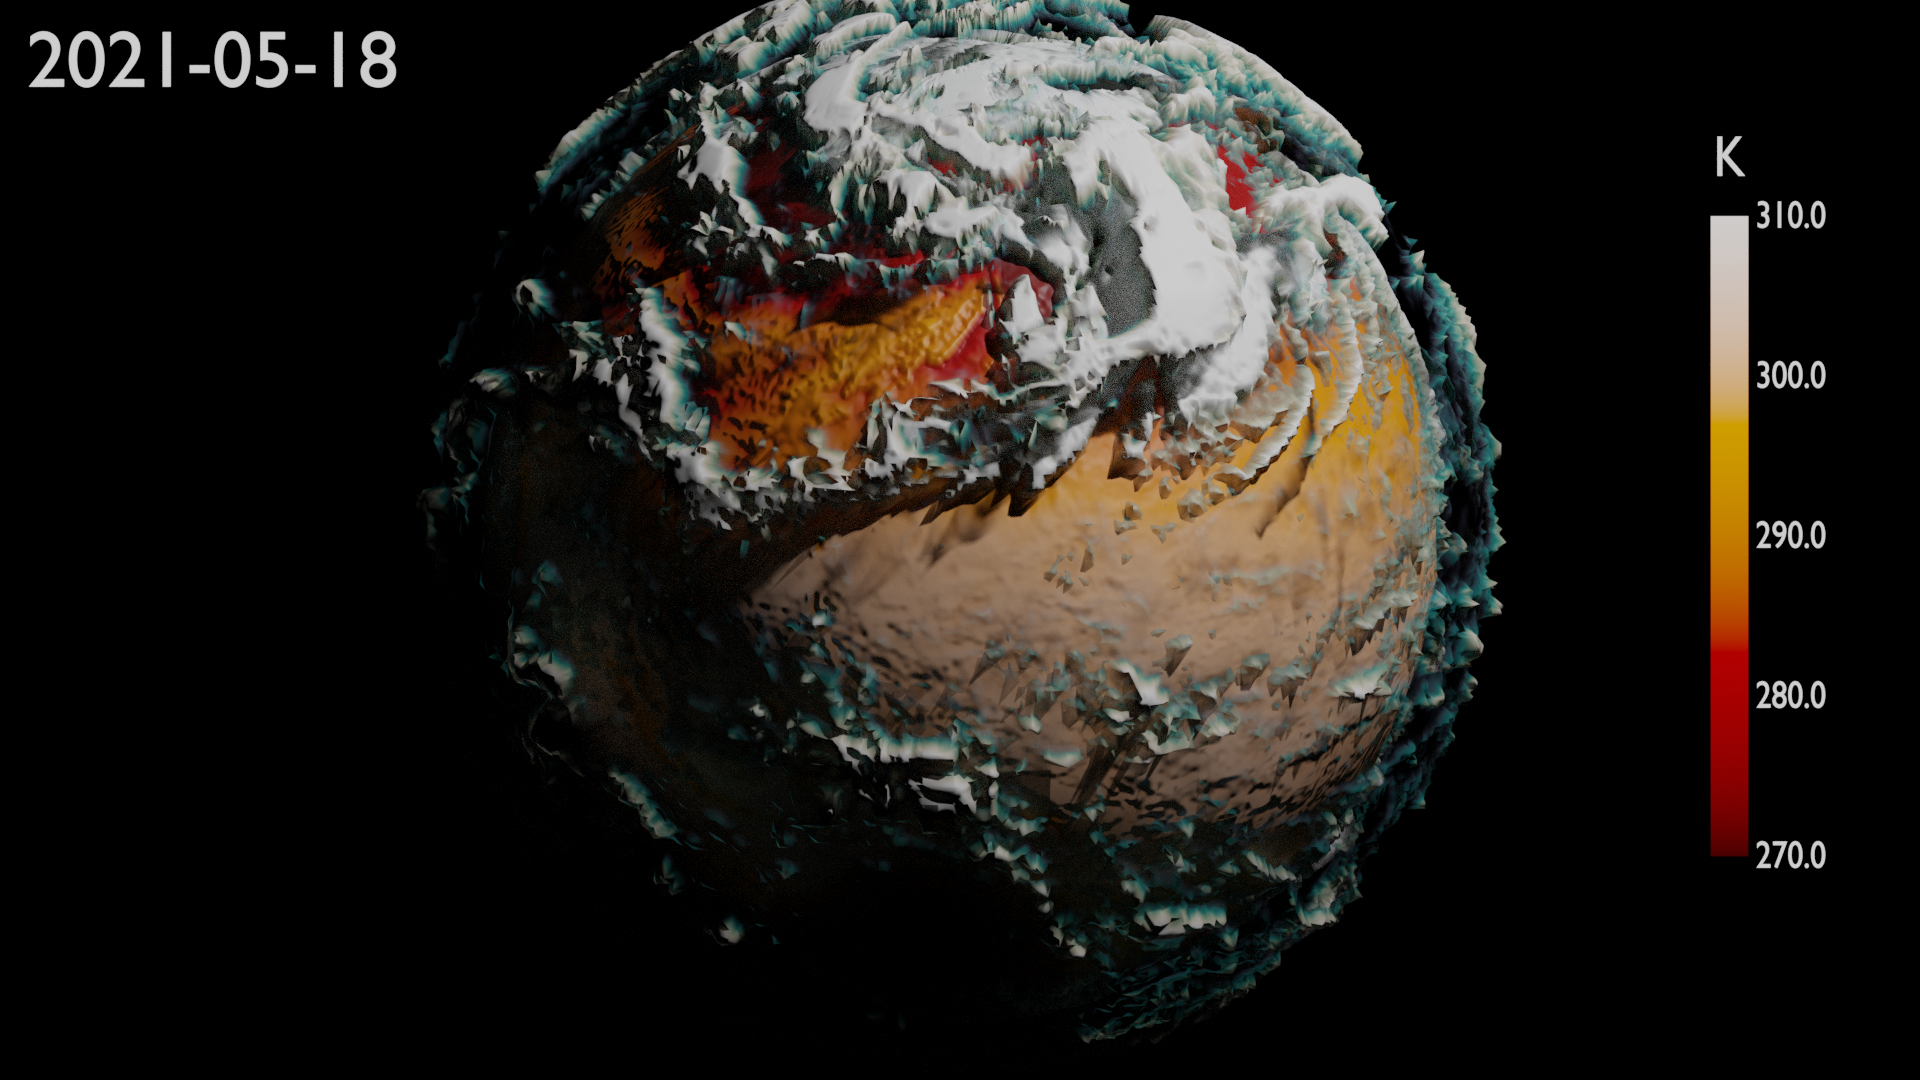
Finally, play with the displacement midlevel to achieve a better interpretation of the low cloud coverage (lcc; midlevel = -0.5) and mid cloud coverage (mcc; midlevel = -2). For example, rendering with cycles:
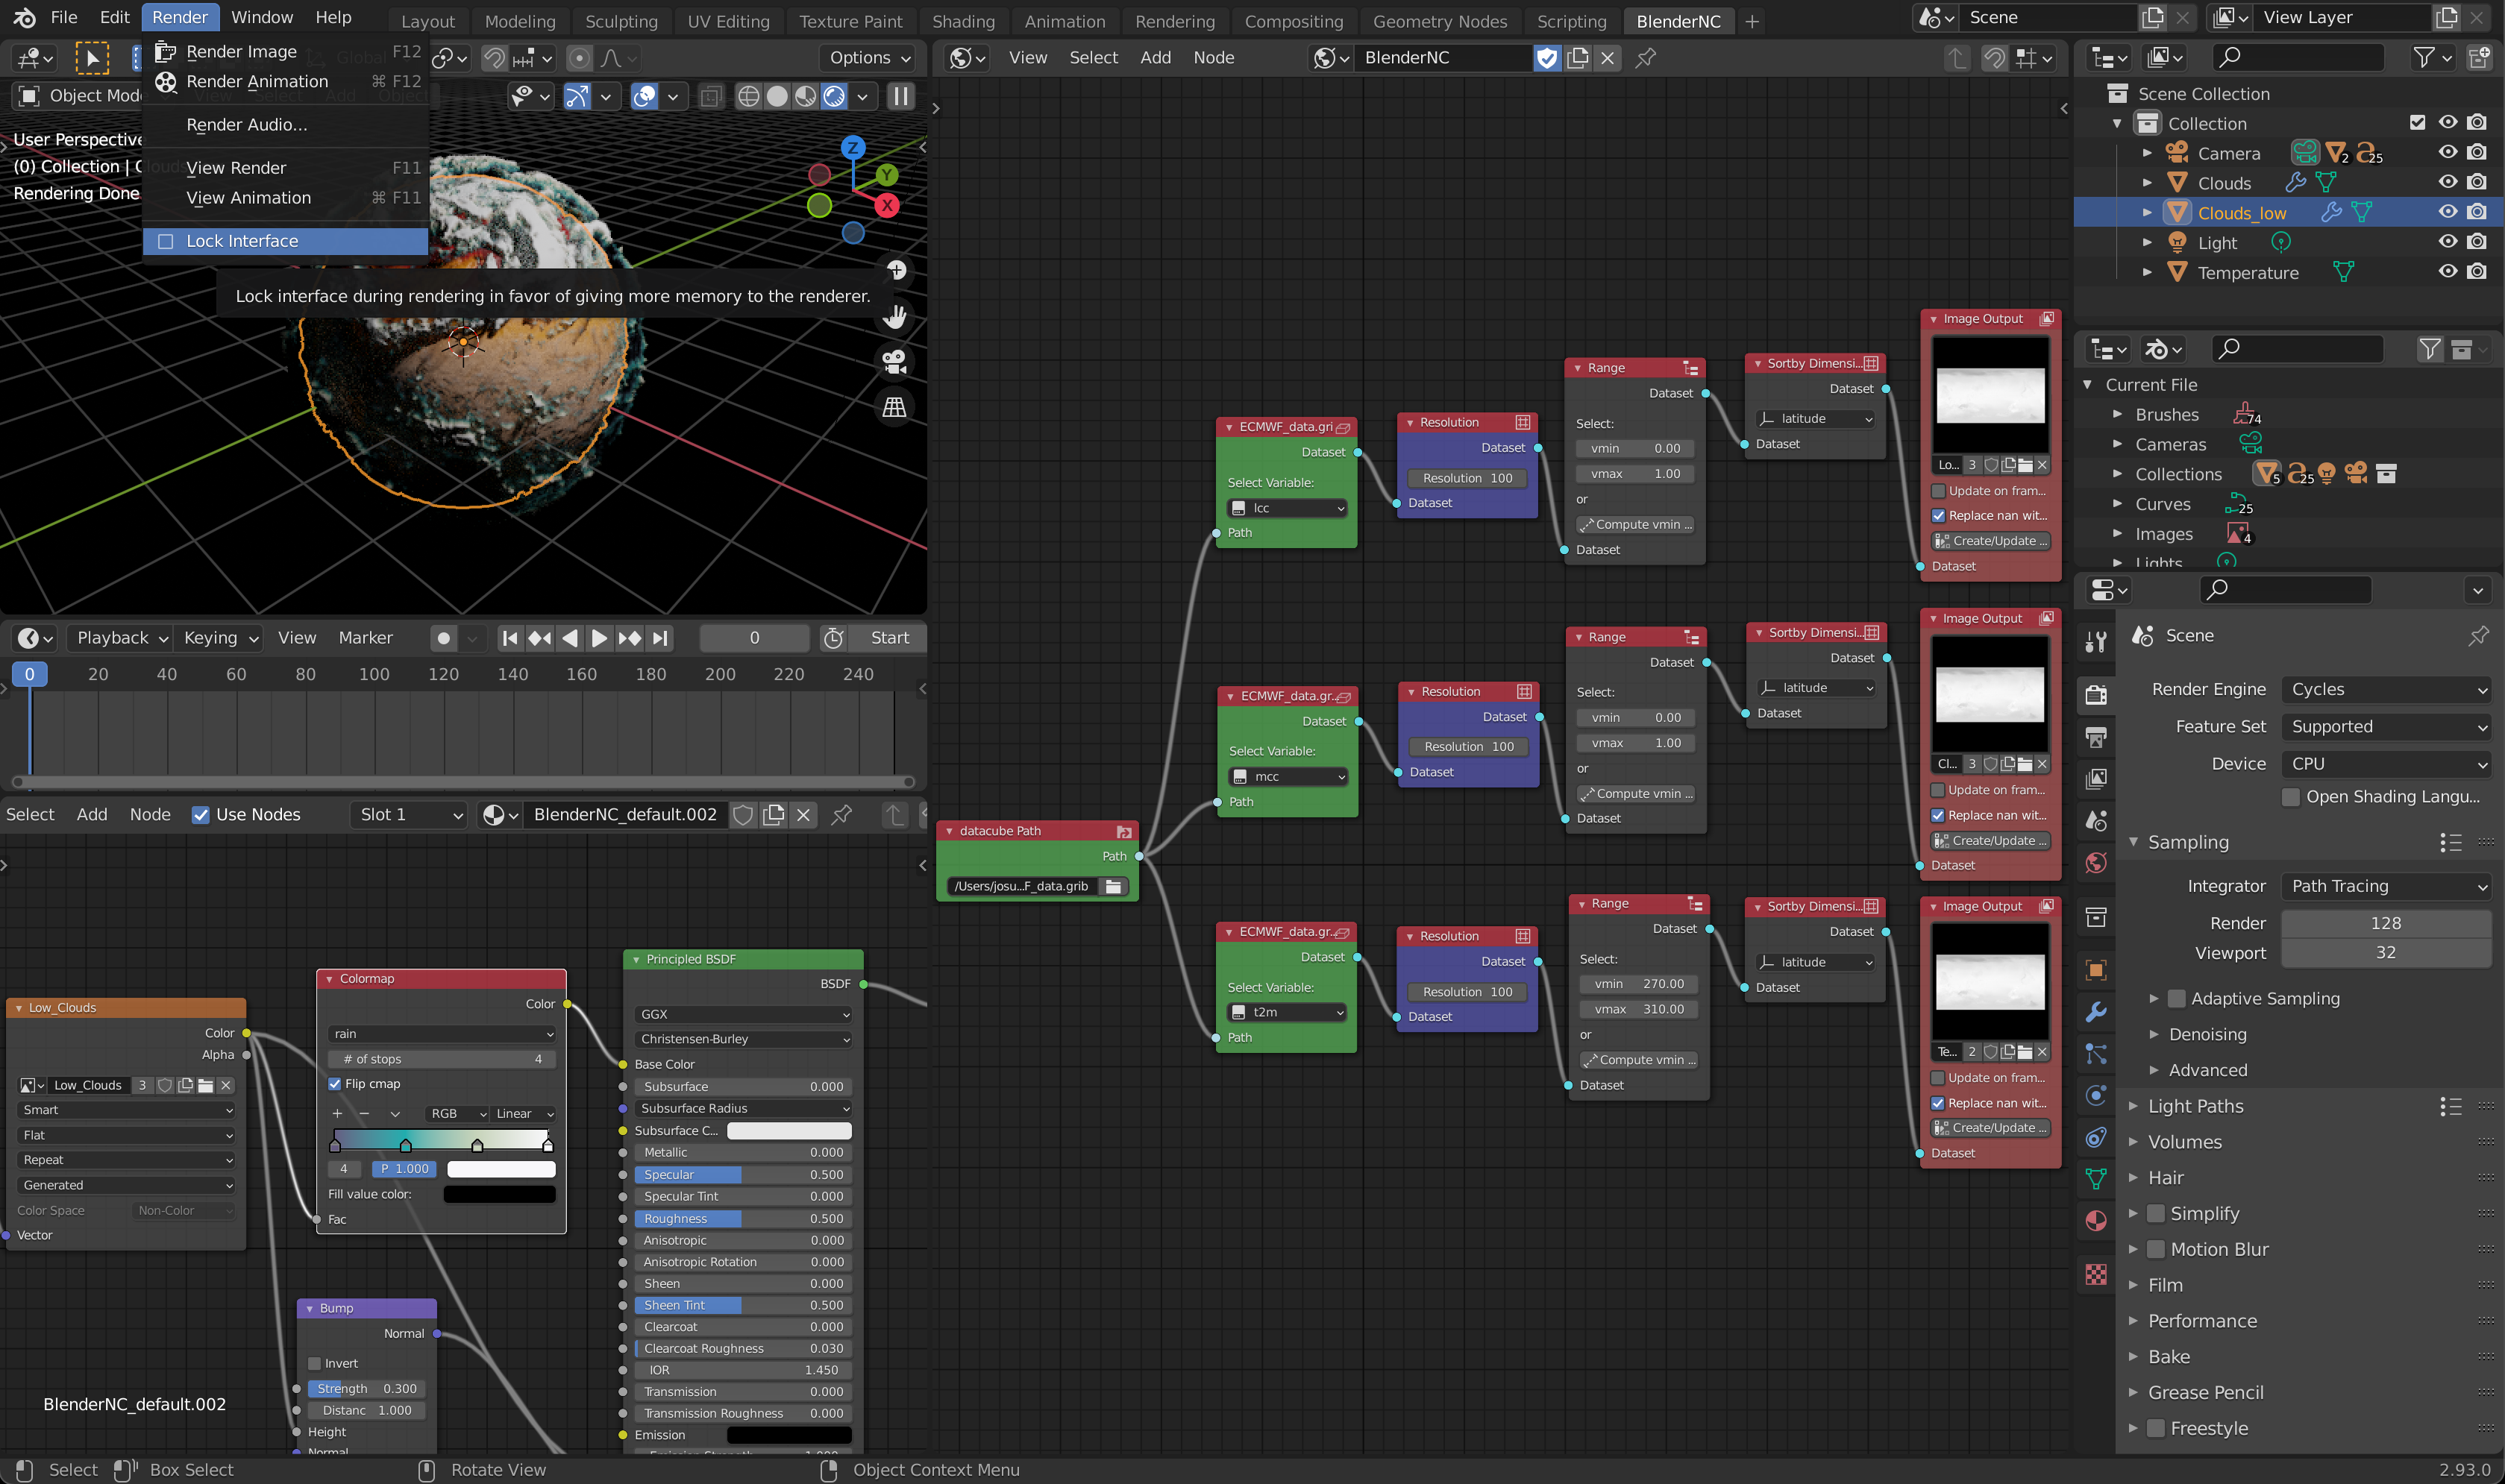
Important
If you want to render an animation, you would need to lock the interface of Blender, as it’s a known issue that Blender will crash when animating displacement modifiers.