Import ECMWF GRIB
Important
It is important to be familiar with the BlenderNC nodetree (PRO mode!) to follow this tutorial, and have completed the previous tutorial: Import ECMWF netCDF.
Some data has been provided by ECMWF, and it is included at the main BlenderNC repository in the path blendernc/test/dataset.
blendernc
└── tests
    └── dataset
        ├── ECMWF_data.grib
        ├── ECMWF_data.nc
        ├── ssh_1995-01.nc
        └── ssh_1995-01.zarr
This example will use the file ECMWF_data.grib, and builds up from the previous tutorial: Import ECMWF netCDF.
Import ECMWF netCDF finished by fixing the colormap, material orientation, and updating the colorbar.
In this tutorial will explore:
reading the same dataset but in
gribformat,explore some of the BlenderNC user preferences,
and visualise two fields from the same dataset.
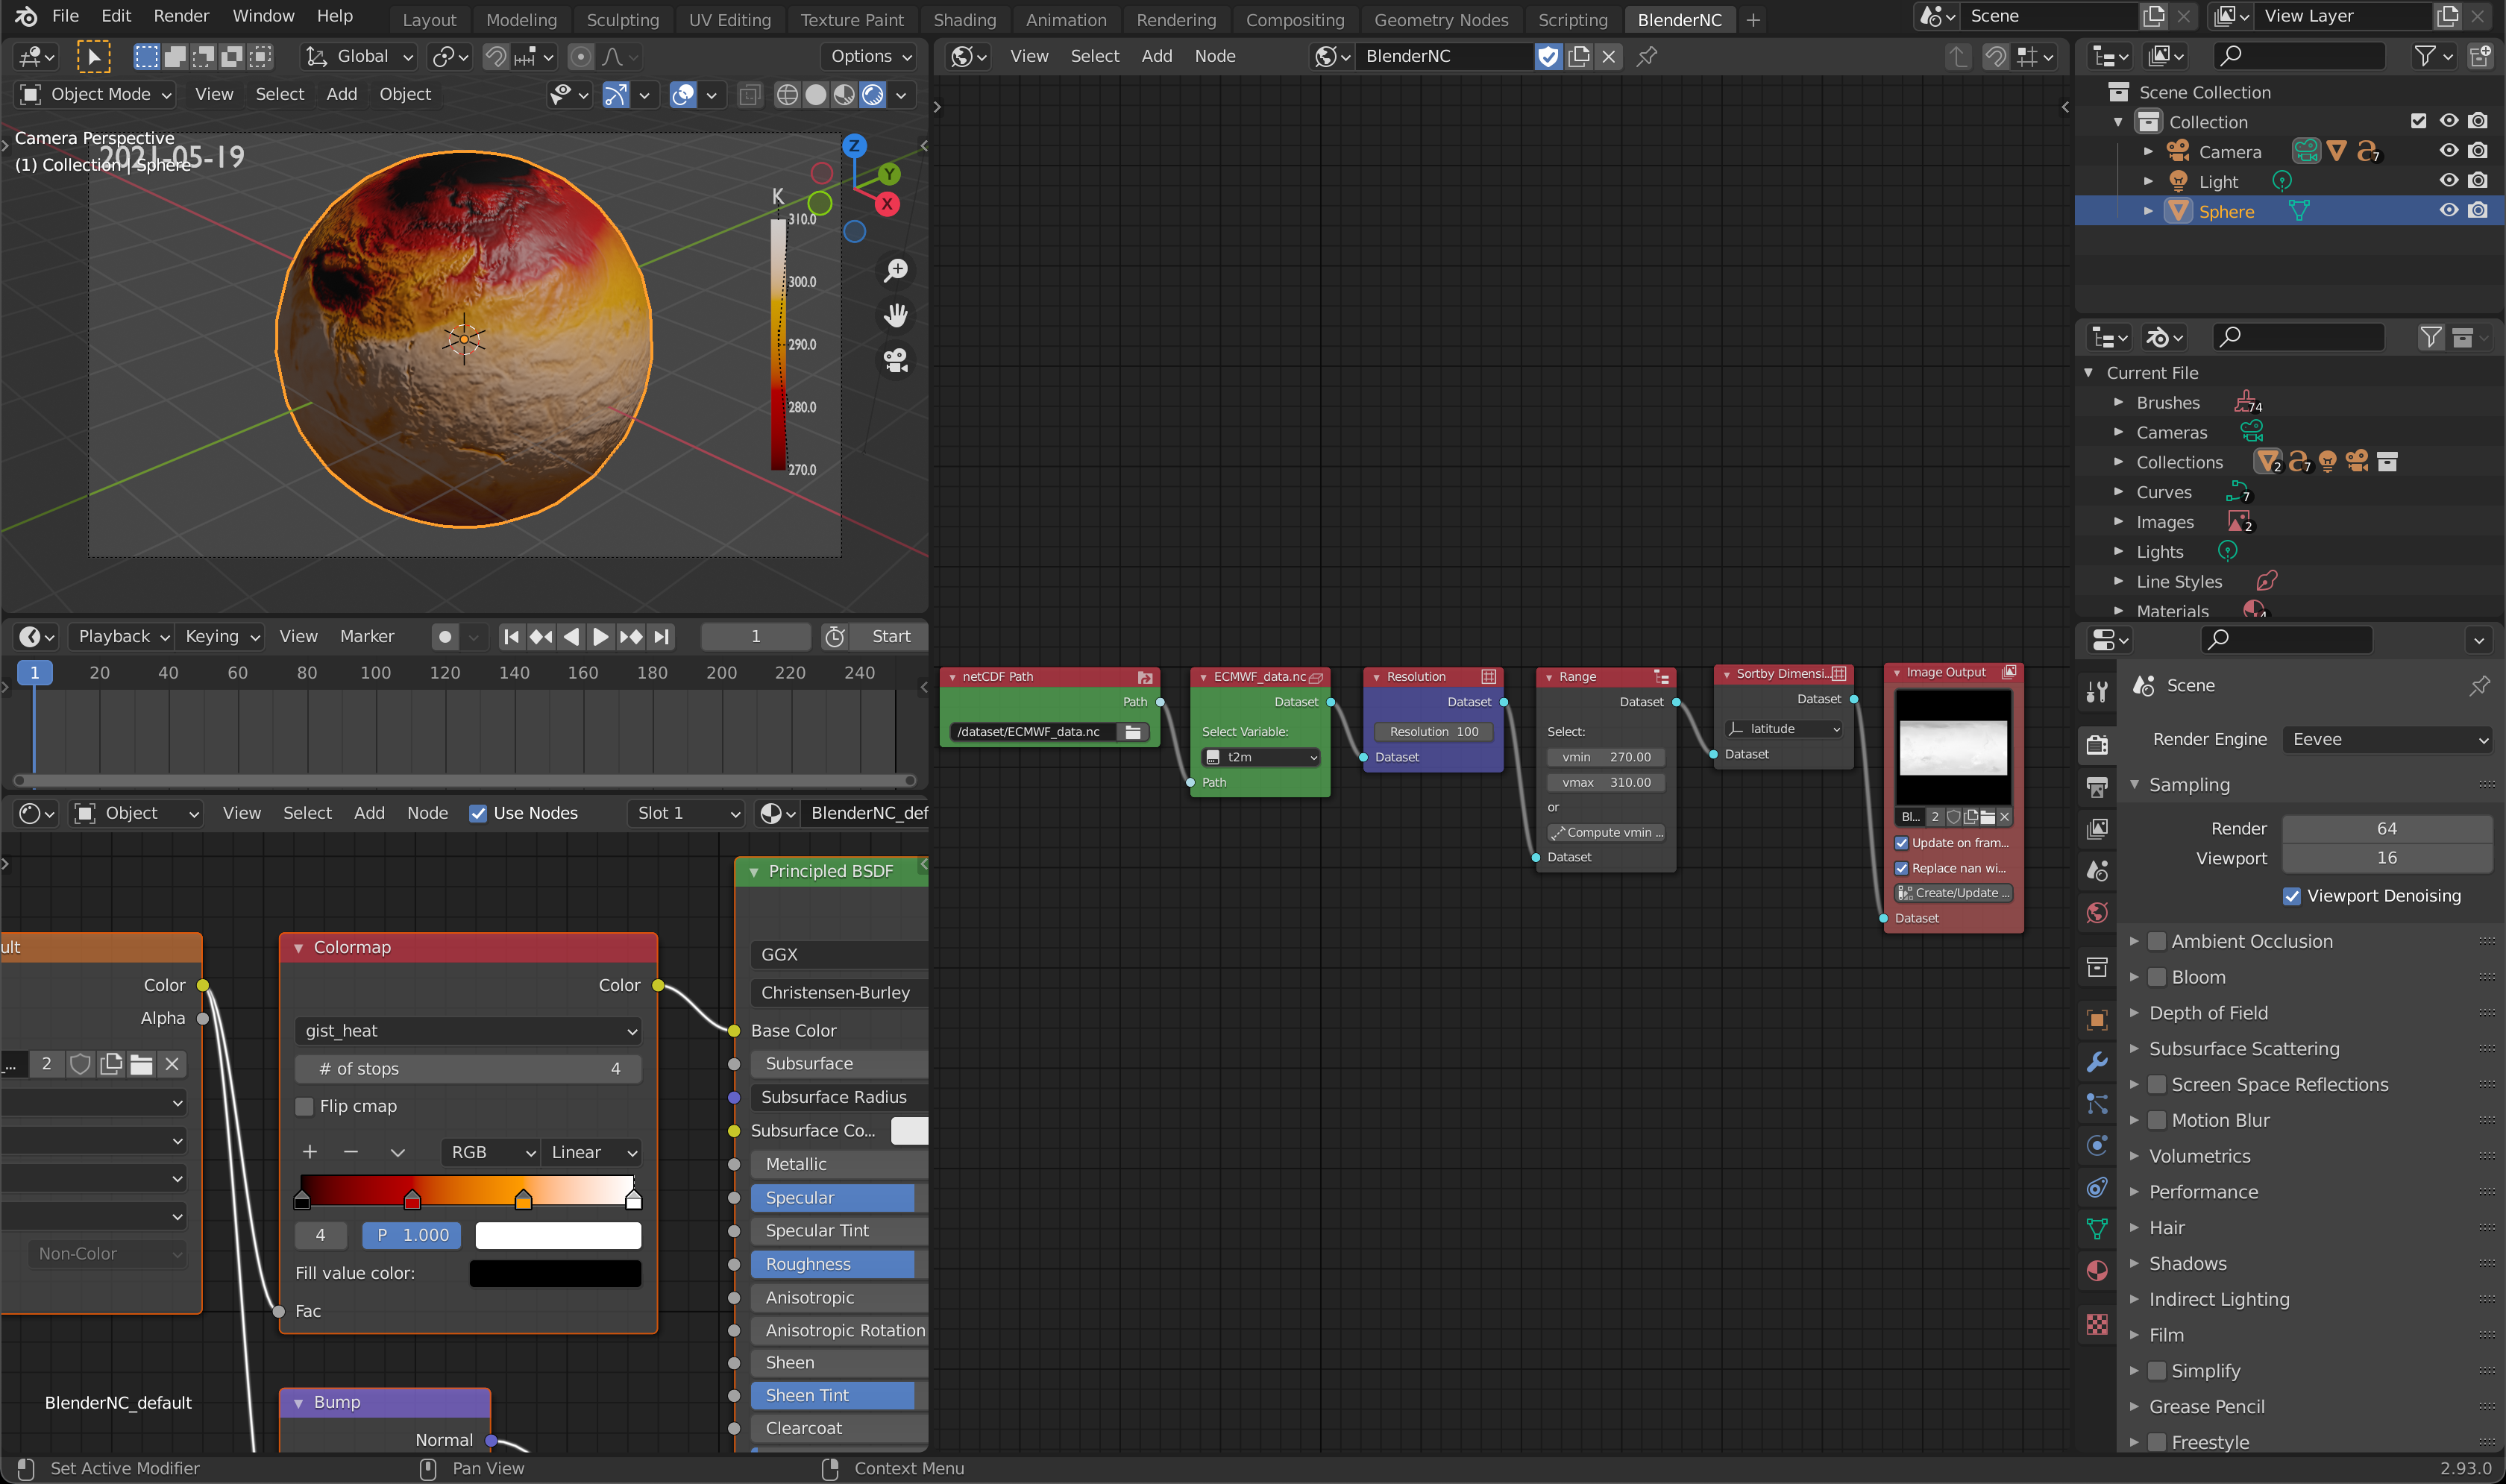
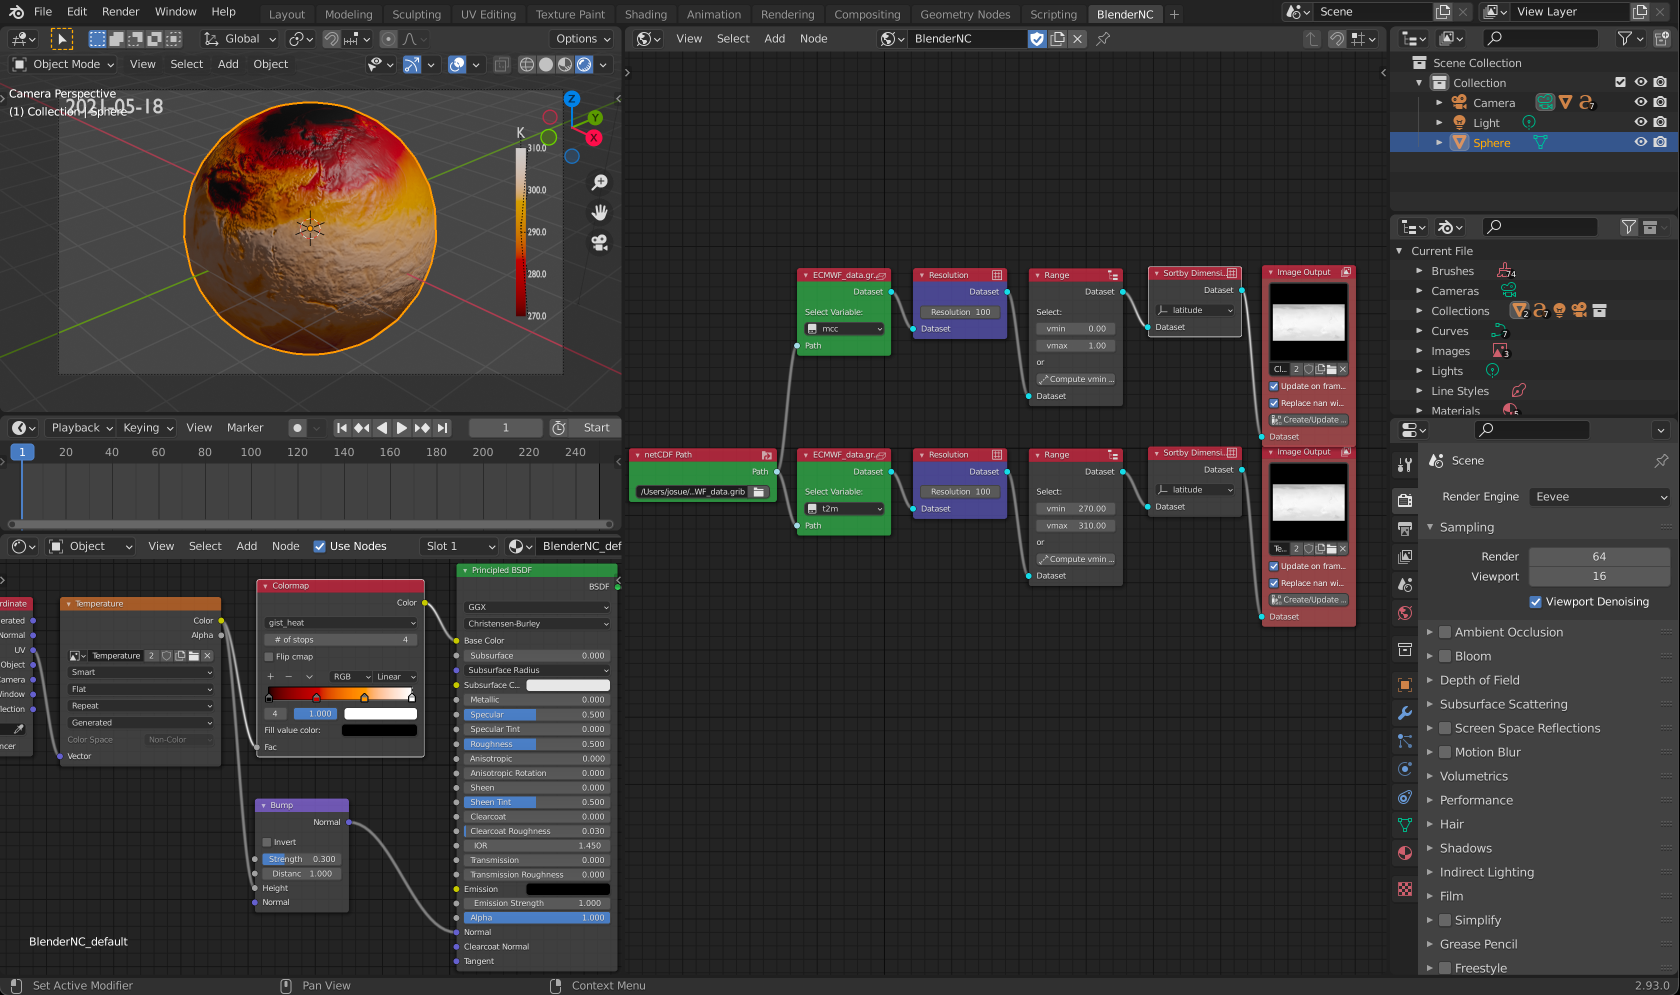
Let’s change to the
gribfile, by browsing using the nodenetCDF Path, higlight in purple.
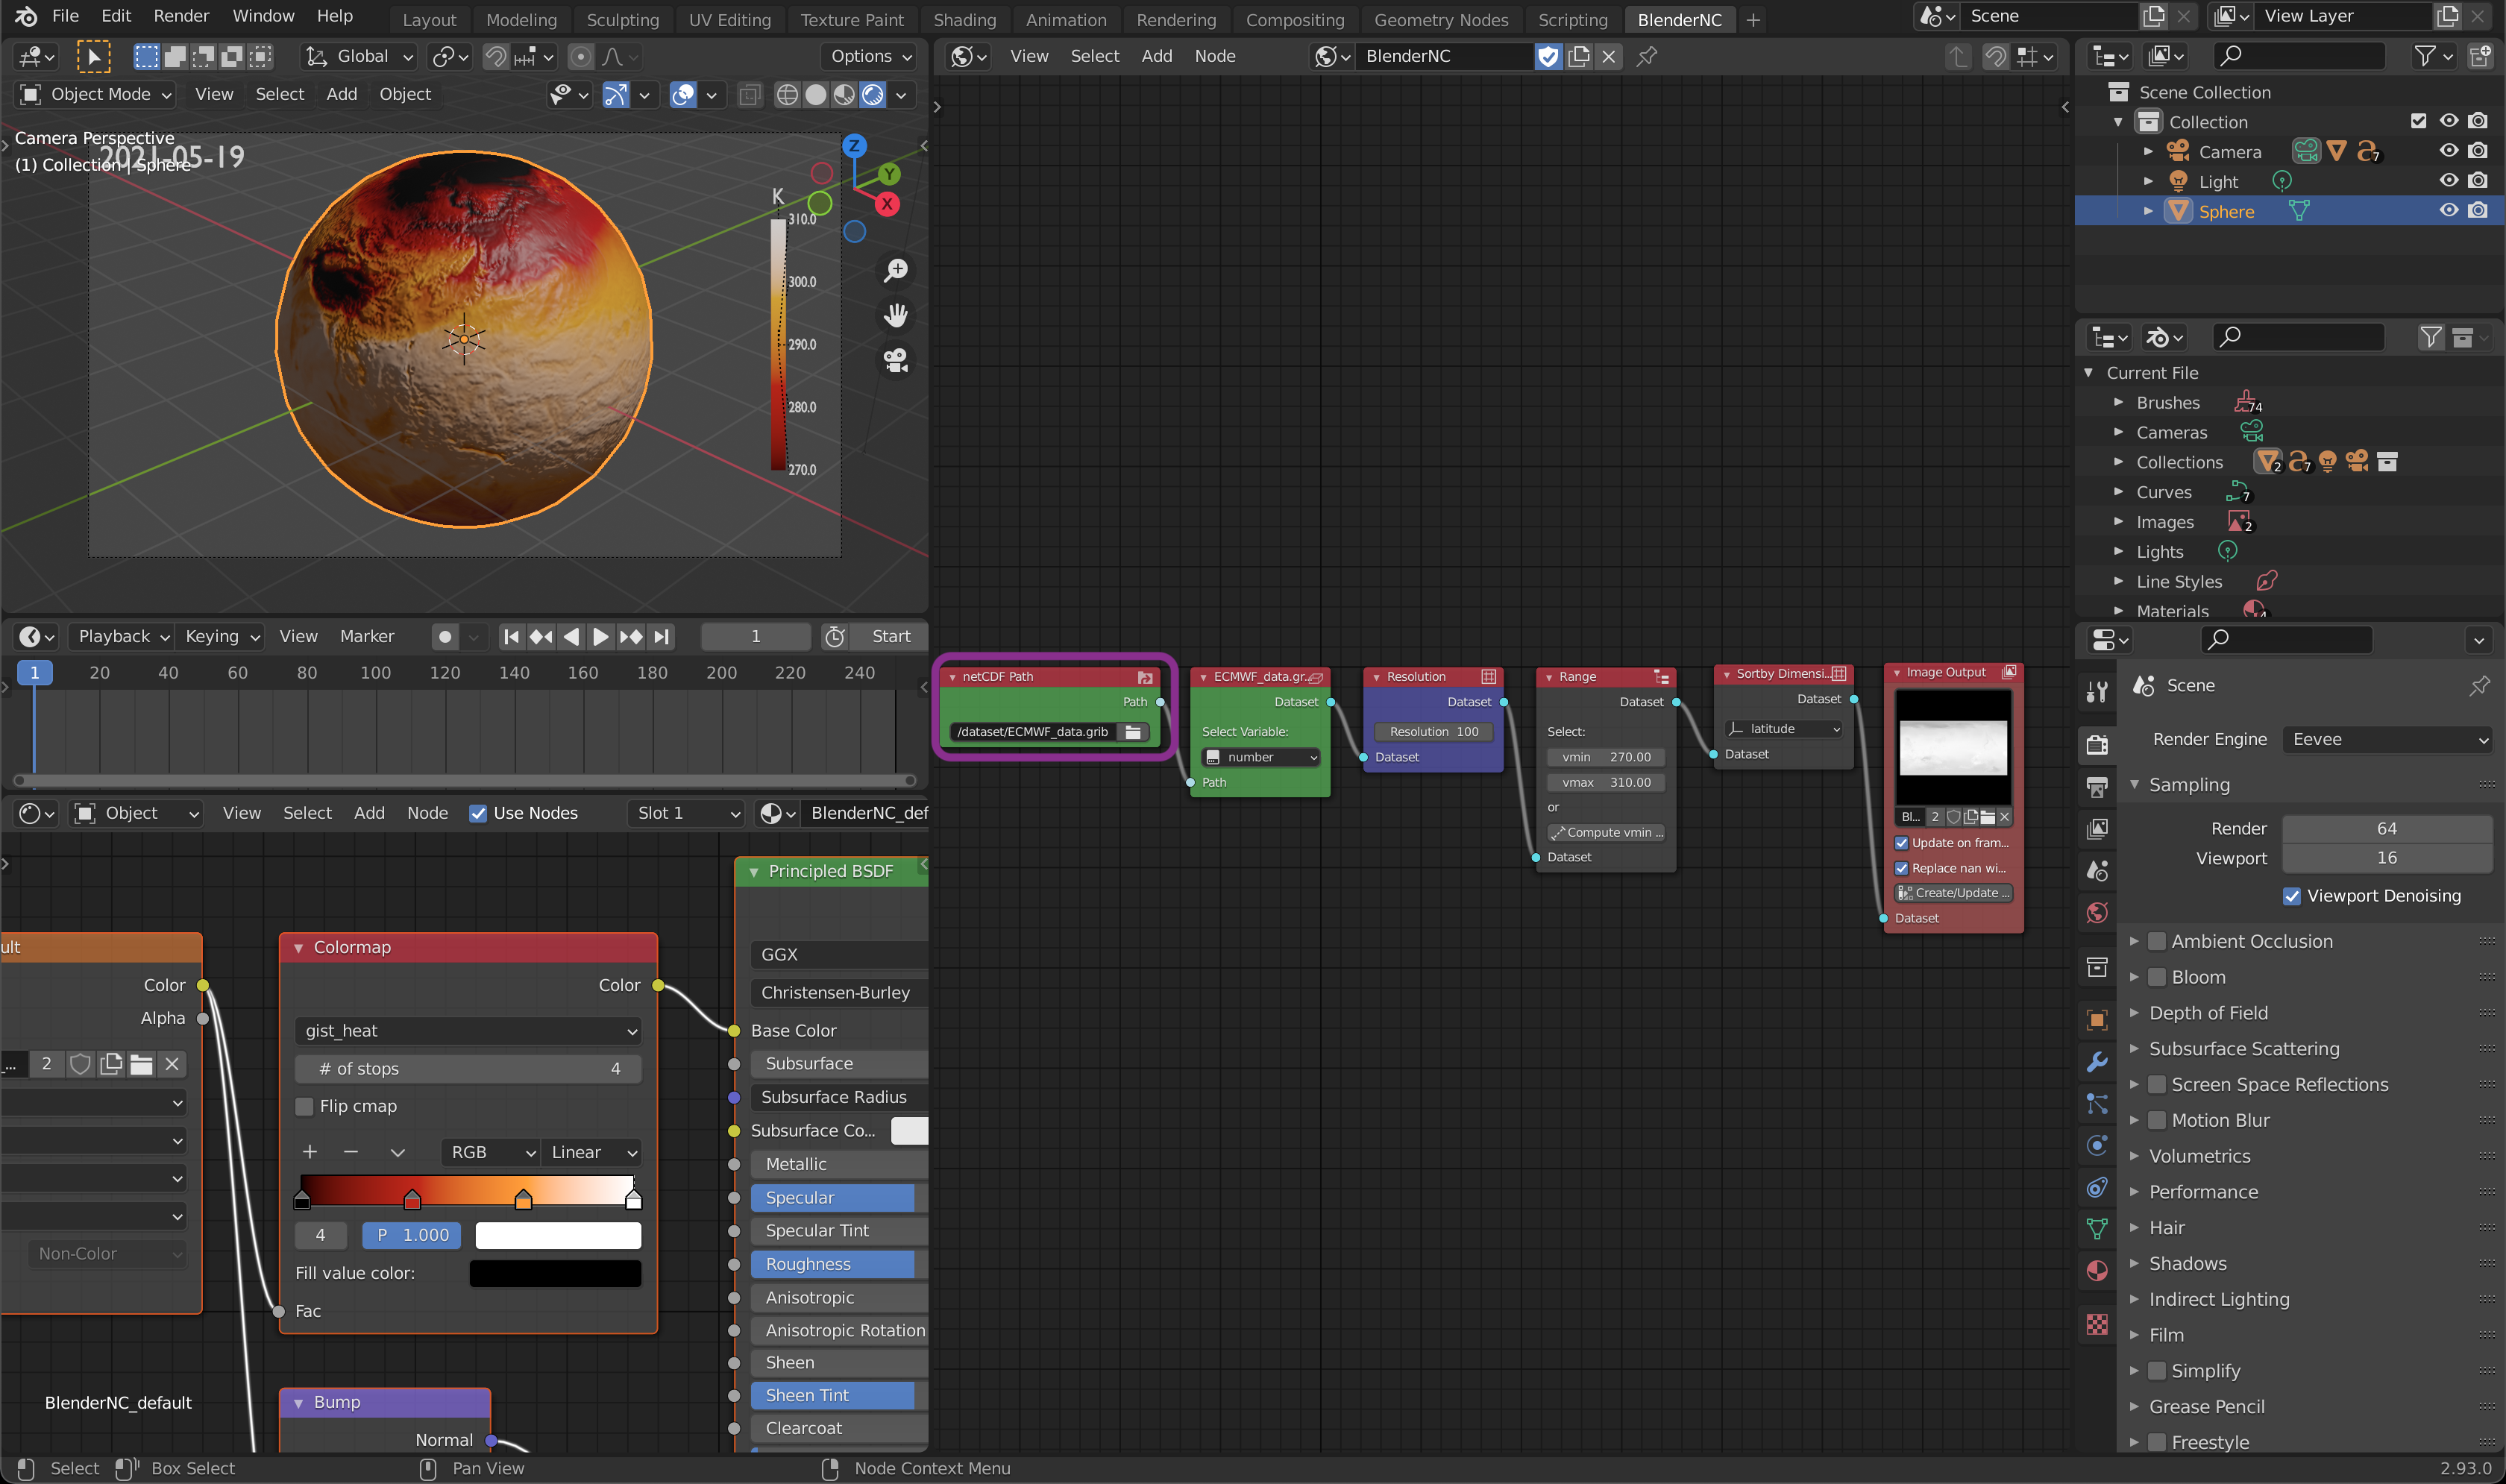
Important
You may need to reselect the variable t2m, however you won’t be able to note any change.
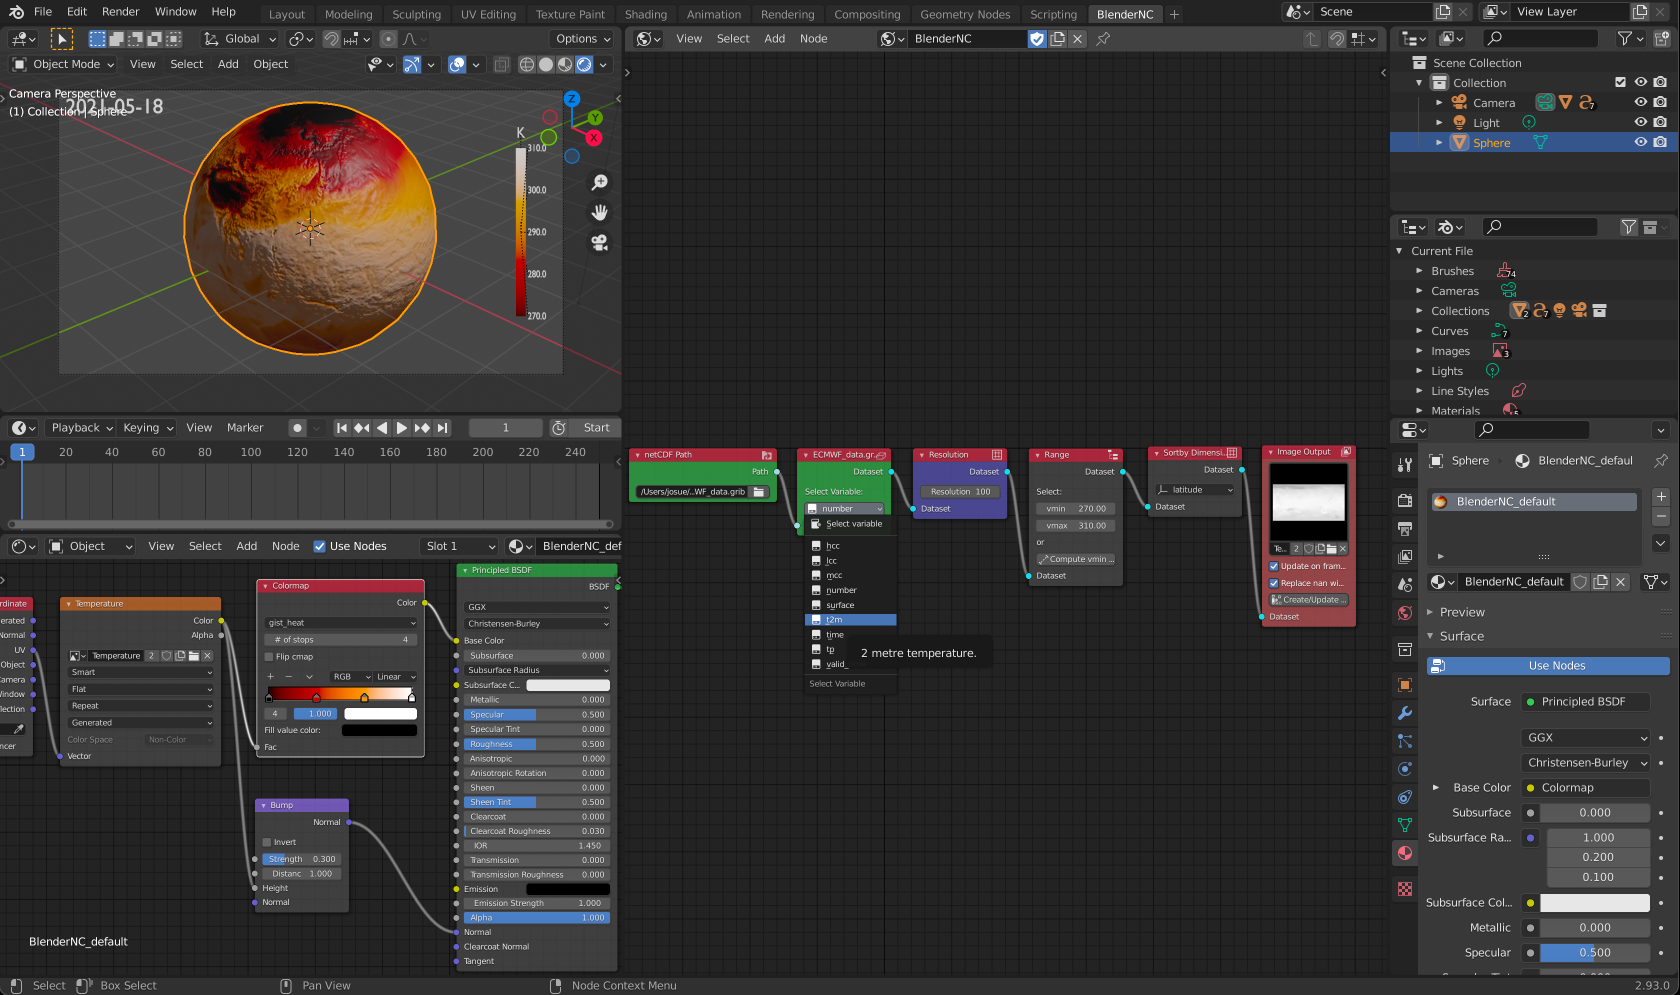
Select all the nodes except for the
datacube Pathnode, by clicking and draging over the BlenderNC nodetree.

Click
shift + Dto duplicate the nodes, drag them up, to look like:
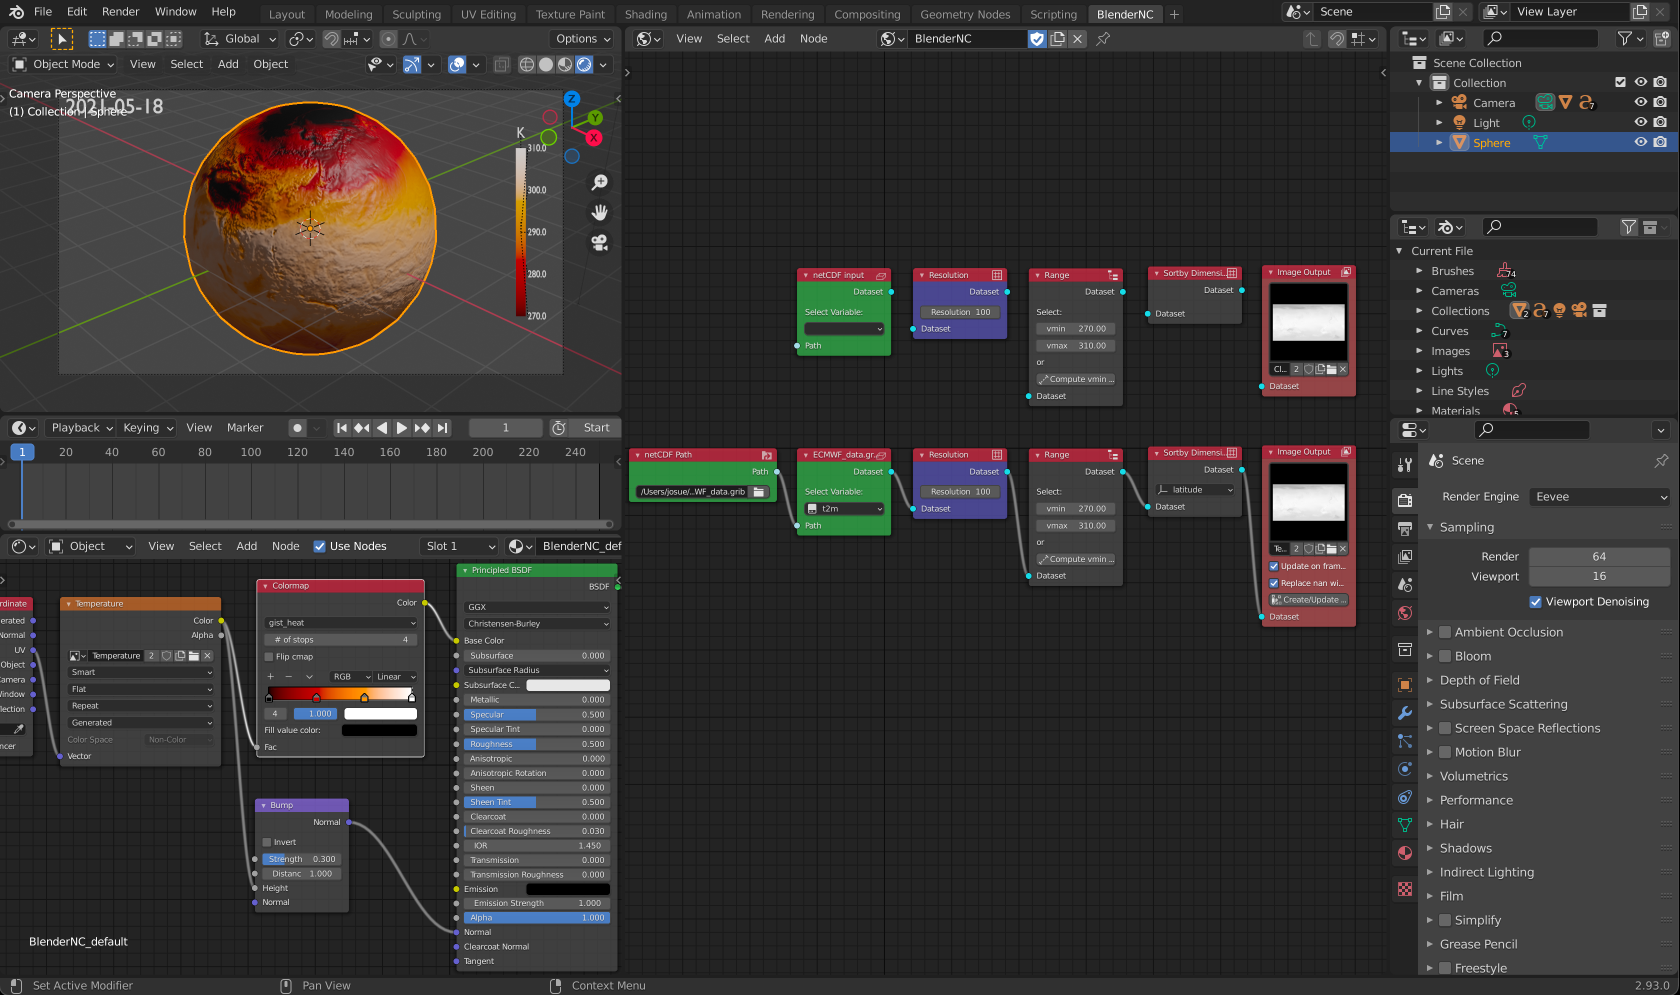
Now we will connect the nodes and select a different variable “Medium Cloud cover” (
mcc):

Continue connecting the nodes until the
Rangenode, here, let’s update the variable range. The cloud variable has a range of [0,1].

Connect all the nodes:
To make our life easiers, we will rename both images to “Clouds” and “Temperature”. You can rename the images by clicking below the image preview higlighted in cyan.
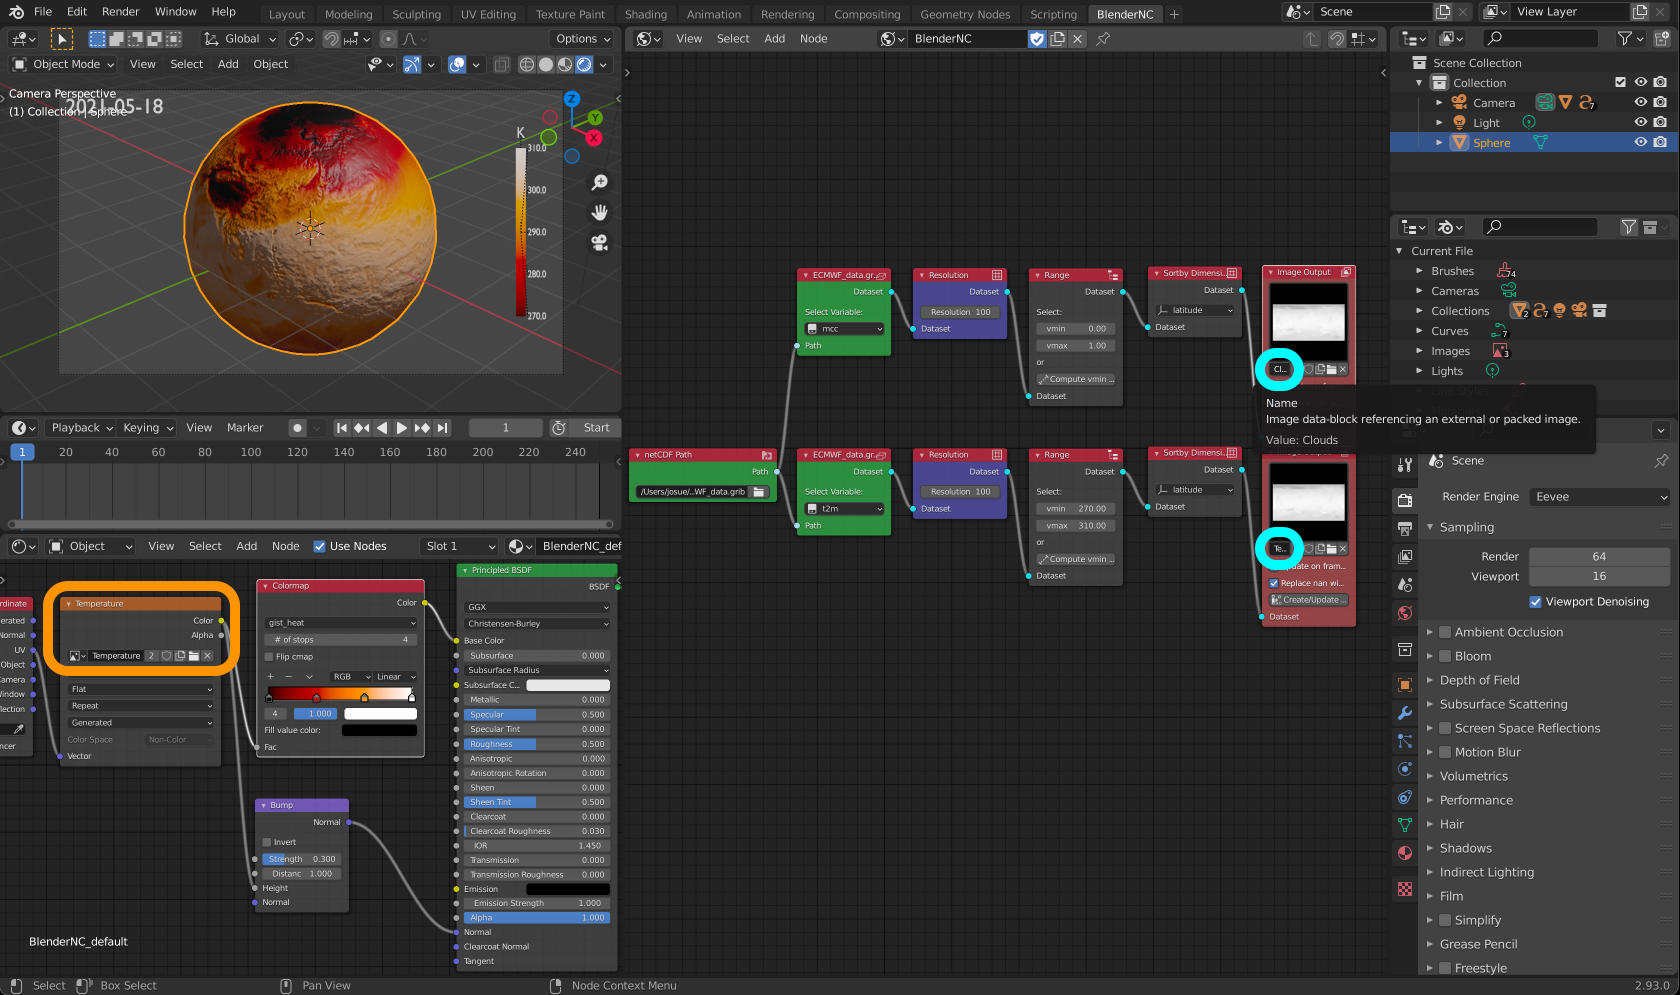
Note
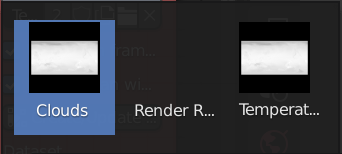
After you rename the image, you will be able to notice the change of the name in the material (see previous image higligted in orange). Also if you click over the image preview in the Image output node, you will see:
Let’s add another sphere, you can simply press
shift+D+Returnto duplicate the existing sphere. Let’s also rename the spheres to keep track of our workflow.
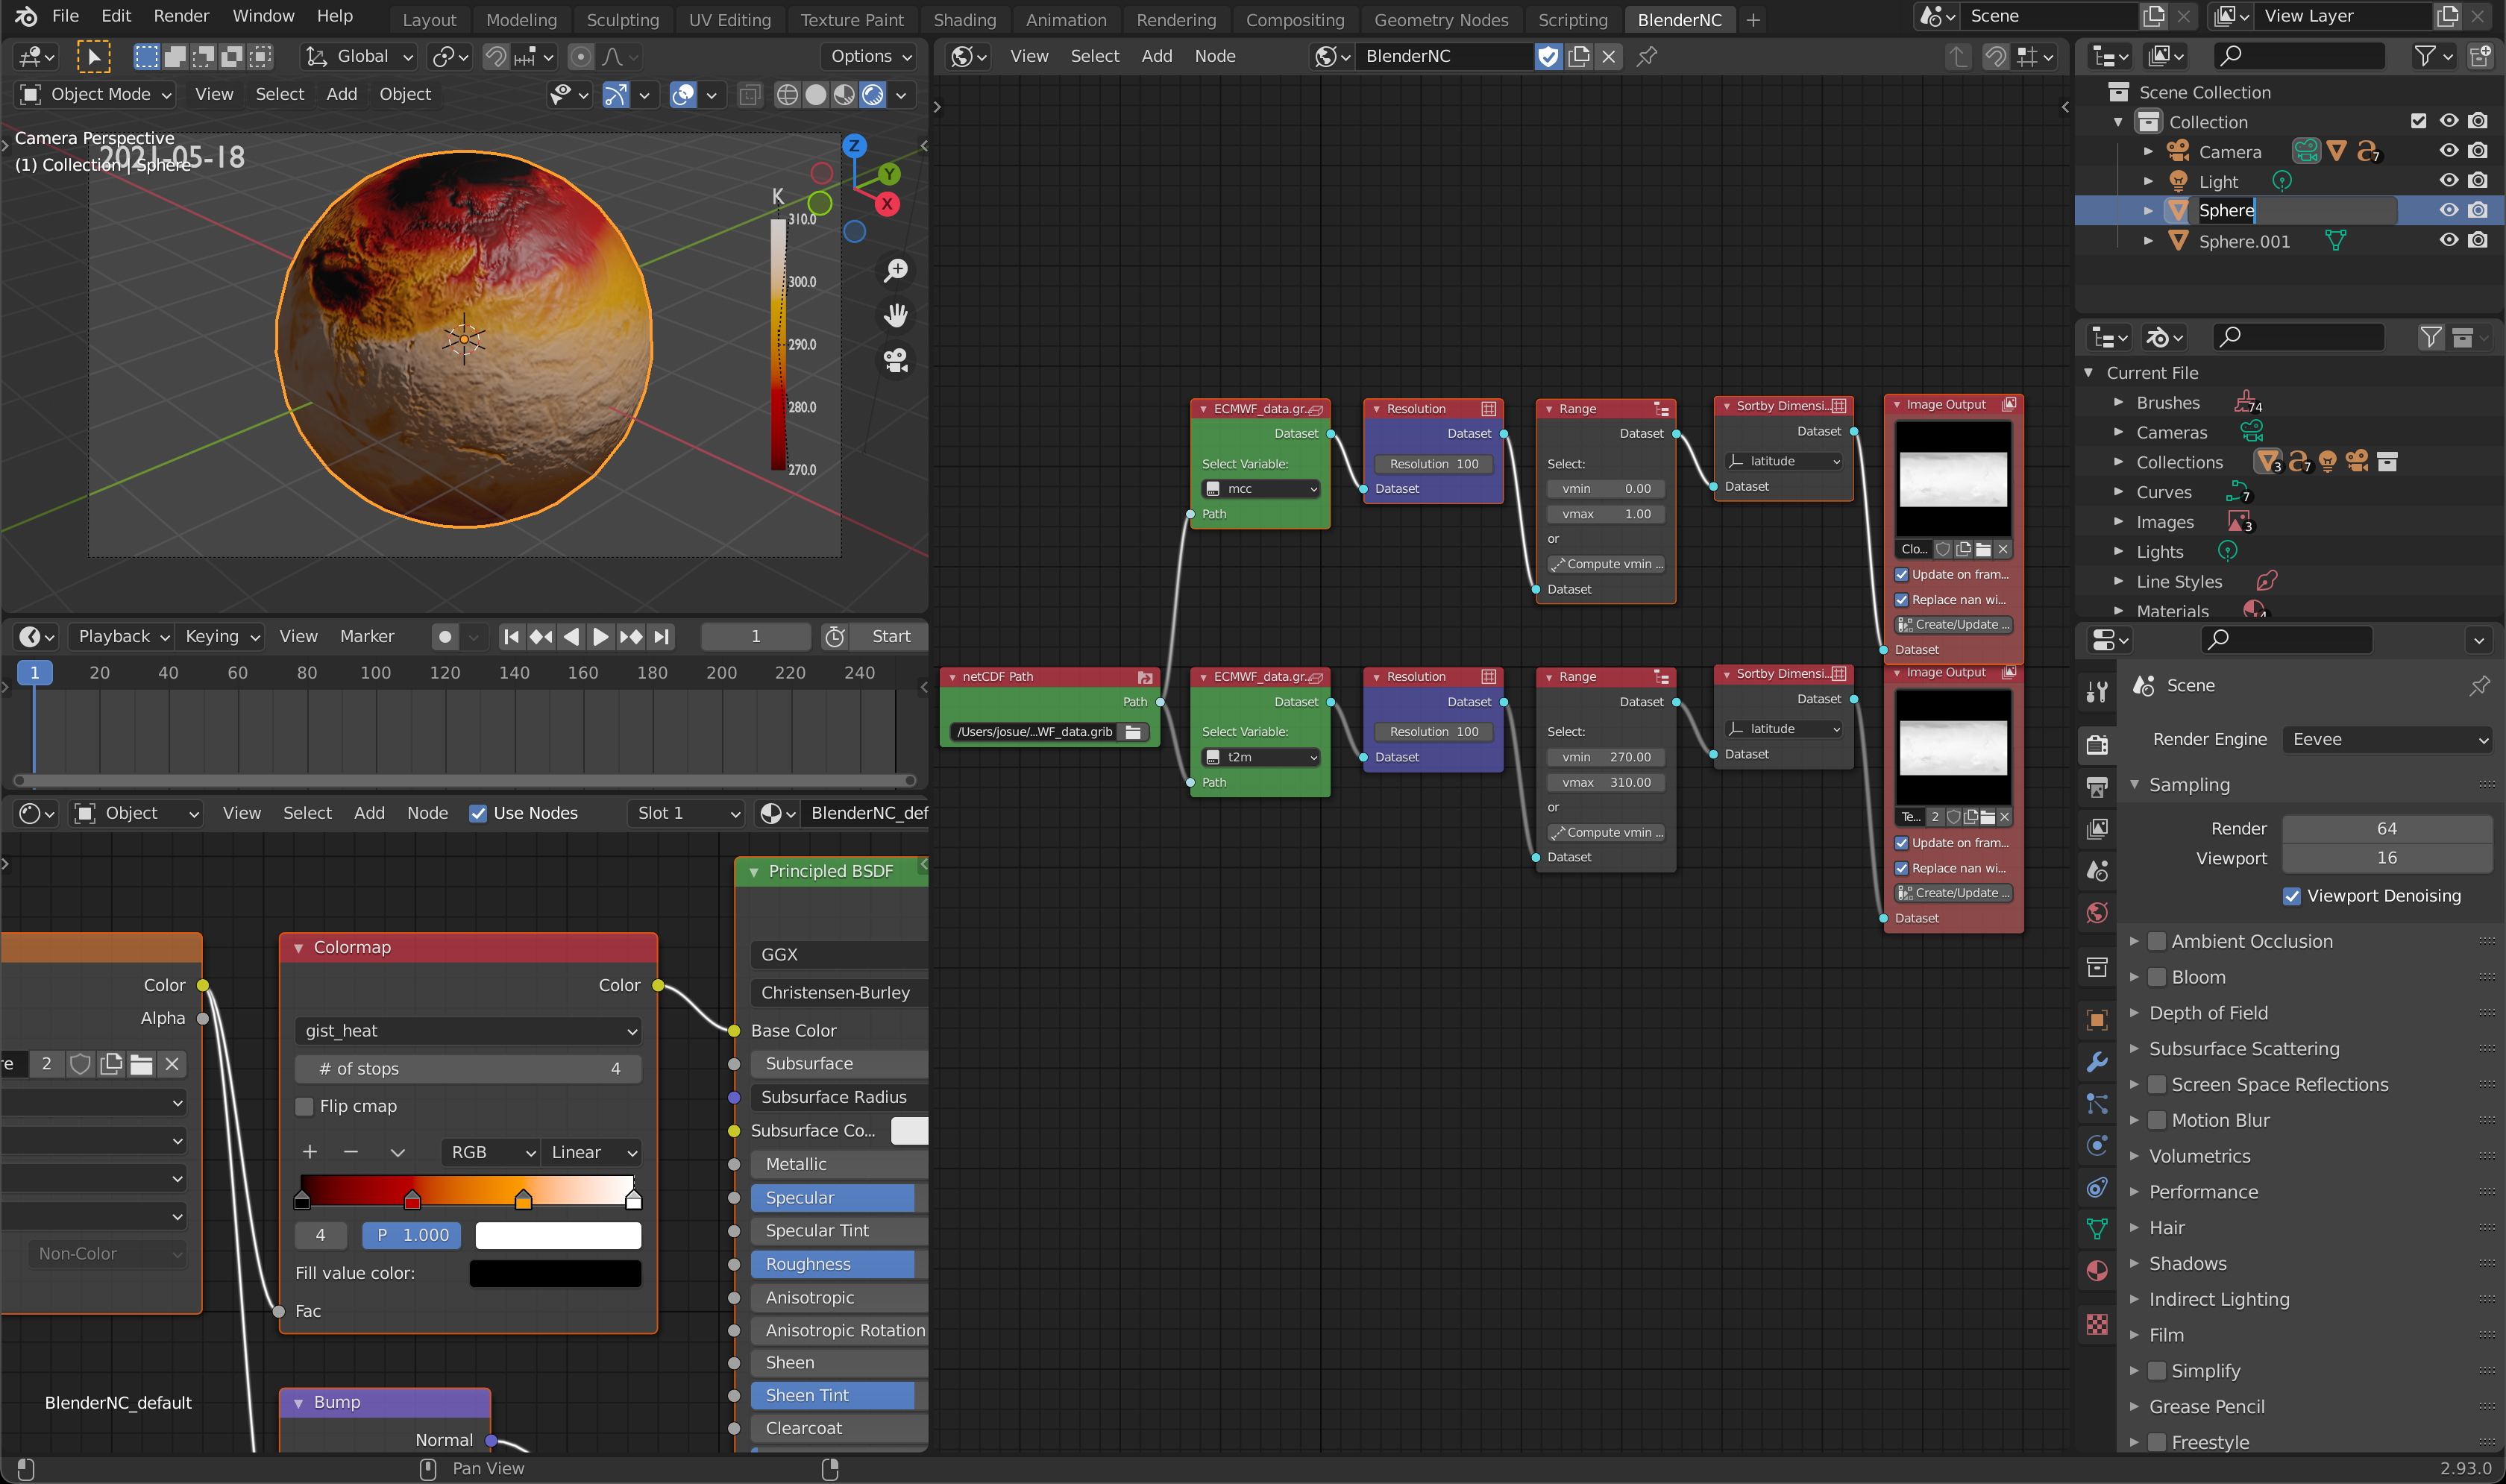
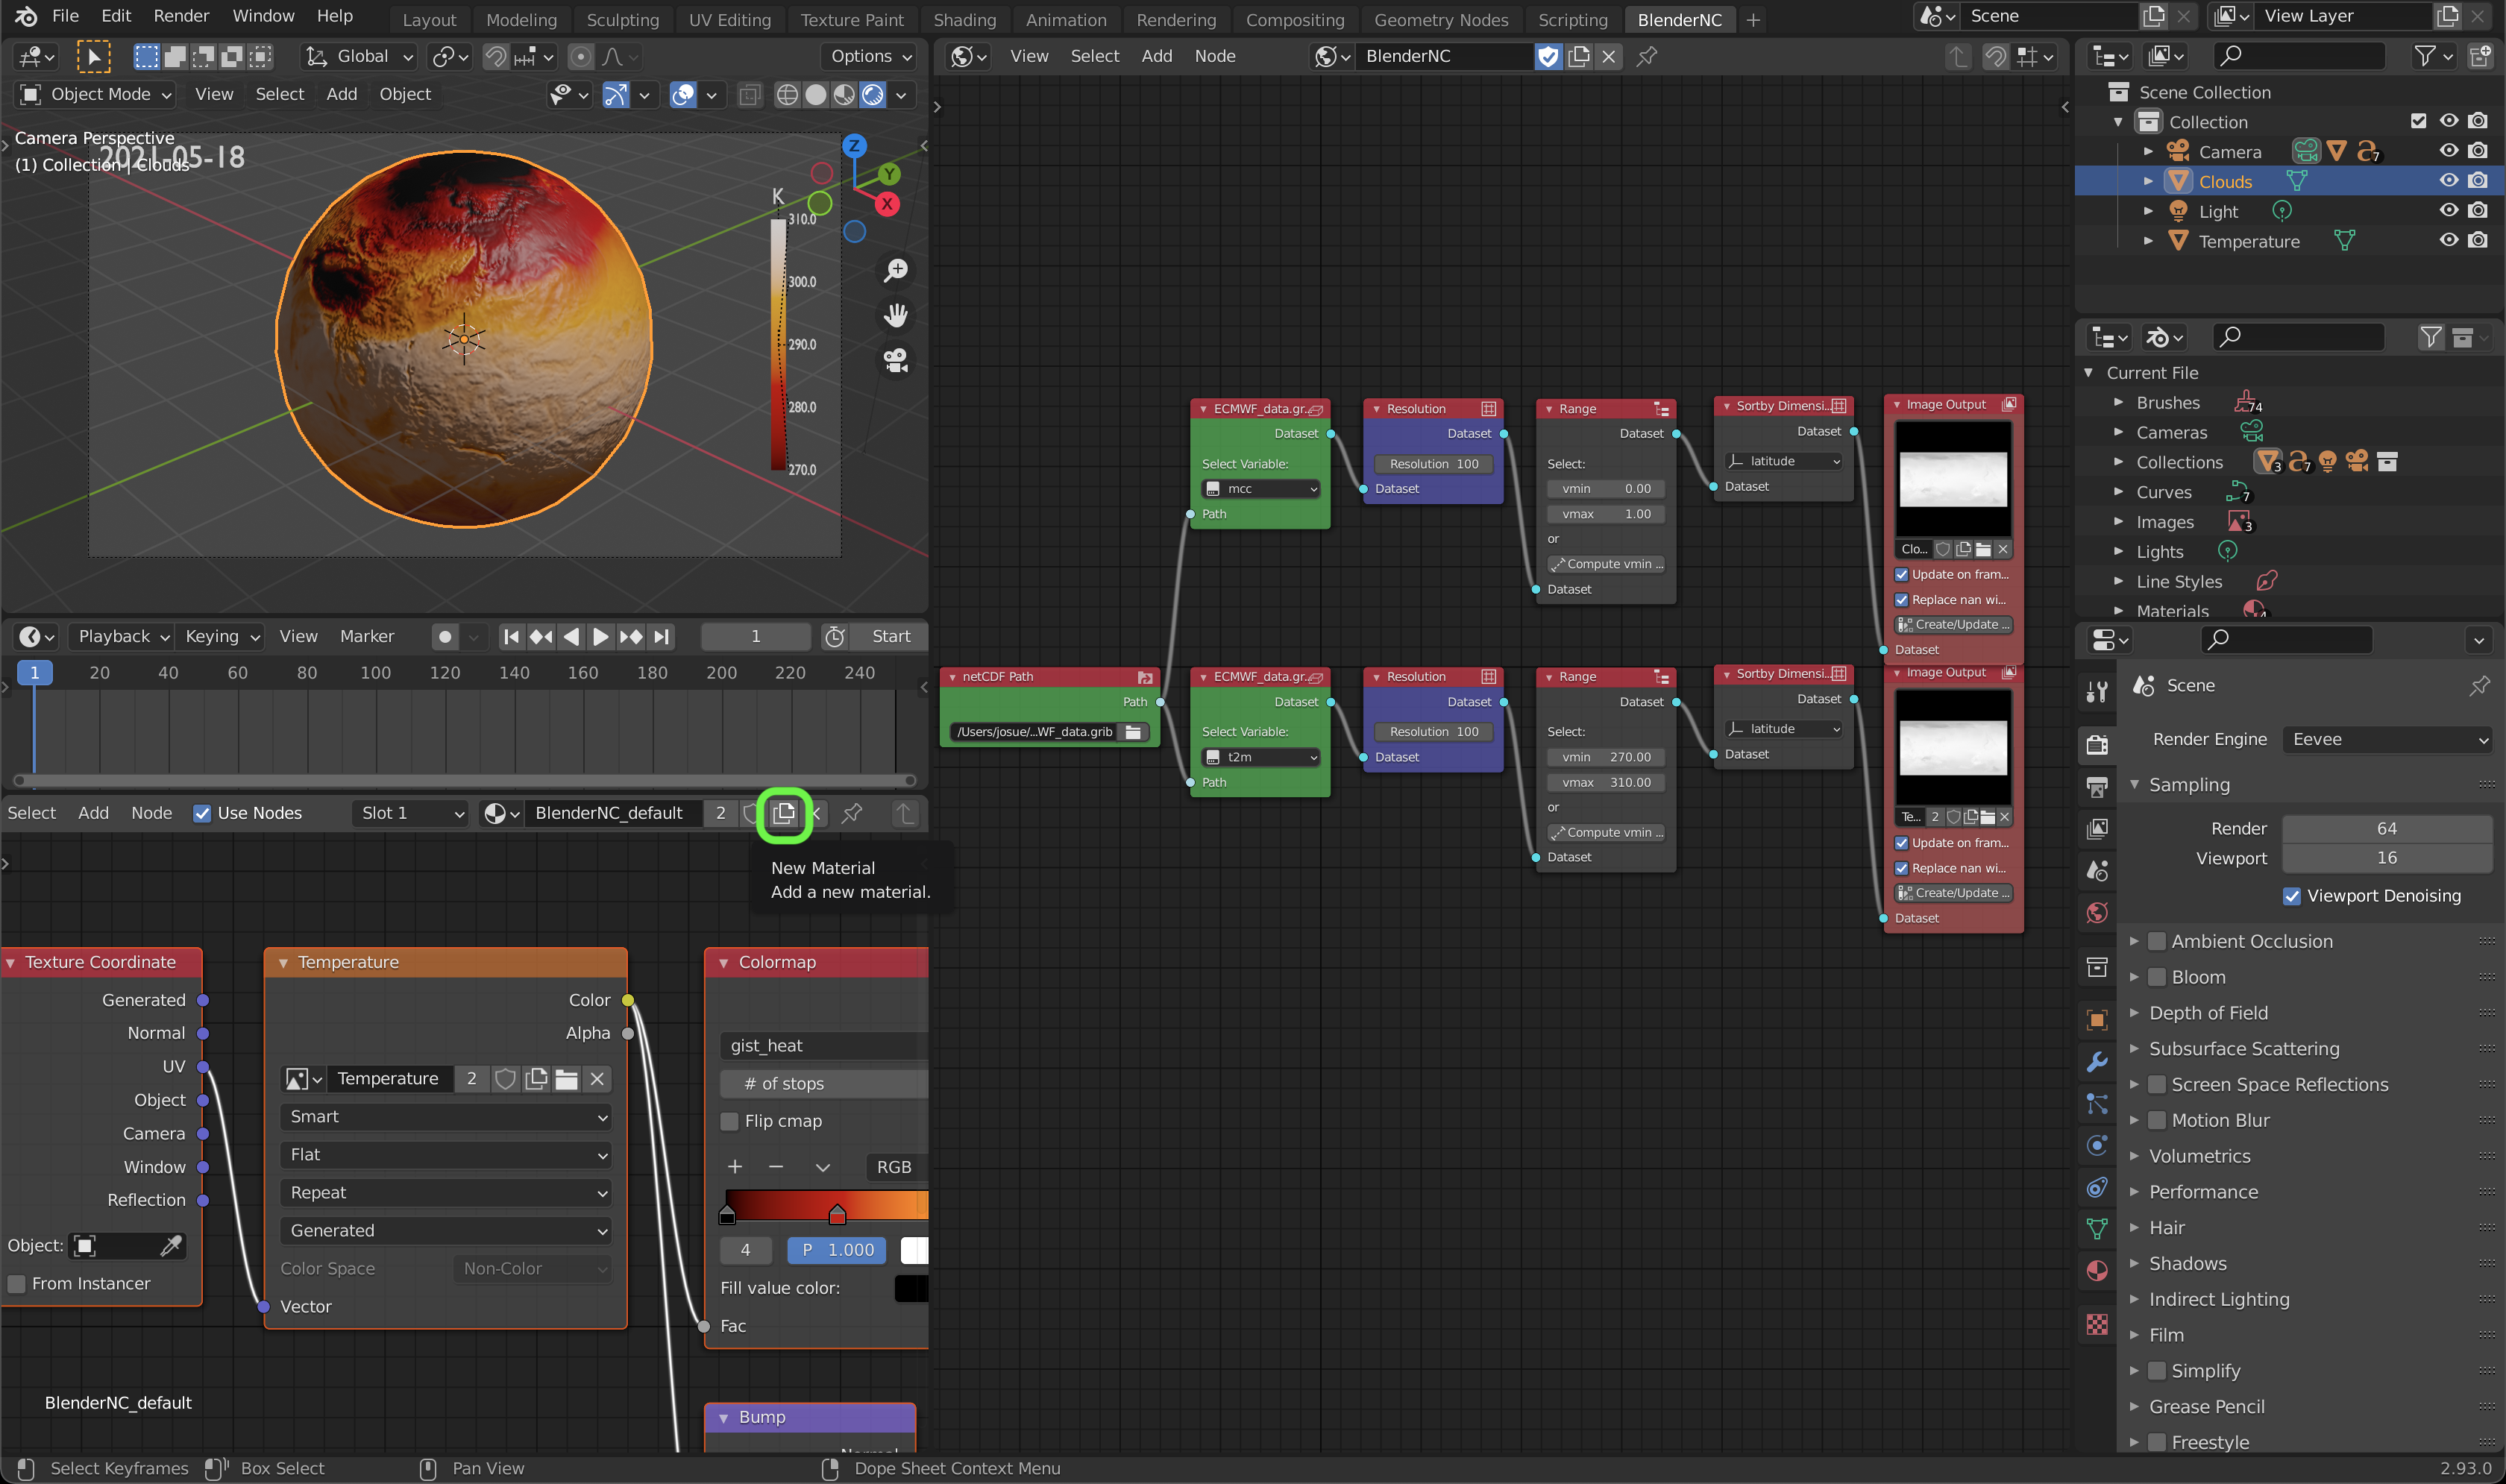
Both spheres have the same material, thus we will add a new material, by clicking the icon higlighted in green.
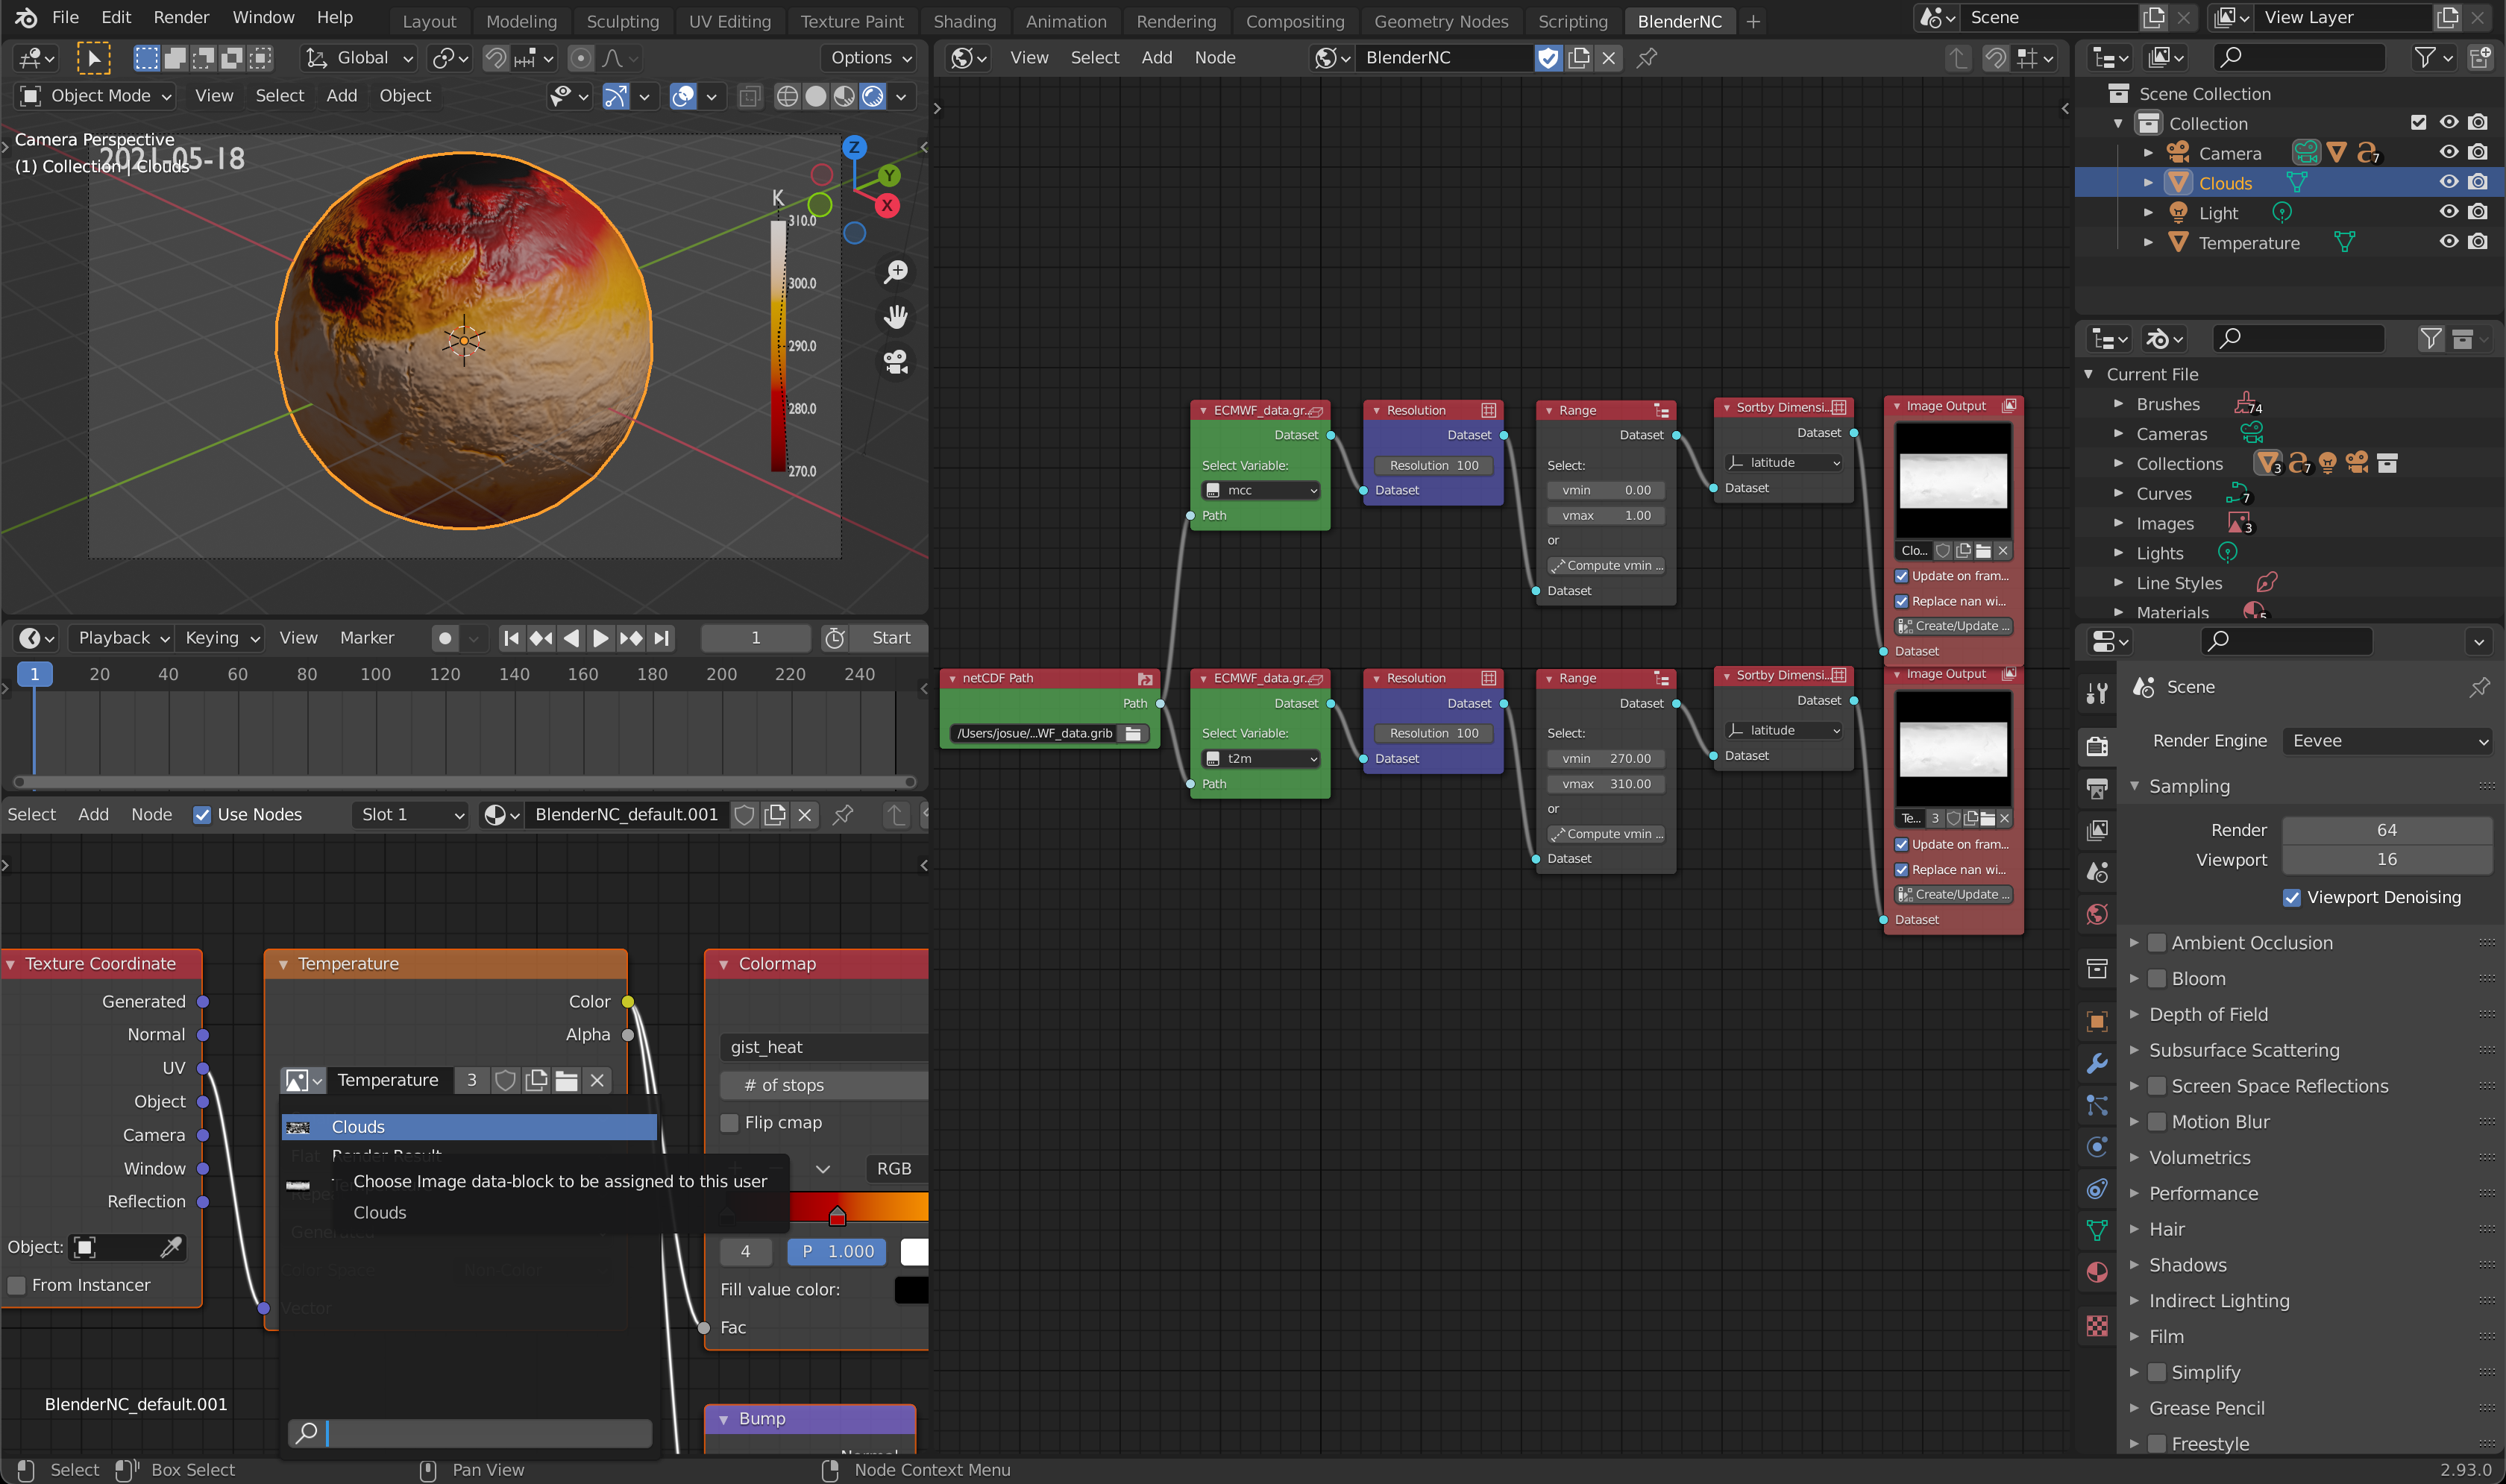
Let’s change the image used in the material to the image “Clouds”. This is why is useful to change the image and object names.
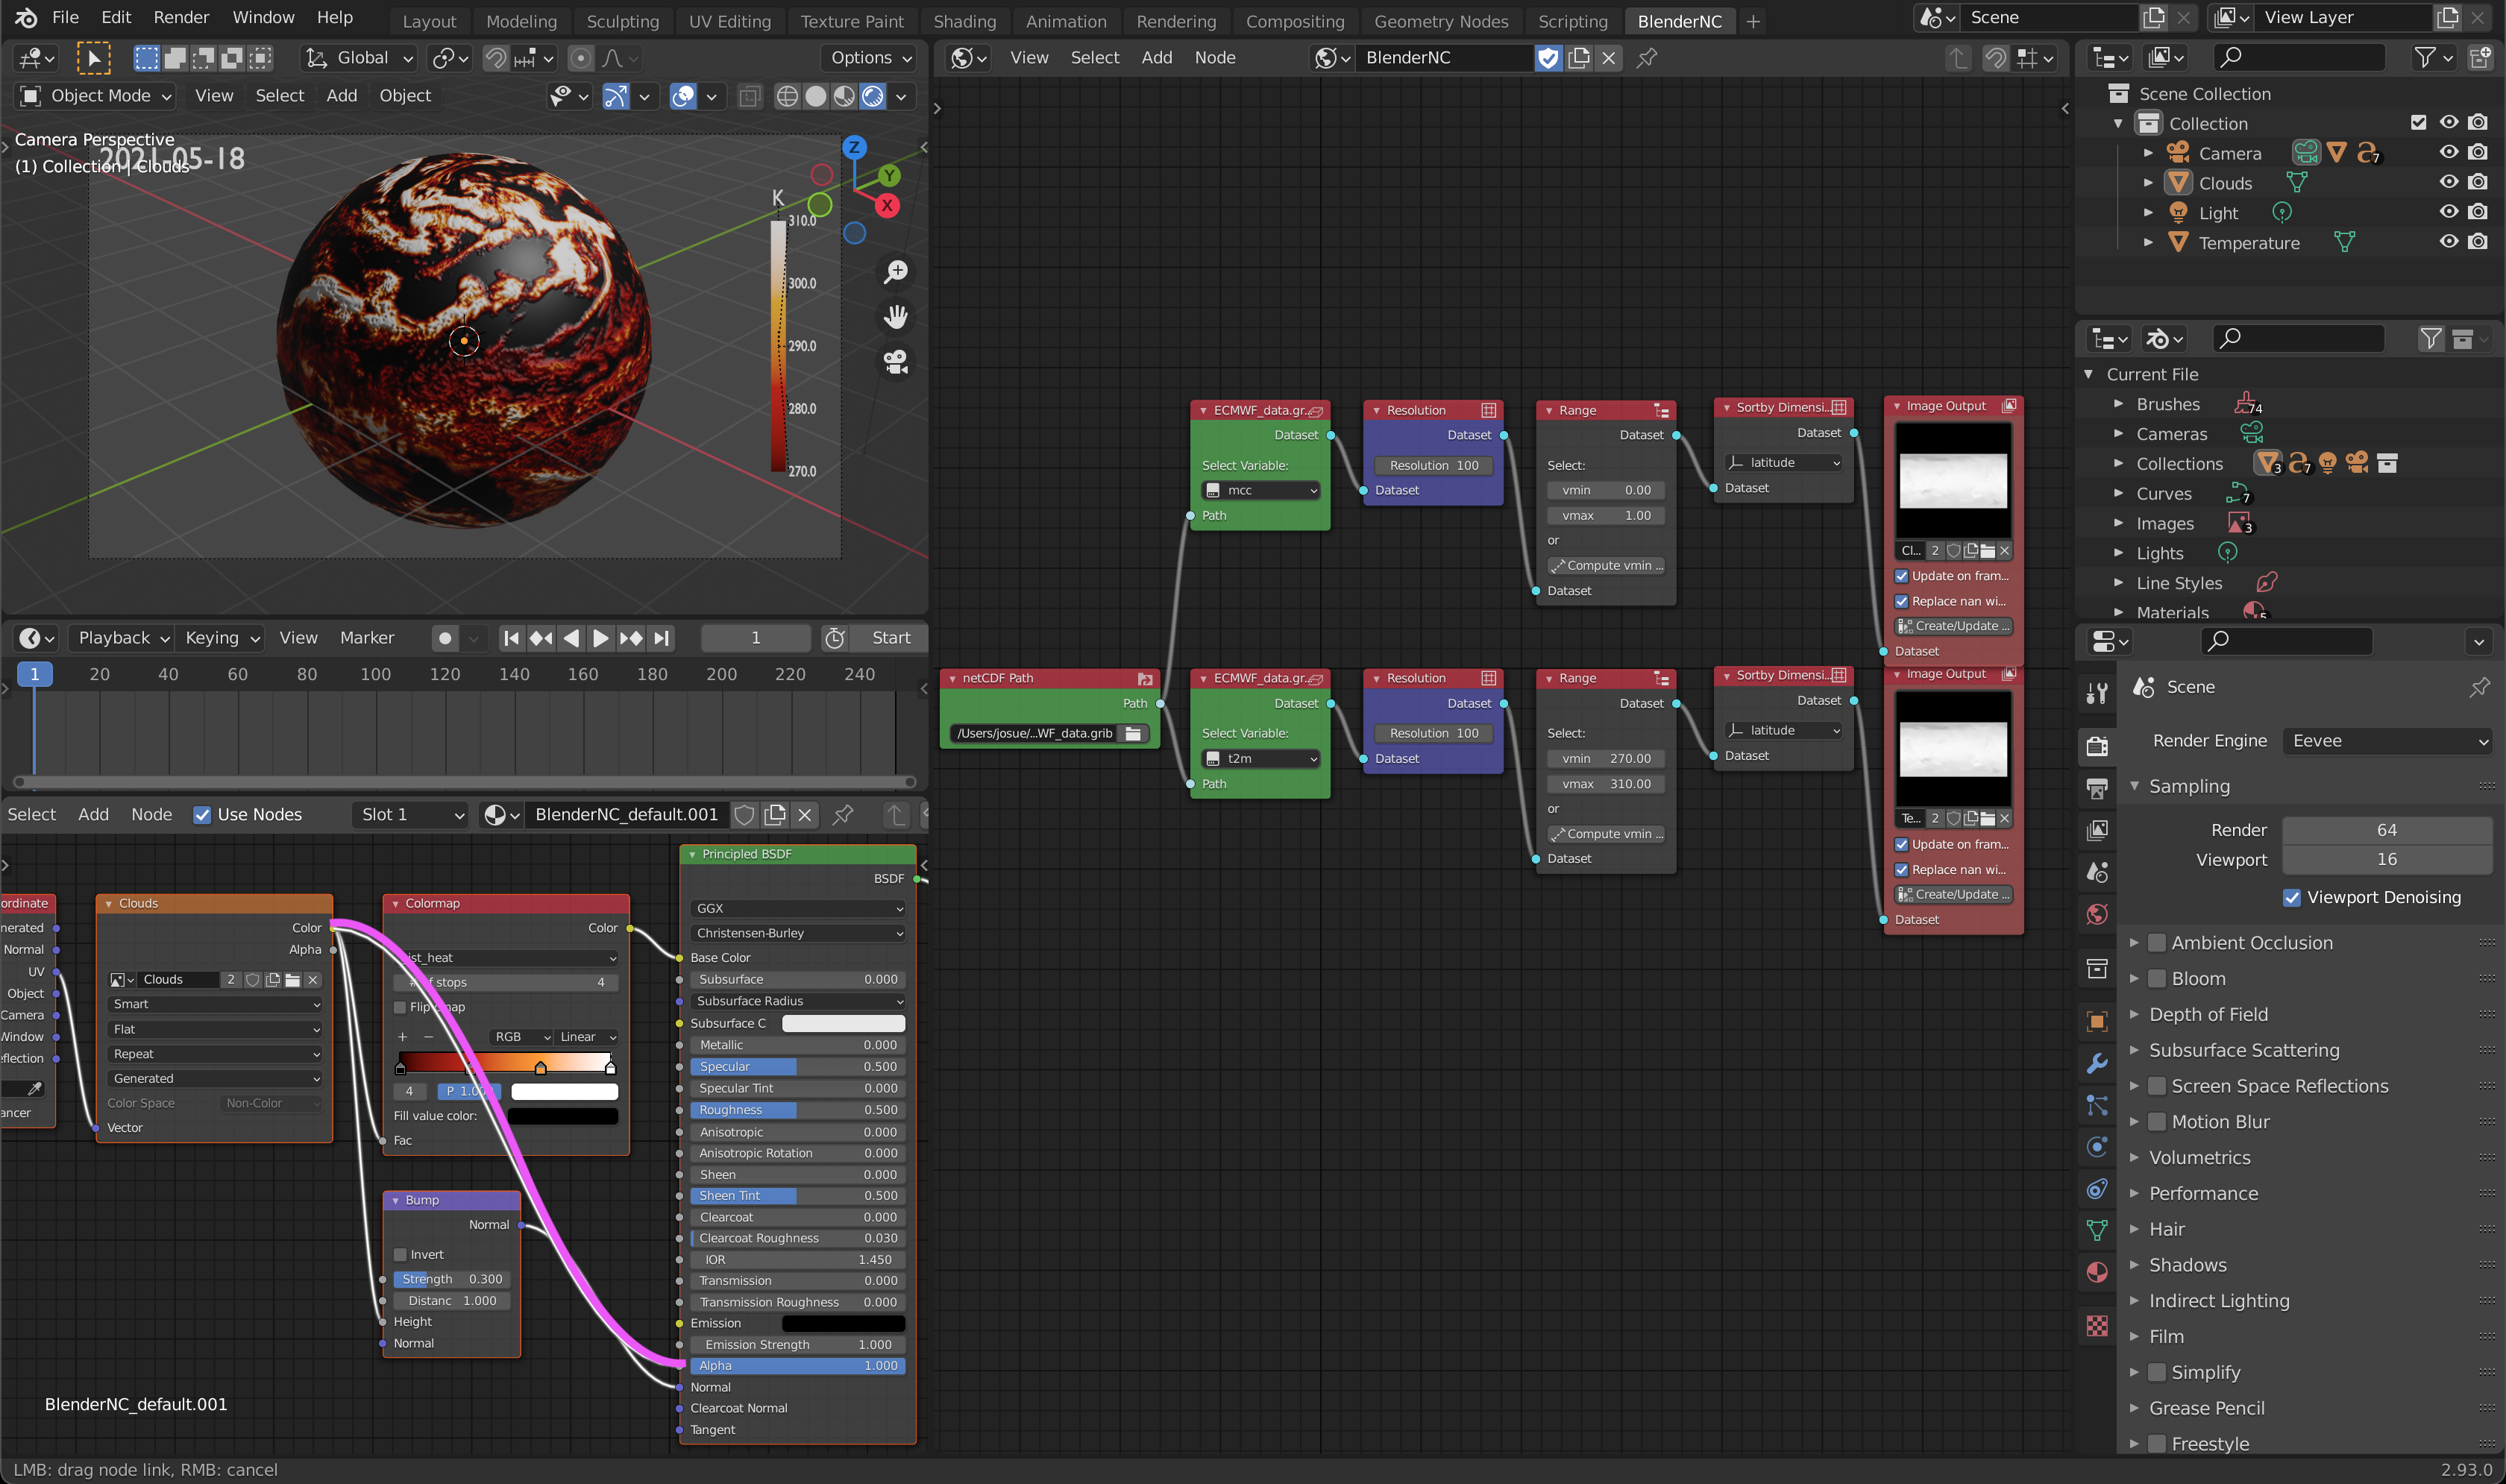
Now, we can only see the “Clouds”, in order to have an animation with two fields, we will add an alpha channel to the clouds, by connecting the output of the “Clouds”
image textureoutput to the alpha input of the ``Principal BSDF``(highlighted in magenta).
Note
If you are using Eevee as a Render Engine, you will need to change some the material settings (Click over the material settings, higlighted in cyan):
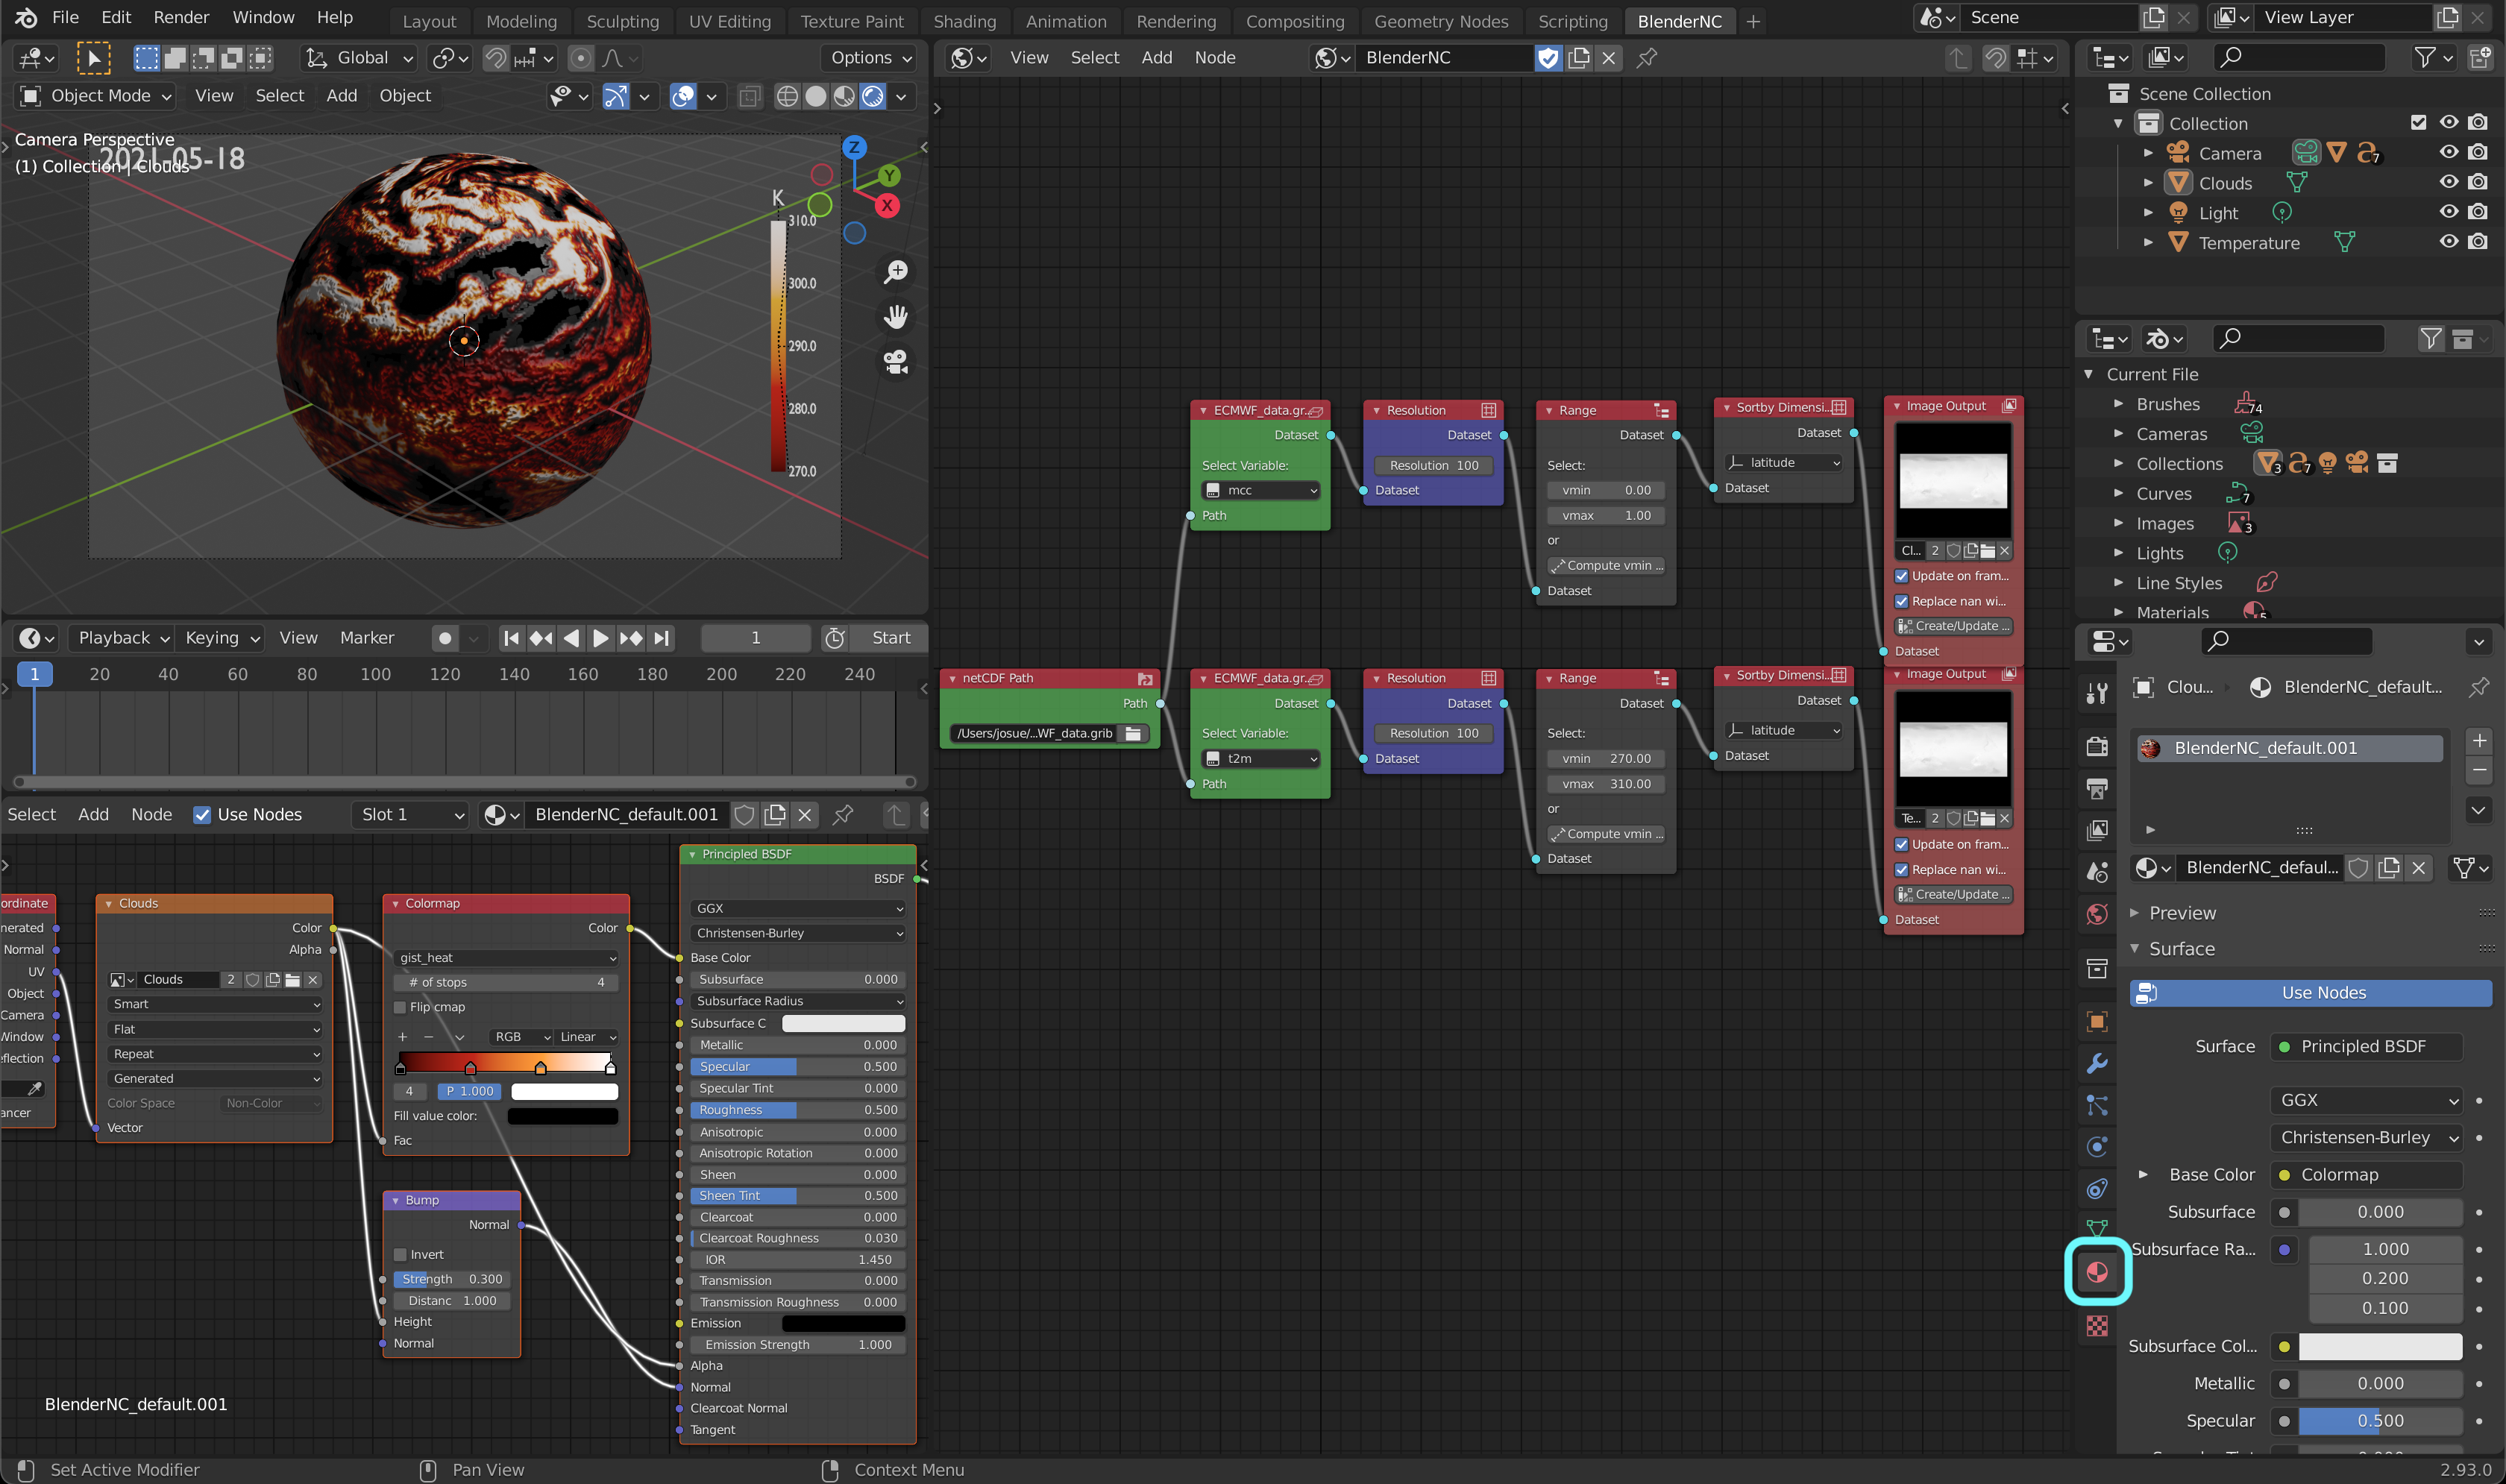
Then select the Blend Mode to Alpha Blend, optionally you can allow Show Backface.

After you apply the alpha channel, you should be able to see both spheres:
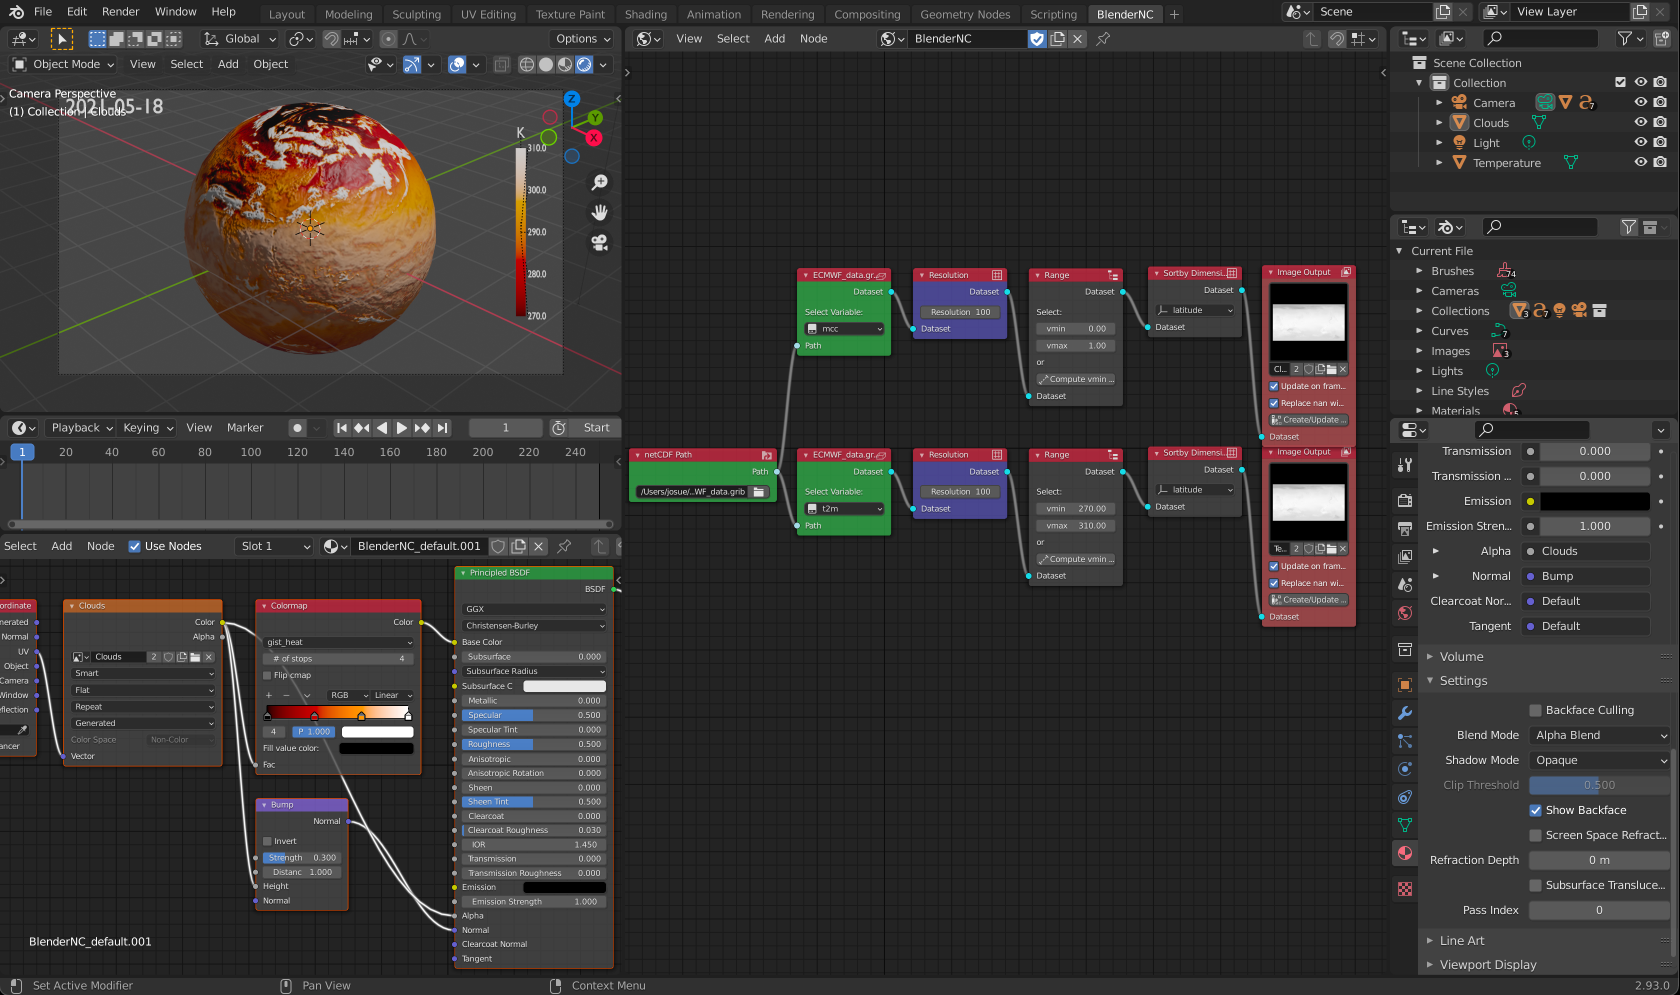
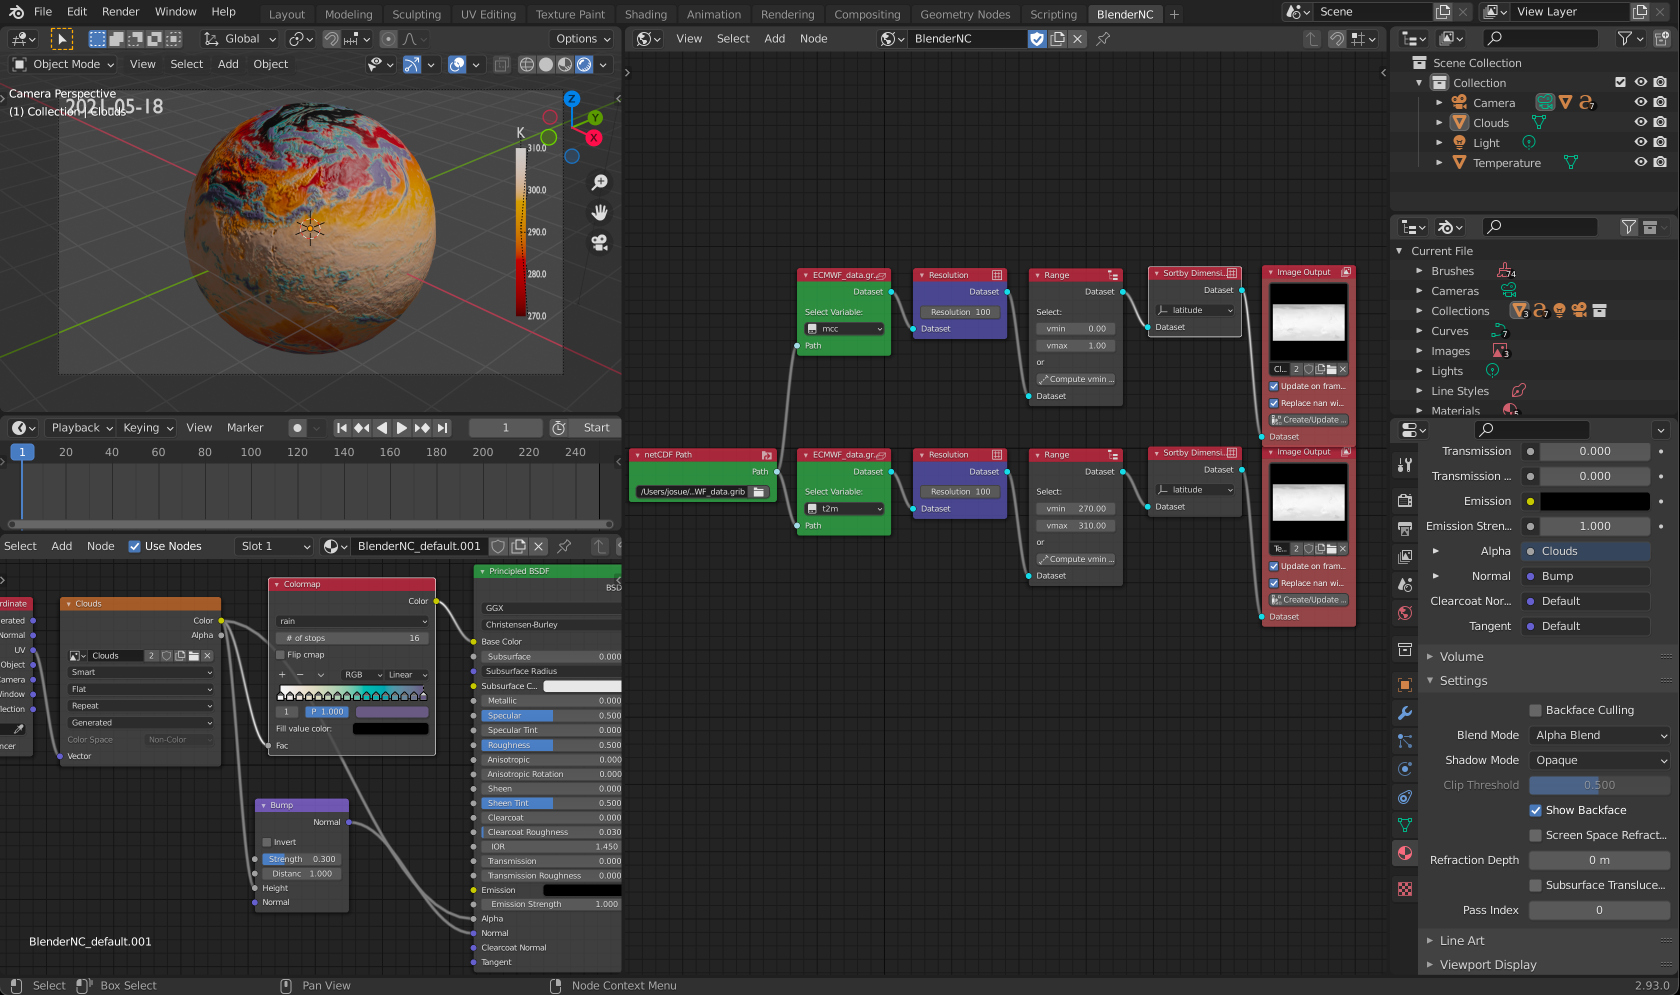
We are using the same colormap for both datasets and it’s confusing. We can change the colormap, of the “Clouds” by selecting the clouds object, then change the colormap.
Note
Instead of using the same dataset, now you can experiment by adding another datacube Path node and use a different dataset and animating multiple variables.
If you render the image (press F12), your image should resemble:
